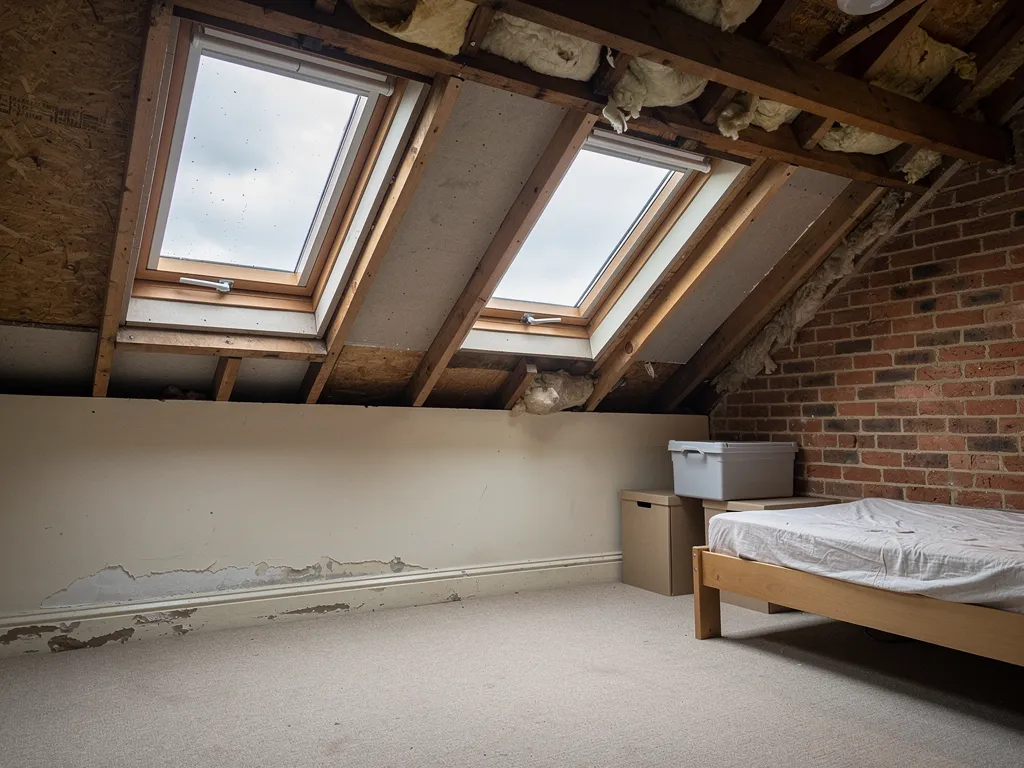

People often search for a Velux flashing as if it were a single part. It is really a set of pieces, made to suit one roof covering and one window size, which together seal the frame to the tiles or slates around it. The same principles apply whichever brand of roof window is in the opening, and a window is only as weathertight as the kit that surrounds it.
The glass is rarely what lets water in. A roof window is a sealed, tested unit, and the weak points are the joints between it and the roof. Those joints sit on a slope, they bear the brunt of driving rain, and they pass the water from the whole area of roof above them down to the lower edge of the frame.
This guide, a companion to our skylights and roof windows overview, explains how kits are matched to a covering, what each piece does, how kits are fitted and why they leak, how lead fits in, and how to check an existing flashing. If you are replacing the window as well, our guide to replacing an old roof window shows how the kit fits into the wider job.
What a flashing kit is made of
A flashing kit is a set of formed metal pieces, usually aluminium or a similar coated sheet, that is designed to cover the gap between a window frame and the roof covering. A kit for a standard window has four main parts, and each one has a job.
- The bottom apron sits across the sill of the frame and lies over the covering below it, carrying water that runs down the glass on to the tiles.
- The side pieces run up each edge of the frame. They have a channel on the frame side and a raised edge that tucks under or lies over the covering, depending on its profile.
- The top piece goes over the head of the frame, lapped so that water coming down the slope flows over the frame and not into the joint behind it.
- The gutter and drainage channel are the parts that lead water round the sides when the frame interrupts the flow, along with any soakers laid in under the covering.
Why it must be built from the bottom up
Water runs downhill, so every piece laps over the piece below it, the way slates overlap each other. The bottom apron goes on first and the top piece last. Put a piece on in the wrong order and the joint faces uphill, which means rain runs straight into it. This is the single most common fault we find on a window fitted by someone who did not set the kit out properly, and it is hard to see from inside the room.
Kits also come in different depths. The kit has to sit at the right height for the thickness of the covering, so the covering and the kit are chosen together and not separately.
Choosing a kit for tiles, slate or plain tile
The covering decides the kit. A roof covering is either flat, like slate or plain tile, or profiled, like a pantile or an interlocking concrete tile, and each needs a different edge detail.
Plain tiles
Plain tiles are small, flat and laid in overlapping courses, so a flat kit suits them. The side pieces lie close to the surface and the gap between tile and metal is small. Plain tiles are thin, but the courses beside the frame must be cut and relaid with care, because a large cut tile weakens the lap that holds the water out. Our pitched roofing pages explain the way these roofs are laid.
Slate
Slate is thin and the courses overlap closely, so a slate kit sits low. The slates beside the frame are often cut and dressed to fit, and old slates are brittle, so the work needs patience and spare slates. Our guide to fitting a roof window in a slate roof goes through the extra detail.
Profiled tiles
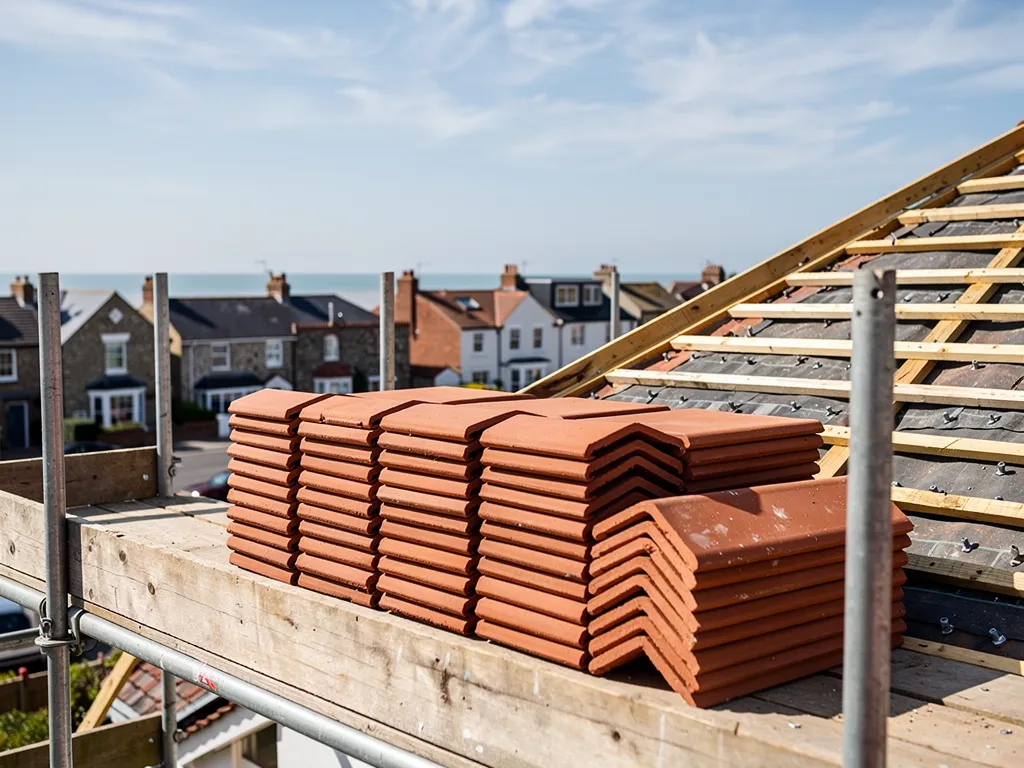
Pantiles and interlocking tiles rise and fall in waves, so the side pieces must be deep enough to clear the profile, with a flexible or shaped edge that follows the roll. A kit made for plain tile fitted to a profiled roof leaves a gap beneath each roll, and water finds it. We never adapt the wrong kit with sealant. We order the one made for the tile in question.
If you are not sure what your roof is covered with, a close photograph of a few tiles and the edge at the eaves is enough for us to identify it before we price the job.
Fitting a kit so that it stays dry
A kit that leaks is usually not a faulty kit. It is a kit that was fitted without regard to the roof around it. The order of work, the cutting of the covering and the finish of the junctions each decide whether the seal holds.
The covering is lifted back from the opening to leave a margin round the frame wide enough for the kit's laps. The underlay is dressed up against the frame so that anything that passes the covering is carried to the bottom and out over the apron. A membrane or collar supplied with the window is then fixed to the frame to guide water. The pieces of the kit are fitted from the bottom of the frame upwards, and the covering is relaid over or under each piece as its profile requires.
The details that fail first
Four places matter most: the corners at the bottom of the frame, where the apron meets the side pieces; the laps between side pieces and covering; the junction at the top; and any place a tile has been cut small. Sealant has a place, but it is a finishing aid, not the seal. A kit whose joints depend on a bead of silicone fails as soon as the sealant ages, usually within a few winters. Sealed joints should be dressed over, not filled.
On a coastal roof the fixings of the surrounding tiles count as well. Tiles beside the frame sit on the exposed edge of an opening, so their fixings are inspected against what the whole roof demands, and the kit is never relied on to hold them down.
Where lead fits in, and where it does not
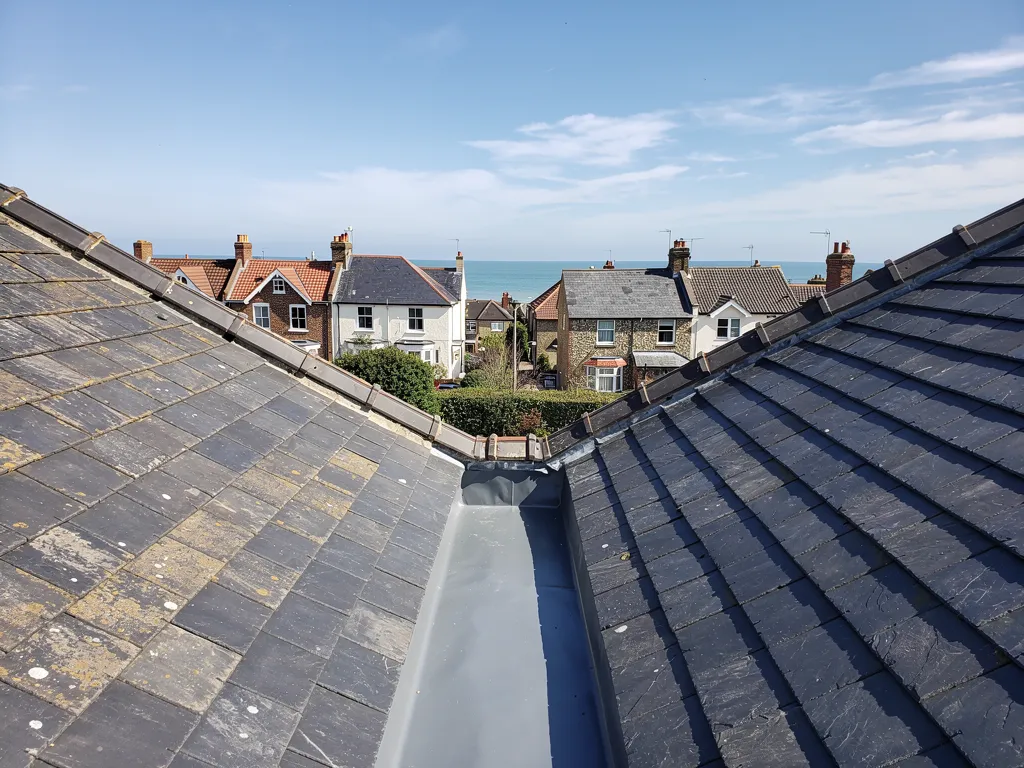
Some roofs, particularly old and listed ones, are weathered in lead instead of a manufactured kit. Lead is a soft, heavy metal that can be shaped to the exact profile of the covering, which makes it the neat answer where the roof is irregular. Slates, stone and old clay can be uneven, and a manufactured kit may not fit them. A lead flashing, dressed over the covering and fixed at the top, follows each lump.
Lead comes in numbered codes by thickness. Leadworx names code 4 as the everyday weight for flashings and reserves code 3 for soakers. A soaker is a small folded lead piece slipped beneath successive courses of tiles or slates beside the frame, so water that works under the covering is returned to the surface.
When we would use each
On a modern roof with a regular covering, the manufacturer's kit is the right answer, as it is tested with the window and the fixings are designed for it. On an irregular or historic covering, such as Horsham stone or hand-made clay, lead dressing is often better. On a conservation-area roof, where the council wants the original look kept, a low-profile lead detail may be the choice that keeps the roof's character. Our lead roofing pages cover the metal more broadly.
Lead lasts. MyJobQuote (22/09/26) gives a life of over 80 years for lead flashing, and over 100 years for higher codes. That is no reason to skimp on fixing: lead that is not clipped or wedged at the top slips, and then it leaks like any other flashing.
Why roof window flashings leak
When a roof window leaks, the water usually arrives at the bottom of the frame, because that is where everything above it ends up. The cause, however, is often further up or to the side. The way in tends to be one of a small set of faults.
- The wrong kit for the covering. A flat-profile kit on a profiled roof, or the reverse, leaves gaps the metal cannot close.
- Pieces fitted in the wrong order. A top piece laid under the sides, or an apron lapped the wrong way, sends water into the joint.
- Debris in the channels. Leaves, moss and tile grit collect at the head of the frame and in the side channels, back up the water and push it across the lap. This is why a window under a tree leaks more than one in the open.
- Failed sealant. A kit that relied on a bead of sealant instead of overlap opens as the bead hardens and cracks.
- Cut or cracked tiles. A broken tile at the side of the frame lets water under the kit.
Condensation is not always a leak
Drips inside the lining are not always the kit. Moisture on the glass and frame forms from room air on cold mornings. Our guides to roof window condensation and the leaking roof window help tell the two apart. The tell-tale for a flashing leak is that it follows rain, particularly wind-driven rain, and the marks are heaviest at the bottom corners.
Checking an existing flashing and what to expect from a job
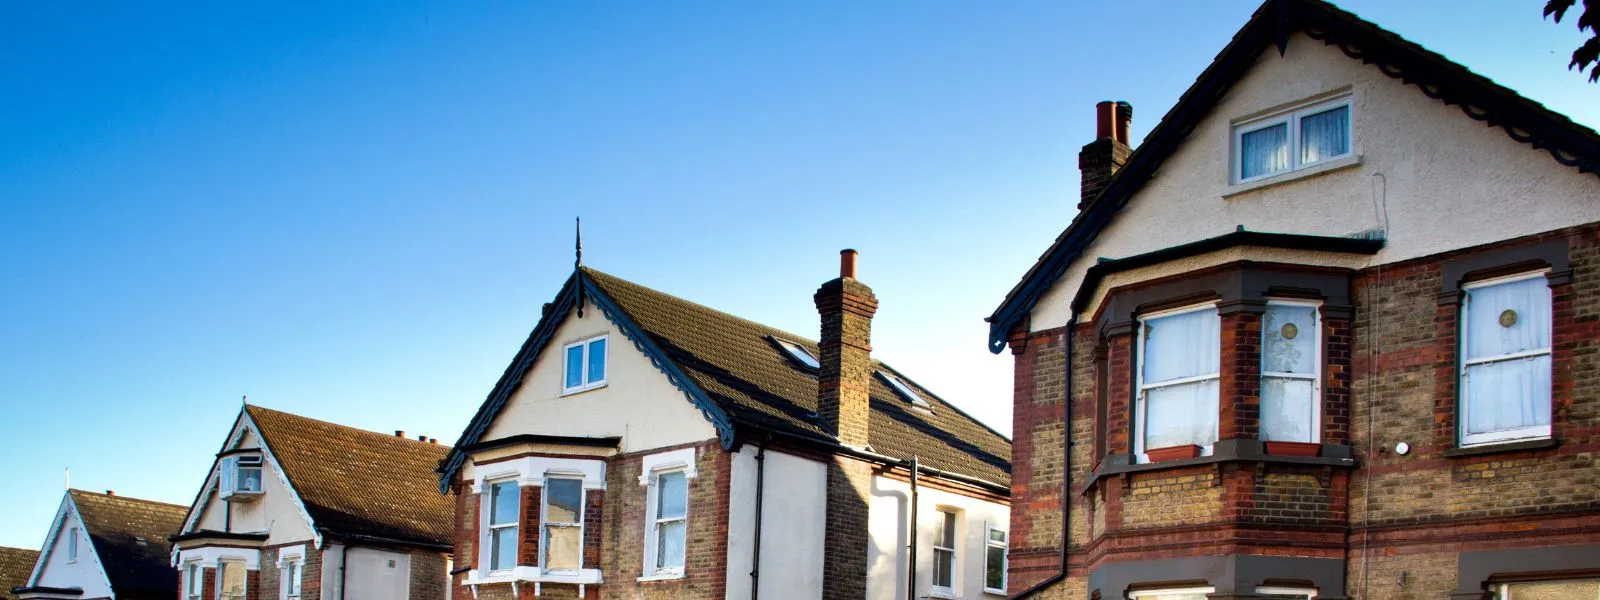
You can learn a fair amount without going on the roof. From the garden, look at the lines of the kit with binoculars. Metal that is lifted at an edge, tiles missing or slipped at the sides, and moss packed at the head of the frame all deserve a closer look. Inside, look at the bottom corners of the lining for brown marks and softening of the paint or plaster. Keep a note of the days it appears.
Stay off the roof while you look. The slope is steep, the covering is easily broken and the window itself is a trap. Roof access is for people with proper equipment, and a survey from a ladder or a platform gathers the same information at less risk.
What the survey and quote include
We identify the covering, check the kit for fit and order, and photograph the corners, the laps and the head of the frame. Then we say whether the answer is a clear-out and a re-dress, a replacement kit with the window left in place, or a new window and kit together. MyBuilder (updated 21/08/2026) puts the installation of a standard roof window at £350 to £600 for labour and fitting, with scaffolding at approximately £500, which shows the order of magnitude for a full replacement.
A written quote follows the survey, giving one total price, with photographs of your own frame attached. When you compare firms, check that VAT and scaffold are accounted for in each price. If the window is also due for replacement, see roof window cost. Before the job, our skylight planning permission guide explains when the council needs to be involved. Over a flat roof the glazed unit sits on a kerb rather than in a kit, and flat rooflights covers that case.