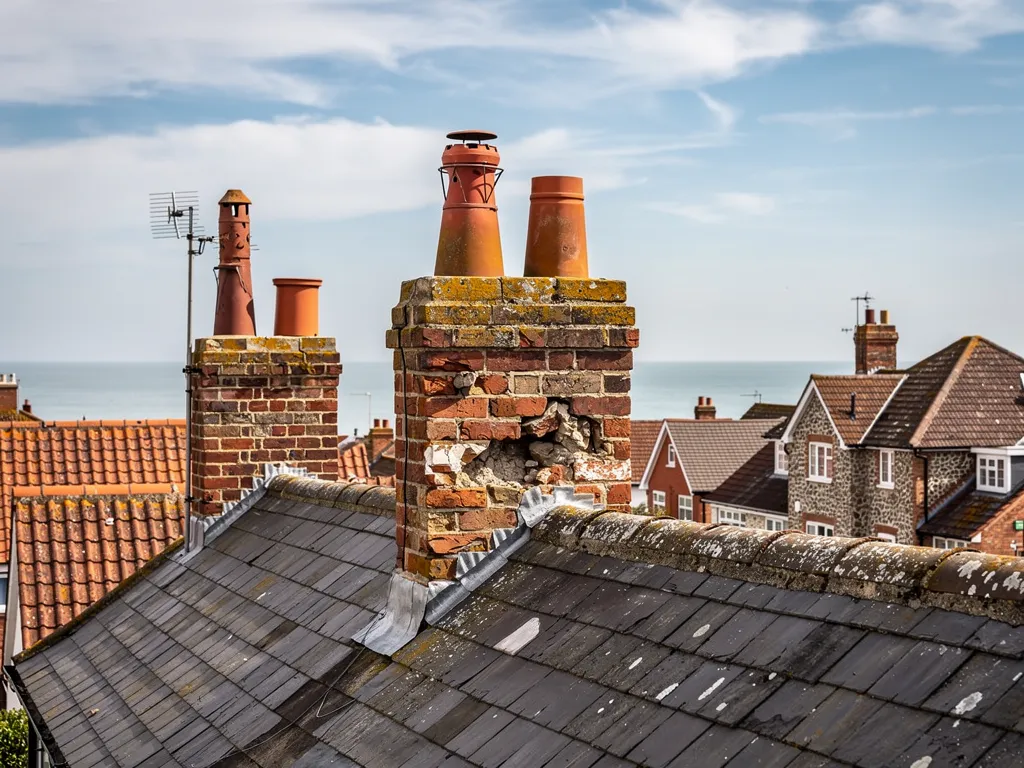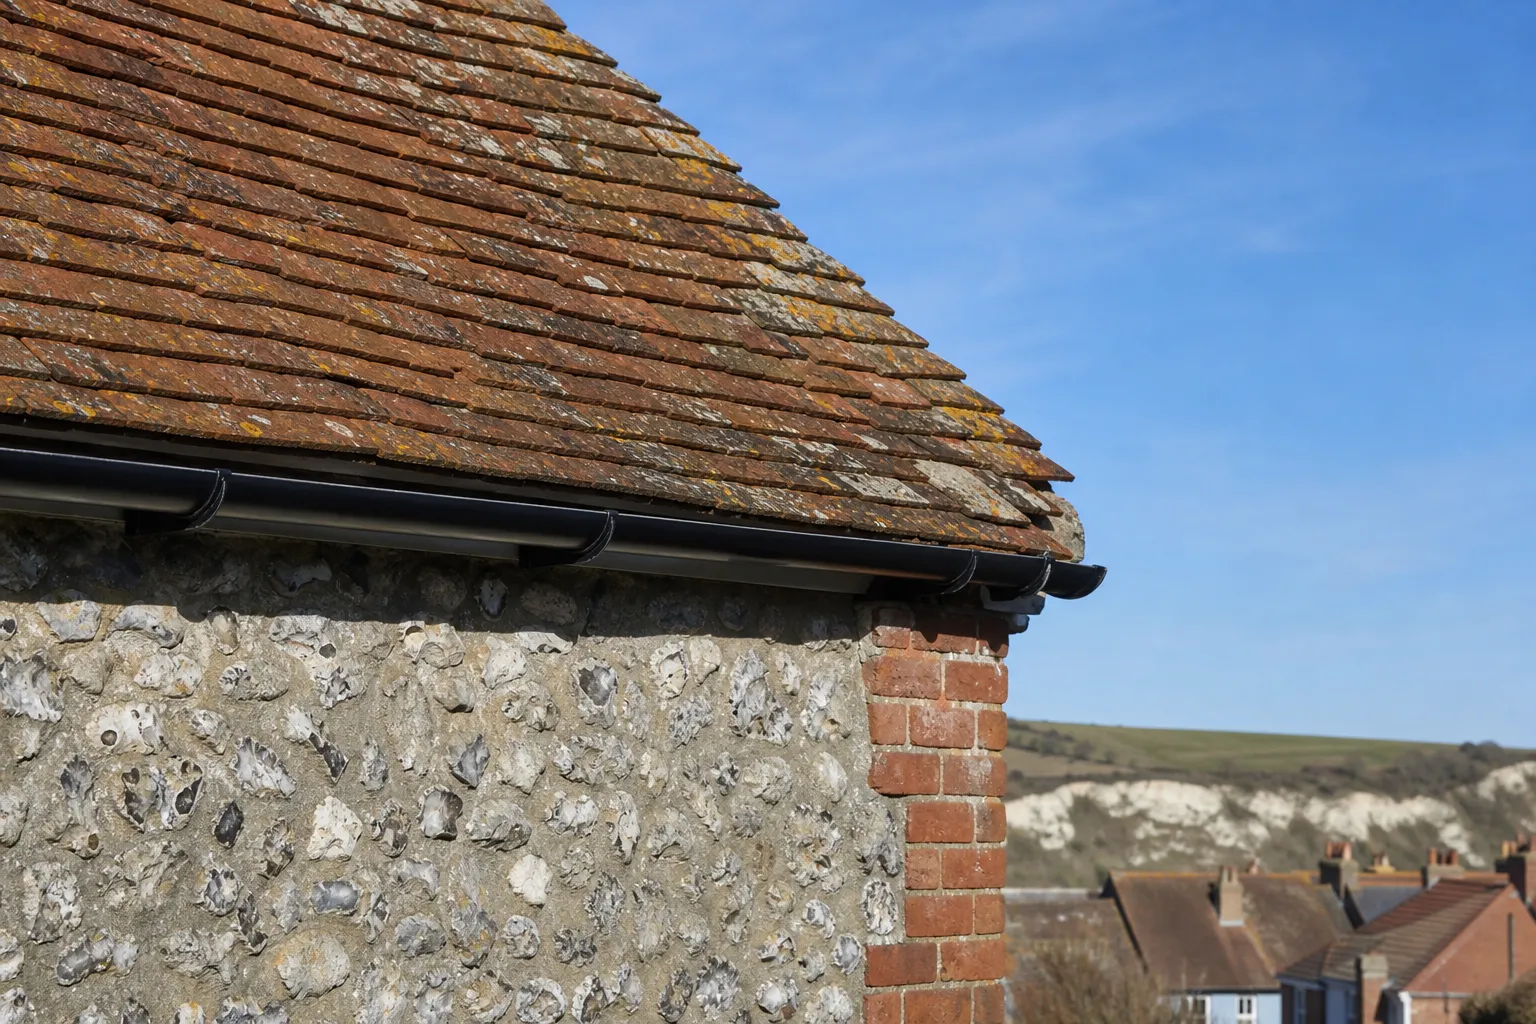

A damp patch on a chimney breast, a stain on the ceiling beside the stack, or water dripping into a fireplace after heavy rain all point the same way: something at or around the chimney is letting weather in. The harder question is what. A chimney is a tall structure with several joints, from the pot at the top down to the point where the brickwork meets the roof, and water can enter at any of them.
It also travels. Rain that enters at the top of the stack can run down inside the brickwork and show as a stain in the room below, while rain that enters at the base can seep along the roof timbers before it appears. What shows in the room is where the water finished up, and not where it began. Tracing it back is the job, and guessing at the cause is how repairs end up being done twice.
This guide goes through each place a chimney leaks, from the top of the stack to the roof junction, with the signs that point to each. It also covers the look-alikes that are not leaks at all. Our main page on chimney repairs shows the full range of work on offer once the cause has been found.
Lead flashings: the commonest way in
Where a chimney passes through the roof, the junction between brick and roof covering is sealed with flashings, lengths of lead dressed over the joint. They are made in several pieces: an apron across the front of the stack, stepped pieces up each side, and a gutter, the back gutter, behind the stack. Each one is tucked into a groove cut into the mortar course and fixed there, then the groove is pointed to hold it. On a tiled roof the side flashings are often interleaved with small folded pieces of lead called soakers, which run under each tile course.
Lead is long-lived. MyJobQuote (22/09/26) puts the life of lead flashing at over 80 years, and over 100 for the higher codes. Even so, the joint is a weak point. The pointing that holds the top edge in place weathers away, the lead lifts or slips out of its groove, and rain runs behind it. Thermal movement can crack the lead at the corners, and a flashing that was fixed with sealant instead of a proper chase fails sooner still.
The thickness of the sheet is graded by code. According to Leadworx, code 4 is now the usual choice for general flashing, while code 3 is recommended for soakers only, and the codes follow BS EN 12588. If a flashing has failed on a roof where thinner lead was used, replacement with the right code is the lasting fix.
Signs the flashing is the culprit
A damp patch that appears beside the stack and not on the chimney breast itself, or at the junction of the stack and the ceiling, points to the flashings. Visible gaps, lifted edges or black bitumen smears over the joint are the other giveaways.
The back gutter and the valley behind the stack
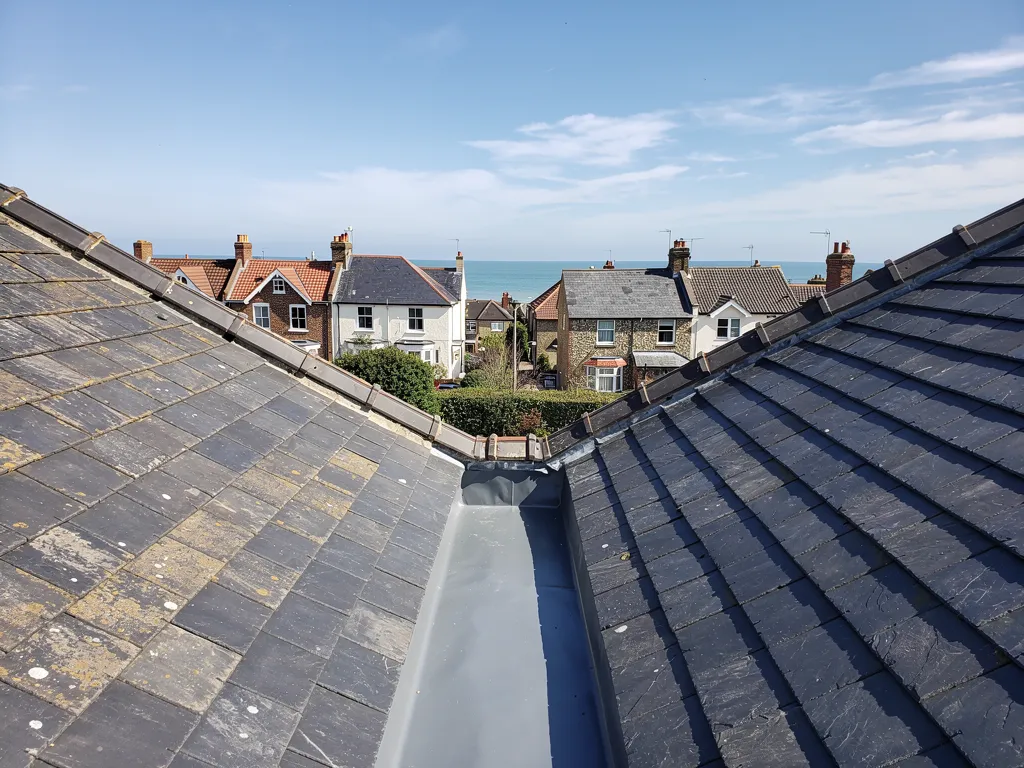
On a pitched roof, the chimney stands in the path of the water running down the slope. Above the stack, that water has to be steered round it, and the back gutter does this. It is a small lead channel behind the stack that collects water and passes it to either side, where it runs down the roof clear of the brickwork. It is rarely seen from the ground, so it is rarely checked.
That makes it a frequent hidden cause. Leaves, moss and silt gather behind the stack, block the channel and make the water back up. A back gutter laid with too little fall holds water that never fully drains, and lead that sits in standing water, with grit in it, wears and splits. When the channel fills in heavy rain, it overflows over its upper edge and straight into the roof space.
The sign is a leak that shows only during long, heavy rain, usually in the loft against the back of the chimney breast, or as a stain high on the wall in the room below. It will not appear in a light shower.
Fixing it for good
Clearing debris helps in the short term, but a lead gutter that has cracked or been laid flat needs relaying with enough fall to drain, with the ends turned up and the lead dressed under the tiles or slates beside it. Where the stack sits on the ridge, there is no back gutter at all, since the ridge tiles carry the water to either side instead. In that case the problem is more likely to be the ridge bedding or the flashings nearer the stack.
Flaunching and pots at the crown of the stack
The crown of a chimney is the part that takes the worst of the weather, and the flaunching there, the sloping mortar cap around the base of the pots, is the first thing weather attacks. Once the cap cracks, water enters where the pot meets the mortar and runs down inside the brickwork. That produces damp on the chimney breast that is worst after wind-driven rain, with no matching damp at the roof junction.
The pots themselves can leak. A pot cracked along its length lets rain run in and trickle down the inside of the flue, where it meets soot and carries it out as brown streaking on the breast. A flue with no cowl lets rain fall straight down into the fireplace. A flue that is no longer used and has been capped without any ventilation can also collect condensation, which looks like a leak but is not one.
Birds are another cause. A nest packed into a pot can hold water, and the debris it leaves in the flue can block it, so that damp has nowhere to go. Nesting birds are protected, so a nest in use has to be left until the young have gone.
What the repair involves
Failed flaunching is chipped off and replaced with a fresh, sloped cap, and cracked pots are reset or renewed. A cowl or bird guard may be added. We cover the method in our guide to chimney flaunching. This is usually the cheaper kind of chimney leak to put right, provided the brickwork beneath has not been damaged by years of water.
Brickwork, pointing and the stack itself
Brick is porous, and a chimney stack is wet from all four sides, with little sun on the north face. When the pointing breaks down, rain enters the joints and soaks into the bricks, and in freezing weather that water expands and breaks the brick faces off. The stack can then absorb water like a sponge, and the damp reaches the room below even though no single gap can be seen.
The signs are on the surface. Pointing that has turned sandy or hollow, bricks with their faces flaking away in layers, and white salt deposits on the stack all show a stack losing its battle with water. The flaking is called spalling, and our guide to spalling chimney bricks explains what it means for the repair. A lean in the stack, or a horizontal crack running through several courses, is more serious again.
Where only the mortar has failed and the bricks are sound, repointing with a mortar suited to the brick is the answer. It is covered further in our guide to repointing a stack. Where the bricks are failing as well, repointing buys little, and the choice moves to partial or full rebuilding. That is a bigger job, so we confirm it with photographs of your own stack before it appears in a quote.
A sealant coating is not a cure
Clear waterproofing liquids are sometimes brushed over a stack. They can help on sound brickwork, but they cannot close open joints and can trap moisture already inside, so they are no substitute for repair. Water that cannot escape through the brick sits in the stack and shows up elsewhere. A full diagnosis comes first.
Damp that looks like a roof leak but is not
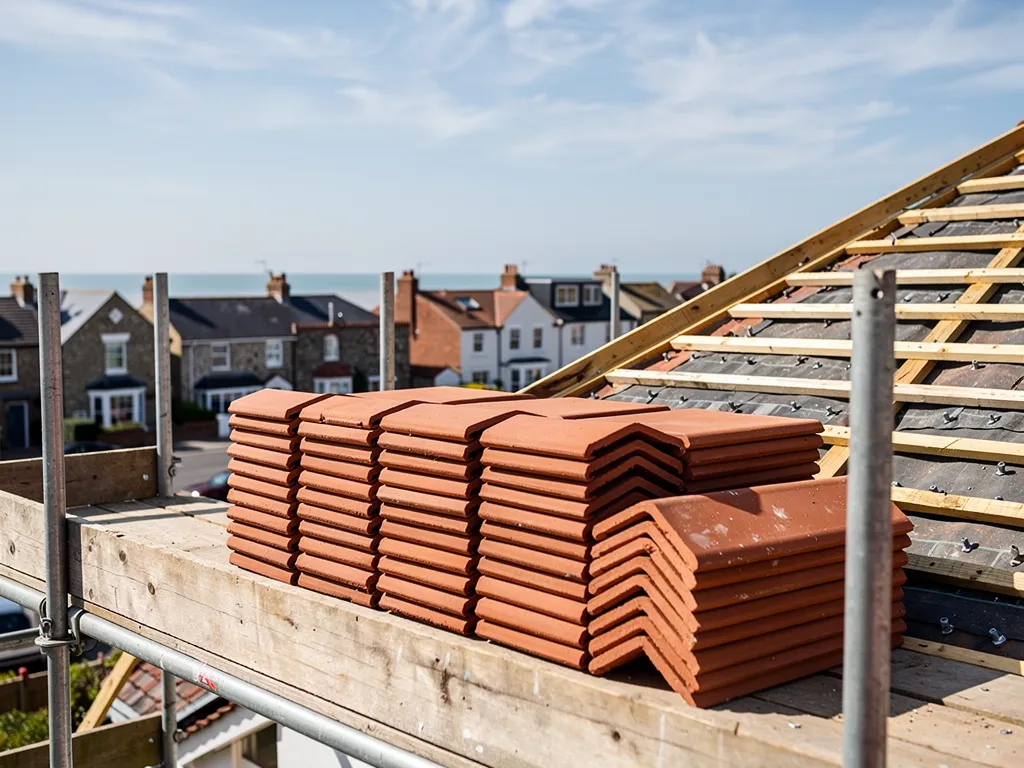
Some chimney damp has nothing to do with rain getting in at the top. Ruling these out early saves money, since no amount of lead work will cure them.
Condensation is the main one. A flue that is cold and not in use fills with moist air, and water forms on its inside surface. It runs down and stains the breast, often in a patch with no clear edge. Closing off a flue without ventilation makes this worse. Letting air pass through the flue, with a ventilated cap, usually stops it.
A second look-alike is salt staining. Soot, tar and combustion residues stay in old flues, and when damp reaches them they can bleed brown through plaster, long after the original fault has been fixed. That staining may not return once the real cause is cured, though it can need treating on the plaster side.
The third is plumbing or the heating system. A pipe or a tank near the breast can leak, and so can a faulty radiator valve. If the damp appears on dry days, look there first.
One more cause is a chimney that has been partly taken down inside. Where a breast has been removed in the loft or a room, the stack above is left on supports, and water can find its way along the new joints. A chimney breast taken out earlier would have needed Building Regulations approval, so the quality of that earlier job is worth checking.
How a proper survey separates them
We start in the loft, tracing the water from the stain towards its source, and then check the flashings, the back gutter, the cap, the pots and the brickwork in that order. A controlled water test, working from the lowest suspect point upwards, can confirm a source. We take photographs as we go.

Tracing, fixing and living with a chimney leak
When water is coming in now, the first step is to limit the damage. Put a bucket under any drip, move furniture, and leave the stain alone so its edges can be read. Active leaks come first. We make the roof safe, which may mean temporary sheeting over the stack until the weather allows a proper repair.
The next step is the survey. We look at the stack from the loft, from the roof and from the scaffold or tower if one is needed, and photographs are taken of every fault. You see the lead gap, the cracked cap or the open joint on your own chimney, alongside what we propose to do about it. The repair that follows is the smallest one that shuts the water out for good. That might be re-dressing a flashing, relaying a back gutter, renewing a cap, or repointing. Where the stack is beyond saving, we tell you and show you why. Rebuilding the stack is the answer in those cases, but never the starting suggestion.
Cost depends on the access, the number of faults and the state of the brickwork. Following the survey we send a written quote giving one total, set at a good, fair level. Check whether any quote you receive covers scaffold and VAT.
After the repair
Keep your before and after photographs, since they let you compare the stain with the stack later. Once a leak is fixed, wait for the brickwork to dry before judging the result, since a soaked stack takes weeks to release its moisture. A stain that fades and stays gone is a good sign. One that darkens again after rain means a second route in, and we would want to see it again.