
On the morning after a gale, many of us glance up at the roof from the front path and see nothing wrong. That tells you less than you might hope. Wind lifts tiles and ridge caps without always shifting them far, rain gets under flashings that look sound from below, and a slipped slate can sit quietly for weeks before the first stain shows on a ceiling. A short, careful check once the weather clears catches those faults while they are still small.
The whole check rests on one rule: you look, but you do not climb. Everything useful is visible from the garden, through the loft hatch and inside the rooms below, with a torch, a phone camera and binoculars if you own some. The roof itself is for people with proper access equipment, and a wet, windblown slope is the last place to learn that.
Below is the order we would follow ourselves: safety first, then the outside, the loft, the rooms, the photographs, and the moment when a phone call becomes sensible. Insurance comes up only where it changes what you photograph. Our emergency roof repairs page covers the repair side.
Making the ground safe before you look up
Wait until the wind has eased and the rain has stopped. Gusts that follow a storm can bring down a tile that survived the night, and nothing on a roof is worth being hit by. If the weather is still rough, stay indoors and do the loft and room checks first, which need no daylight.
When you do go out, walk round the house slowly and look at the ground before you look at the roof. Slate and tile pieces, lumps of mortar, a length of lead or a broken chimney pot lying in the border all say where to look. Do not stand directly beneath an eave, a chimney or a ridge while you study it. A tile that has slipped but not fallen can drop without warning, so view the roof from a few metres back and keep children and pets clear of the path beside the house.
Cables, branches and debris
Look for anything that has come down onto or near the building. A branch resting on a service cable, a sagging overhead line or a fence panel leaning on a wall are reasons to stop and keep away. Treat a damaged cable as live, do not touch it or anything touching it, and report it to the network operator. A satellite dish or aerial wrenched half off its bracket deserves the same distance, because its fixings may still be pulling on the slope.
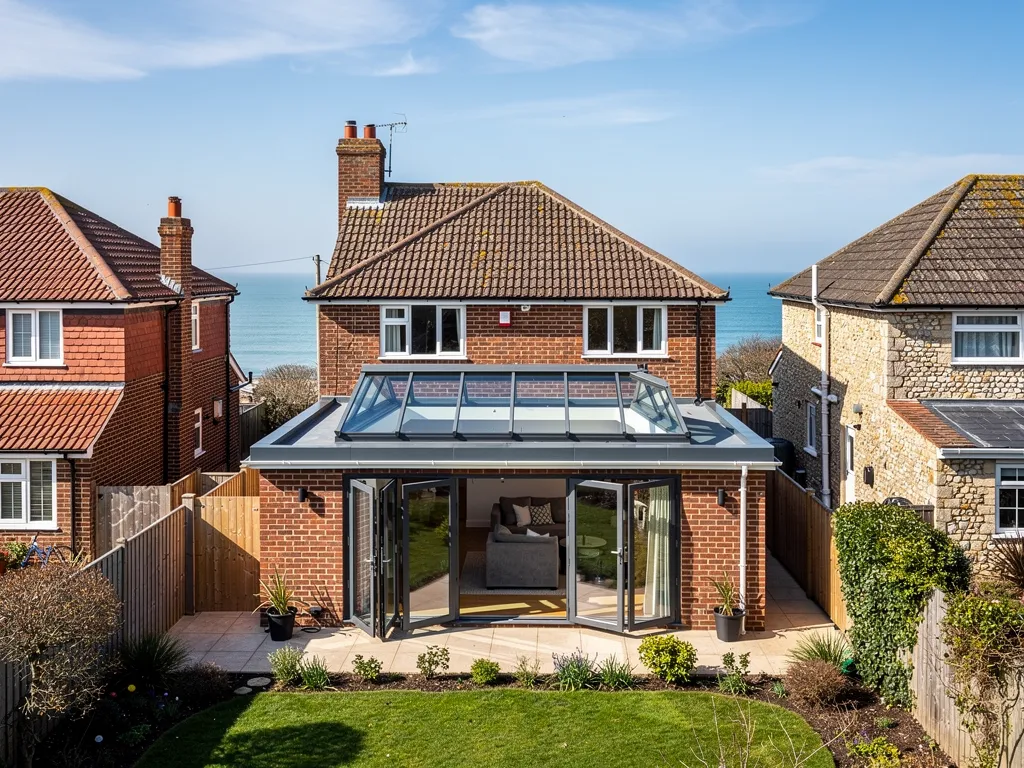
Never put a ladder against a damaged roof, and never step out of a window onto an extension for a better angle. Flat and conservatory roofs can look solid and be brittle. If a branch or whole tree is lying on the roof itself, the steps differ, and they are set out in our guide to what happens when a tree falls on the roof.
Reading the roof from the garden and the pavement
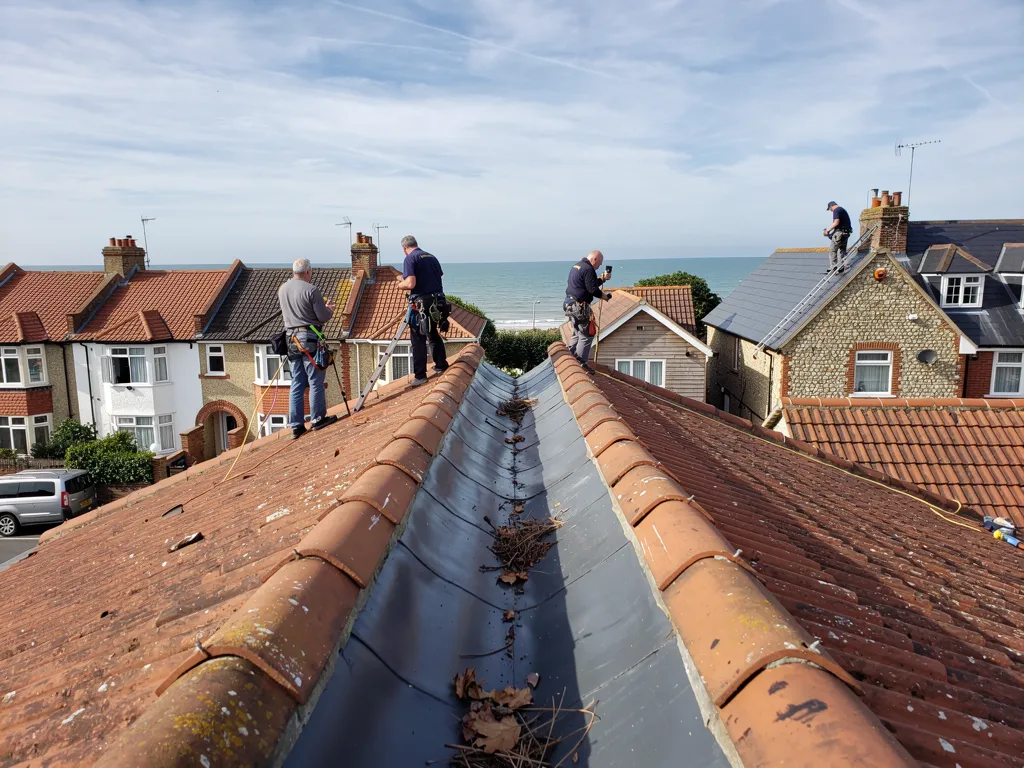
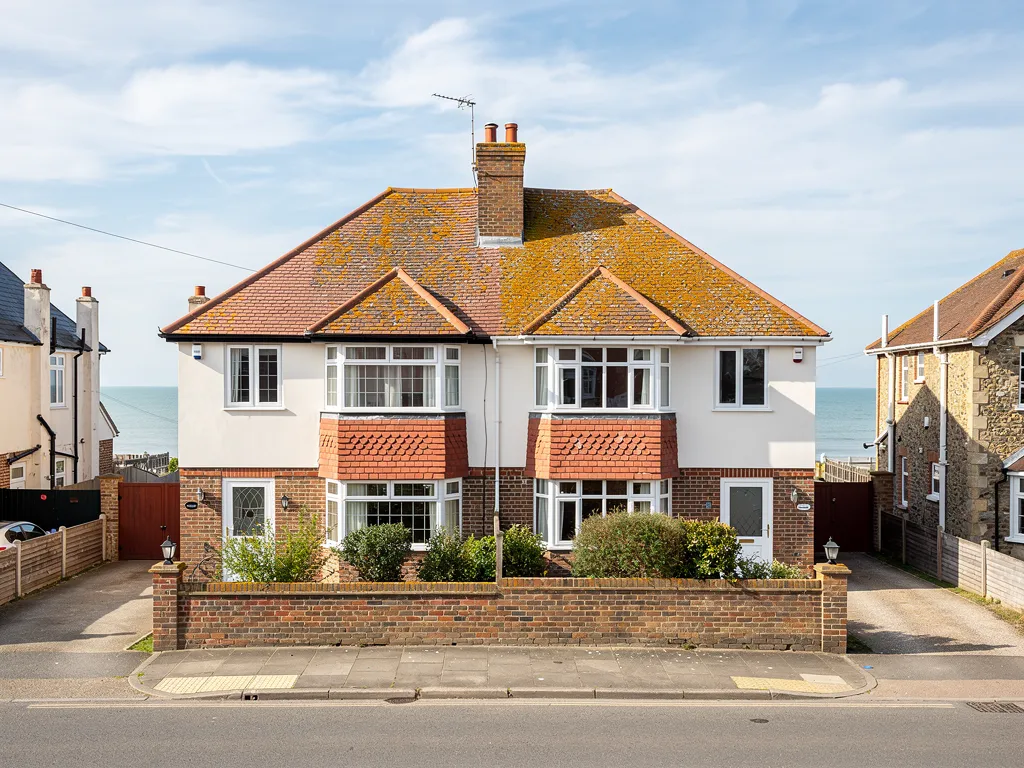
With the ground clear, stand back far enough to see a whole slope at once. You are looking for breaks in the pattern. A healthy tiled or slated roof reads as straight, even courses, so anything that interrupts them stands out: a dark gap where a tile has gone, a tile sitting proud of its neighbours, a slate hanging at an angle, or a patch where the lines no longer match.
Start at the top. The ridge runs along the apex, and the hips are the sloping angles on a hipped roof. Their capping tiles meet the worst of a gale, so a gap in the line, a tile pointing the wrong way or a run of loose mortar is worth noting. Under BS 5534 (revised in 2014), mortar is no longer trusted alone on these tiles and each carries a clip or screw too, so a ridge that has simply shed its mortar suggests nothing else was holding it.
Edges, joints and low points
Next look at the verges, the edges at the gable ends. They are exposed on two sides, and the tiles and pointing there are often the first to loosen. Then check each place where a slope butts a chimney or wall. The flashing is a strip of lead shaped over the joint, and wind can lift an edge so that it hangs clear of the brickwork. On the stack, look for a leaning pot, a cracked cowl or a gap in the sloping mortar collar, the flaunching, that holds the pots.
Finally, check the gutters and downpipes. A gutter pulled from the fascia or a dropped bracket sends water down the wall instead of away. On a low-pitched roof, wind can create suction across the windward slope, which makes small faults more likely there. Write down what you see, but leave the repair to someone with access equipment.
What the loft shows after a gale
The loft tells you what the outside cannot. Take a strong torch, step only on boards or joists, and never on the plasterboard between them. Open the hatch slowly in case something has shifted, and give your eyes a minute to adjust.
First, look for daylight. A thin line of brightness through the covering means a tile, slate or ridge piece has moved, and it shows better from inside than from the garden. Note the spot against something fixed, such as a chimney breast or a water tank, so the position can be matched to the outside later.
Second, look at the underlay, a sheet laid beneath the tiles as a second line of defence. Water can pass a slipped tile and run down it without reaching the ceiling, so you may see dark streaks, damp patches or a sag where it is holding water. Check the timbers below for fresh tide marks, the pale or dark rings left after wet timber dries, and press the insulation to feel whether it is cold and sodden.
Where wind does its work
Wind that enters a loft lifts as well as pushes. Look along the ridge and eaves for displaced battens, the thin timber laths each course of tiles hooks over, and for underlay torn from its fixings. At the gable ends, check that nothing has dragged loose from the wall. If you can see a split rafter, a purlin that has moved or a joint that has opened, stay off that part of the floor and treat it as urgent.
A dry loft after a storm is good news, but it does not clear the roof. Small gaps can take days to show, so repeat the look after the next heavy rain.
Signs inside the rooms below the roof
The rooms beneath the slope often give the first warning, and it is easy to miss. Walk through each upstairs room and the landing with your torch and check the ceilings and the tops of the walls. You are looking for stains, ring marks, blistered or flaking paint and any sag in the plasterboard. A fresh patch can be pale and damp to the touch, while an older one has a brown edge formed over several wet spells.
Check corners and edges as well as the middle of a ceiling. Water follows the timbers, and it often appears where a wall meets a ceiling, around a loft hatch or beside a chimney breast long before it shows in the open. A ceiling that has started to bulge is more serious, because the board may be holding a lot of water, so a ceiling that bulges or sags should be treated as holding water until someone has checked it.
Water and electrics
If water is coming through beside a pendant, a downlight or a socket, do not switch that circuit on. Turn it off at the consumer unit if you can reach it without standing in water, and keep away from the fitting until it has been checked. Our page on a leak near electrics covers what to do next.
Look for the smaller signs too: a musty smell in a cupboard under the eaves, fresh water marks inside a window frame, or a patch of wall that feels cold and damp. They can point to water travelling down inside the structure from a fault well above.
Put a bucket under any drip, move valuables aside, and note when the drip began.

Photographs that record the damage properly
Take photographs whether or not you intend to claim, because they let you and a roofer study the same evidence later. They matter on a policy as well. When a complaint reaches the Financial Ombudsman Service, its first questions are whether a storm occurred on the day the damage appeared and whether the damage fits what storms usually do. Dated pictures help with both points, and they also let the insurer see the roof as you found it, before any tile was moved or any cover went on.
Work from wide to close. Begin with the whole house from the street, then each elevation, then the specific fault, then a close view with a coin or tape in the frame for scale. In the loft, photograph any daylight, stained timber or damp insulation, and take a second shot from further back so the position is clear. Indoors, photograph every stain and every drip, including the bucket.
Keep what has fallen
Pick up nothing from the roof, but pieces that landed on the ground can be photographed where they lie and then kept safely. A broken ridge tile or snapped slate shows how it failed, and a clean, fresh break looks quite different from an old crack with moss in it. Do not tidy the area before the pictures are taken. Save the original image files rather than only copies sent through a messaging app.
Add a short written note of the weather: the date, the time you noticed the damage, how long the storm lasted and which side of the house took it. That takes two minutes and is hard to rebuild later.
Deciding between waiting, repairing and calling
After the check you will be in one of three positions. Nothing seems wrong, something is damaged but dry, or water is coming in. Each calls for a different response.
If nothing seems wrong, note the date and look again after the next heavy shower. If tiles are missing or a flashing has lifted but the loft is dry, book a survey for the next sensible day instead of leaving it. A dry gap becomes a wet one with the next rain, and the repair is usually smaller when it is made before water has soaked the timbers and the ceiling.
If rain is already getting through, ring promptly. We prioritise a roof that is open to the weather and stop the water coming in before anything else. That usually means covering the opening for the time being, then tracing and fixing the cause when the weather allows. A cover is a stop-gap, and the lasting repair follows once the roof is dry.
Speak to your insurer first
If you plan to claim, tell your insurer before arranging anything beyond the essential make-safe, and keep the receipt for emergency work. Insurers separate sudden storm damage from gradual wear, and a roof already in poor condition may be treated differently, as our guide to a claim refused for wear and tear explains.
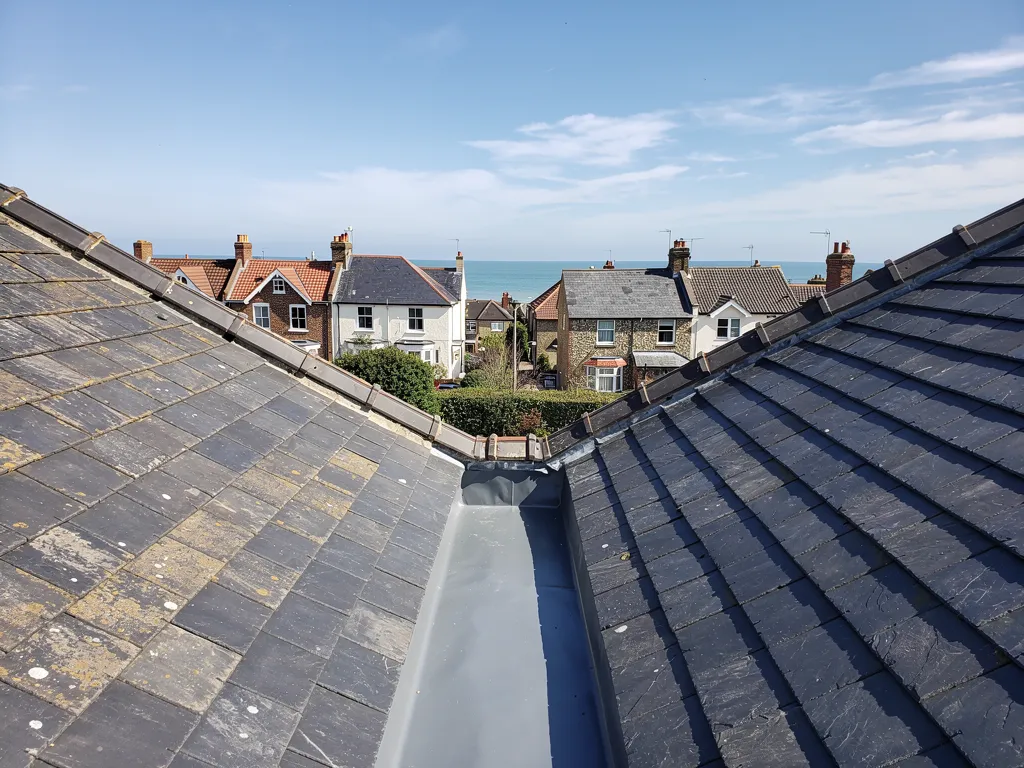
When you ring a roofer, say what you saw, where, and what the weather was doing. We trace the cause before we quote, take survey photographs that show your own roof as it is, and send a written quote after the survey. If a tile has slipped or a flashing has lifted, the photographs show exactly where, so you can judge the repair before agreeing to it.