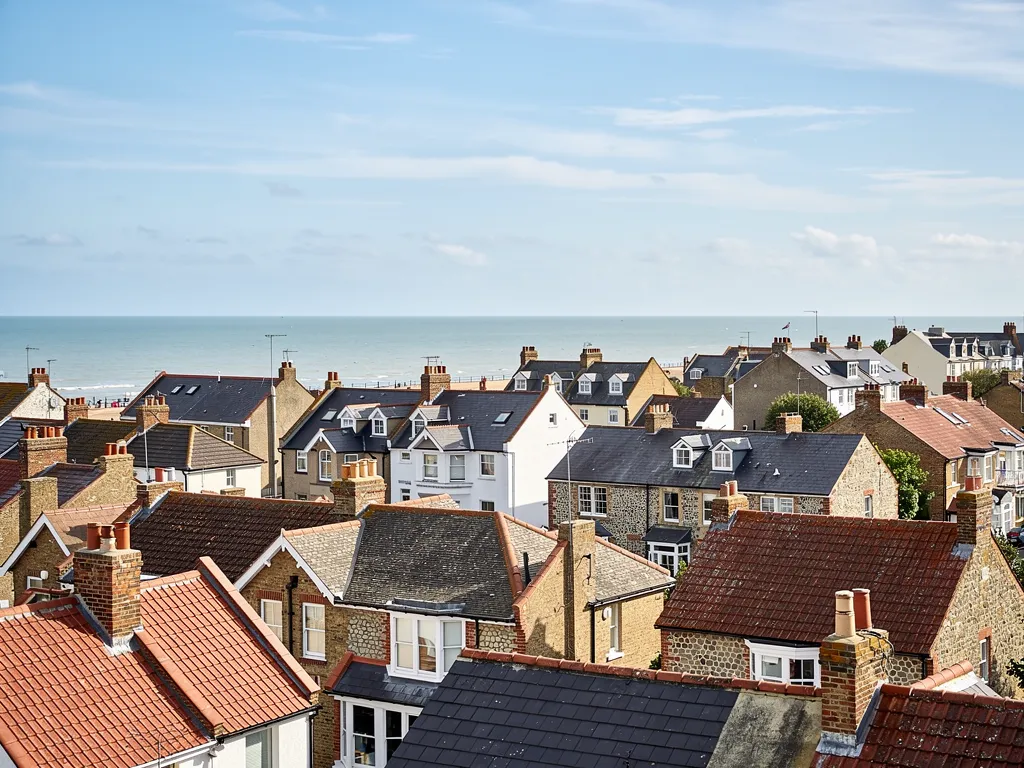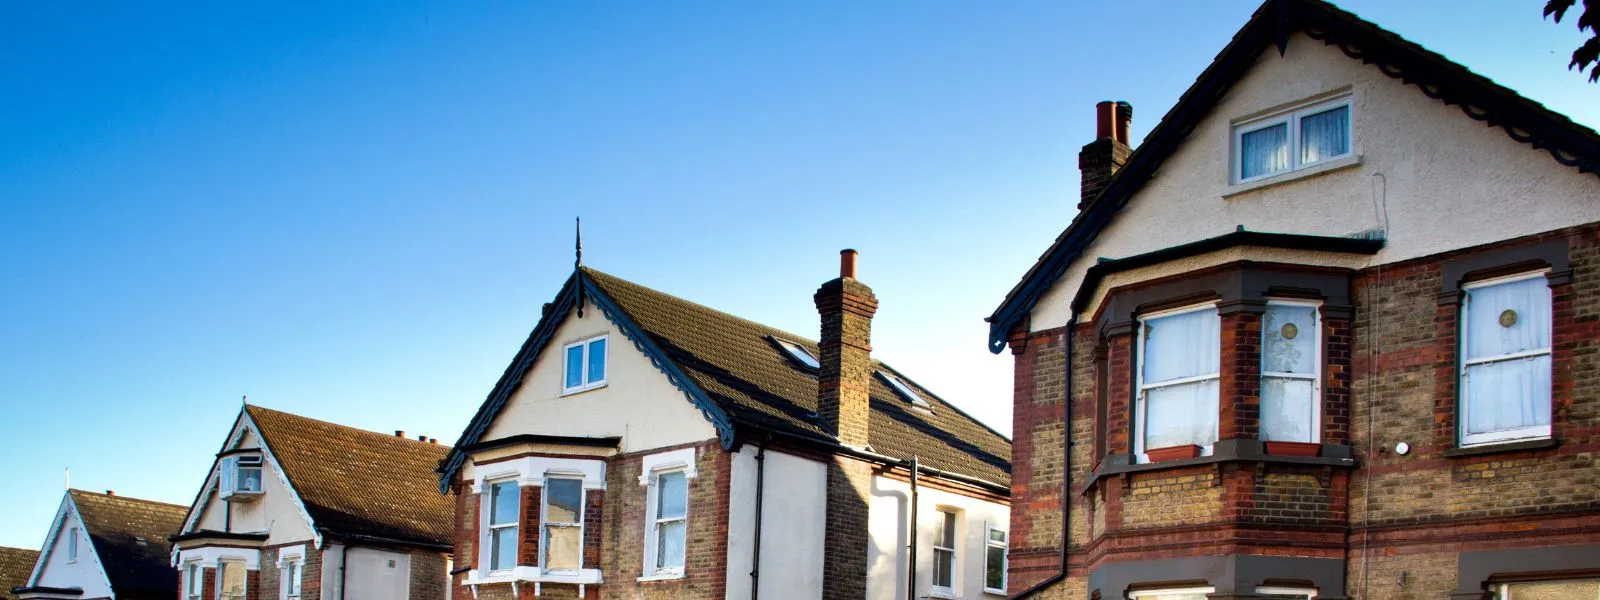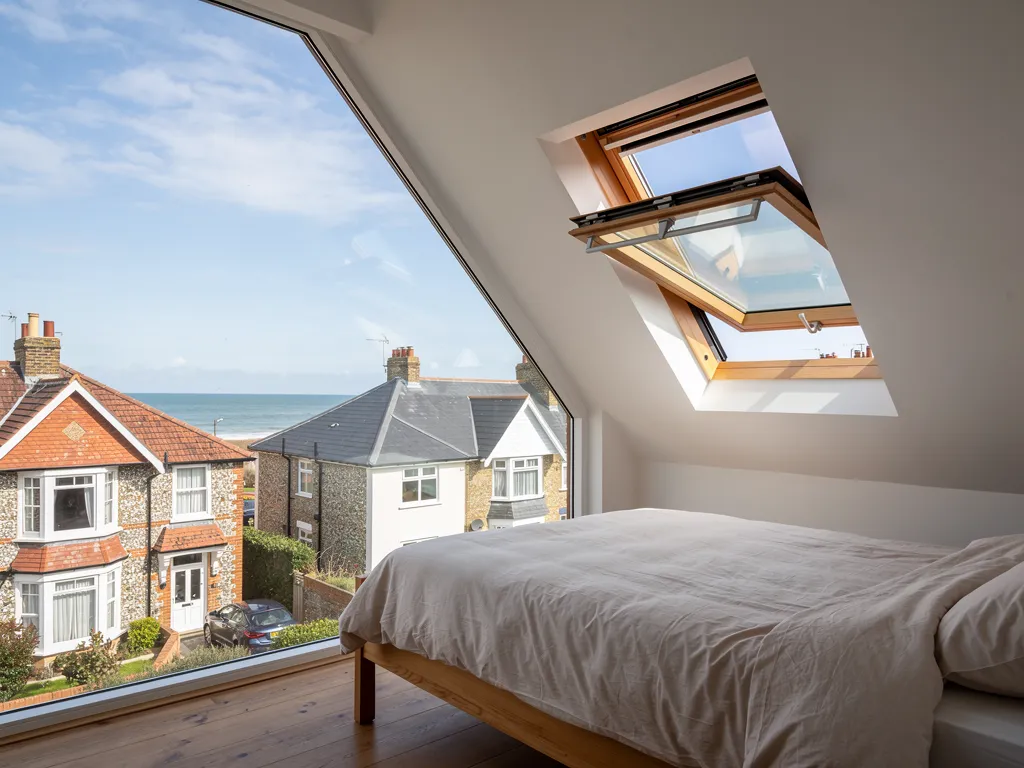
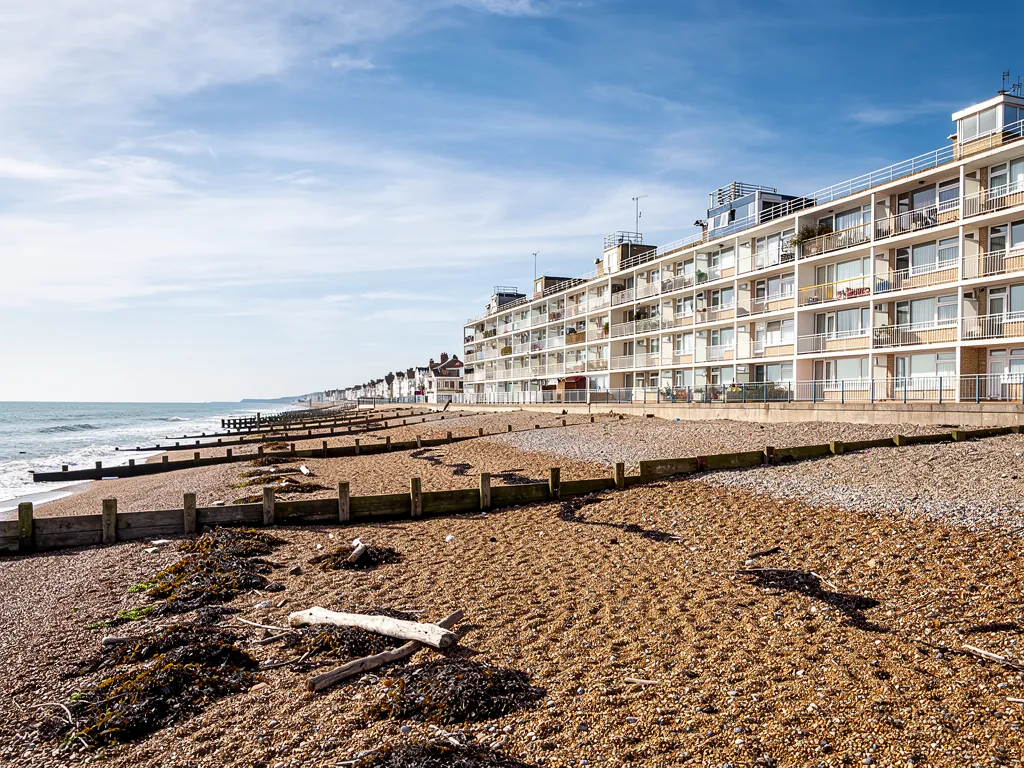
A roof on the Sussex coast takes sea weather more often than most. Gales arrive off the Channel, rain is driven sideways against the walls and salt hangs in the air close to the shore. None of that means a sound roof will fail. It does mean that small faults get tested, and a ridge tile that has been slightly loose since spring will be the one that goes first.
Preparation is mostly about finding those faults in calm weather, when they can be put right in an afternoon and not in the dark with a bucket under the ceiling. It rarely involves anything dramatic. A set of careful looks from the ground, a visit to the loft, a clear gutter and some pruning cover most of what matters, and a survey from a roofer picks up the rest.
We have organised this guide in the order a roof meets the wind: ridges and hips at the top, then the gable edges, the joints and chimney, the roofline and trees, and finally a routine you can keep. It leaves out wind-speed and rainfall numbers, because the right fixing for a roof comes from the tile maker's specification for that site, not from a figure in a guide. For urgent work, see our emergency roof repairs page.
What gales test first on a coastal roof
Wind does its damage in two ways. It pushes against the windward face of a building, and it pulls on the leeward side and across the top, which is why roofs lose tiles in the places where nothing seems to be hitting them. Suction is the bigger worry. Marley's guidance warns that below a 30° pitch the windward side can see severe negative pressure, so a shallow roof that looks calm in a gale may be under real strain.
Other forces join in on this coast. Driving rain pushes water into joints that shed ordinary rain, which is why flashings, verges and valleys are checked closely. Salt air settles on metal and painted surfaces. Gusts catch exposed edges first, and a house on an open street or at the end of a terrace takes more of the weather than a house tucked into a sheltered row.
Why the fixing specification matters
The way a tile is fixed depends on where it is. The tile maker derives the wind load for the individual site from its location, height, local exposure and the shape of the roof, then specifies the fixings. No exposure category is quoted here for any town, since that comes from a calculation for the individual site and not from a postcode.
One local point is worth knowing. Close to Shoreham airport, the tile maker's technical team may need to be asked for special advice on how the tiles should be fixed, because aircraft can create local wind loads that the standard calculation does not cover. That is relevant for parts of Shoreham, Lancing and Sompting, and you can ask us whether your road is likely to be affected.
For many roofs the preparation is simple: make sure what is up there is fixed as it should be, and that nothing is already loose.
Ridges and hips: fixings you cannot see from the lawn
On a pitched roof the ridge is the line at the very top, and a hipped roof also has hips, the angled lines running down to the corners. Both are covered by capping tiles, and they sit where the wind arrives first. A tile lost here lets rain into the roof void, and it is also easily dislodged because a ridge catches the air from every side.
Traditionally these tiles were bedded in mortar. That is no longer treated as enough. Under BS 5534 as revised in 2014, ridge and hip tiles also need a clip, screw or strap, because a mortar bed on its own stopped being accepted as a sound way to hold them. Marley's published guidance extends that to bedded fittings of every kind. Mortar is still used, but it no longer works alone.
An alternative is a dry-fix system, in which the tiles are held by clips, brackets and screws on a mounting, with no wet mortar. BS 8612:2018 sets out the specification for dry systems at the ridge, the hips and the verge. Dry fix is not always the right answer for every roof, and on some older and listed buildings the look of a mortar bed matters, so the choice is made roof by roof.
Reading the ridge from the lawn
Stand back and sight along the ridge. It should be a straight line with no gaps, tilted tiles or missing sections. Look at the mortar: crumbling bedding, dark cracks and fine pieces on the ground below are signs it has failed. Check the ends of the ridge where it meets a chimney or a gable, which are weak spots.
If the ridge is old and has been rebedded in mortar several times, ask for a survey. We photograph the line close up, and explain whether it needs a few repairs or a full re-fix.

Verges and gable edges
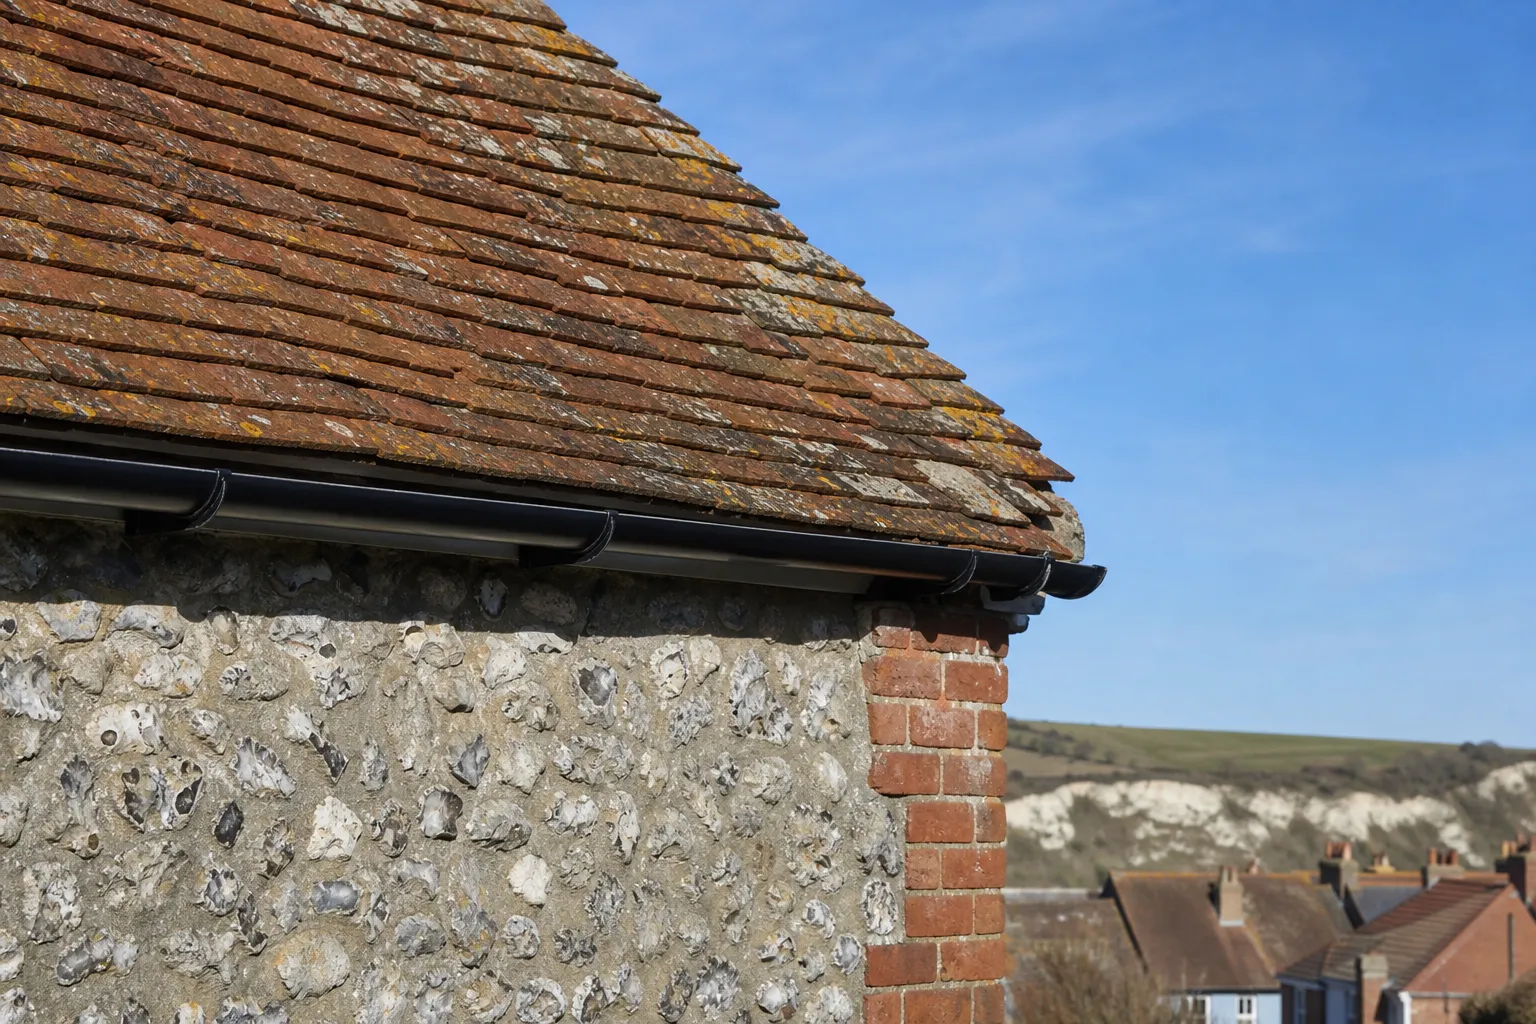
The verge is the edge that runs up the slope beside a gable end, with no gutter below it. It is exposed on two faces, and the wind lifts it from beneath as well as above. For that reason the tiles along a verge are treated more strictly than those in the middle of the roof. Marley notes that under BS 5534 the tiles at the perimeter of a roof need to be fixed twice, meaning they carry more than the single fixing used elsewhere.
Traditional verges are finished with a bed of mortar between the tile and the wall, called pointing. Over the years, driving rain and frost break this down, and once it goes the edge tiles are free to move. Dry verge systems use a plastic or metal strip fixed along the edge, with the tiles held by clips instead of a mortar bed. They need no maintenance of the pointing, and they are covered by BS 8612:2018 where used.
Signs of a tired verge
From the garden, look along the gable. Gaps between the tile and the wall, visible daylight in the loft at the edge, mortar pieces in the border and tiles that have shifted out of line are the usual giveaways. A verge that has been patched repeatedly with filler or sealant has usually been going wrong for some time. Sealant is a cosmetic fix and does nothing for the fixing underneath.
Look also at the barge board or the cloaking tile along the edge, depending on the style of the house. A rotten board is a sign that water has been getting behind the verge, and it should be seen at the same visit.
Flashings, valleys and chimney stacks
Flashing means lead dressed over the junction where tiles stop against brickwork. A valley, the angle sunk between two slopes, gathers the run-off from both. Lead is specified by code, which is a thickness: Leadworx reports code 4 as the usual choice for everyday flashings, with code 3 reserved for soakers, the small folded pieces slipped under the tile courses.
Wind rarely tears a well-fixed flashing off, but it works at a weak one. Check the top edge, which should sit tight in a mortar joint, and the lower edge, which should lie flat over the tiles. If an edge has lifted, it may flap and fatigue, and driving rain will find it.
Chimney stacks
The chimney usually stands highest on the house and takes the most wind. Look at the pots and the flaunching, the sloping mortar collar that holds them in place. Cracks in it let water into the stack and, in time, loosen the pots. Check the brick or stone for open joints, and look for lean in the whole stack. A stack that tilts, or has shed mortar, needs a survey, and you should keep clear of the ground beneath it.
Do not clear moss from a valley or a gutter by standing on a ladder against the slope. Most of this checking is from a distance, with binoculars, and where something looks wrong a roofer uses proper access.
Flashings and stacks on older roofs may be repaired to match. If a building is listed, like-for-like in-situ repair does not normally need consent, but alterations and complete replacement of historic fabric can, so ask the council before any change. Our guide to emergency repairs on a listed building explains the sequence.

Gutters, the roofline and the trees overhead
Gutters carry rain away from the walls, and in a gale they behave like sails. A gutter blocked with leaves overflows in heavy rain and can pull its brackets as it fills. Before the season, clear them out, check that water runs to the outlet, and make sure each bracket is tight to the fascia. Makers of gutter systems advise setting each run with a small slope to the outlet, from about 1:600 to 1:350 depending on the system, so water standing in a run suggests a bracket has sagged.
The roofline is the line of fascias and soffits under the eaves. Near the shore, salt collects on soffits and fascias, because the rain never washes the undersides. Check them while you are there, along with any board that has softened or flaked.
Branches and what grows close
Trees do more damage in a gale than the wind itself. Look at the branches near the house and over the roof. Dead wood, rubbing limbs and any growth that touches tiles are the ones to deal with. Pruning is a job for a tree surgeon when it involves large branches, and it is cheaper to do on a calm day than after a limb has come through the slates. Ivy on a wall or chimney can work its way under flashings and cause trouble; cut it back at the base and let it die before removing it.
Check what else is attached to the roof, such as aerials, dishes and vent terminals, because a gale tests every bracket.
If a tree has already come down, our guide to a tree fallen on the roof explains the steps.
A routine for autumn, and records worth keeping
A simple routine works better than a one-off effort. In early autumn, choose a dry day and walk round the house with binoculars, looking at the ridge, the hips, the verges, the chimney and the flashings in that order. Then take a torch up through the hatch and hunt for daylight, damp, stained timber and disturbed insulation. Clear the gutters. Cut back anything touching the roof. Write down the date and what you found, and photograph each area.
Do the same thing again after the first big gale, because that is when a loose fixing shows itself. Small jobs found in this way tend to be small repairs, and the sensible fix is whatever small job stops the water for good. A roof that is already worn out is a different decision, and a roofer should tell you that plainly, with photographs.
Why the photographs matter
Dated photographs of the roof in good order are valuable if you ever need to claim. Insurers distinguish storm damage from wear, and a record showing the roof was looked after supports your case. Our page on photos for a roof claim explains what to take, and nothing here guarantees that a claim will be paid.
If you want a professional look, a survey from us covers the same ground from the roof itself. We find the cause of any fault before we quote, photograph your own roof, then put the price to you in writing after the visit.
If you are not sure something is a problem, send us a photograph by WhatsApp or the enquiry form, or ring 01903 299063, and we will say what the picture shows.