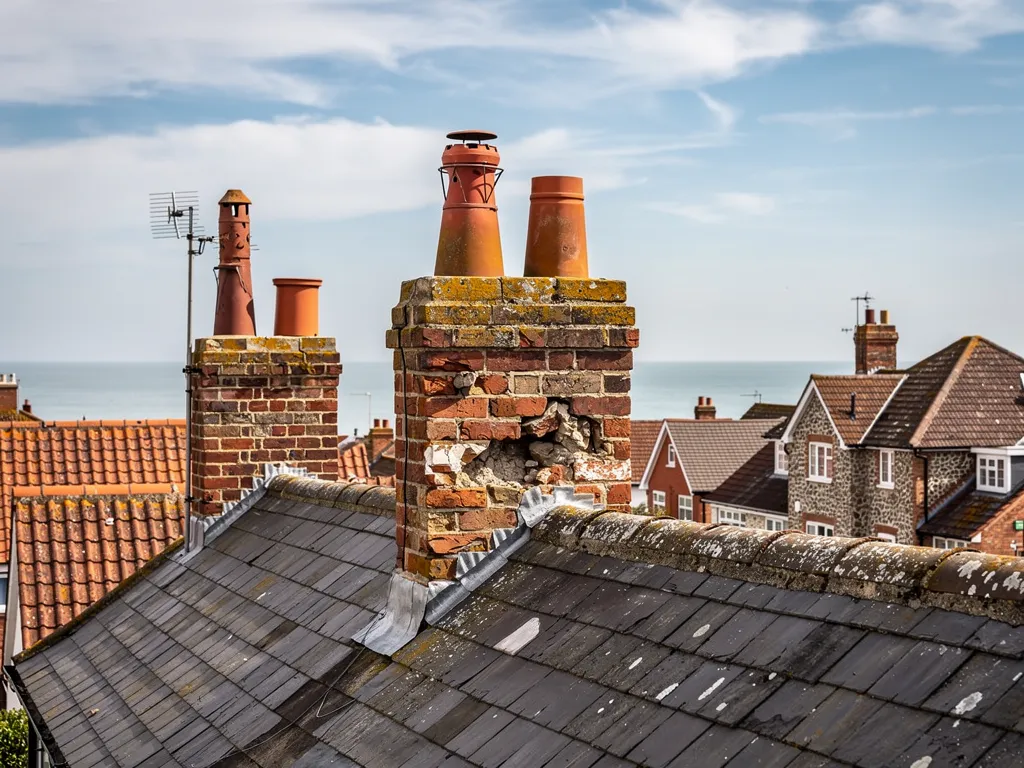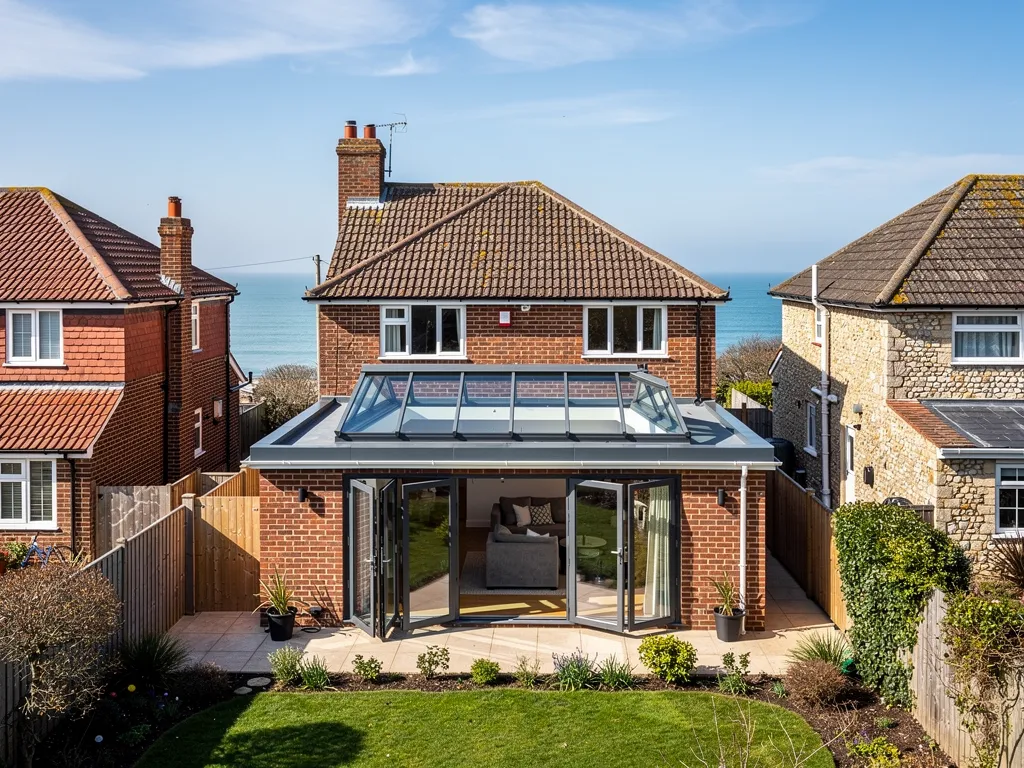
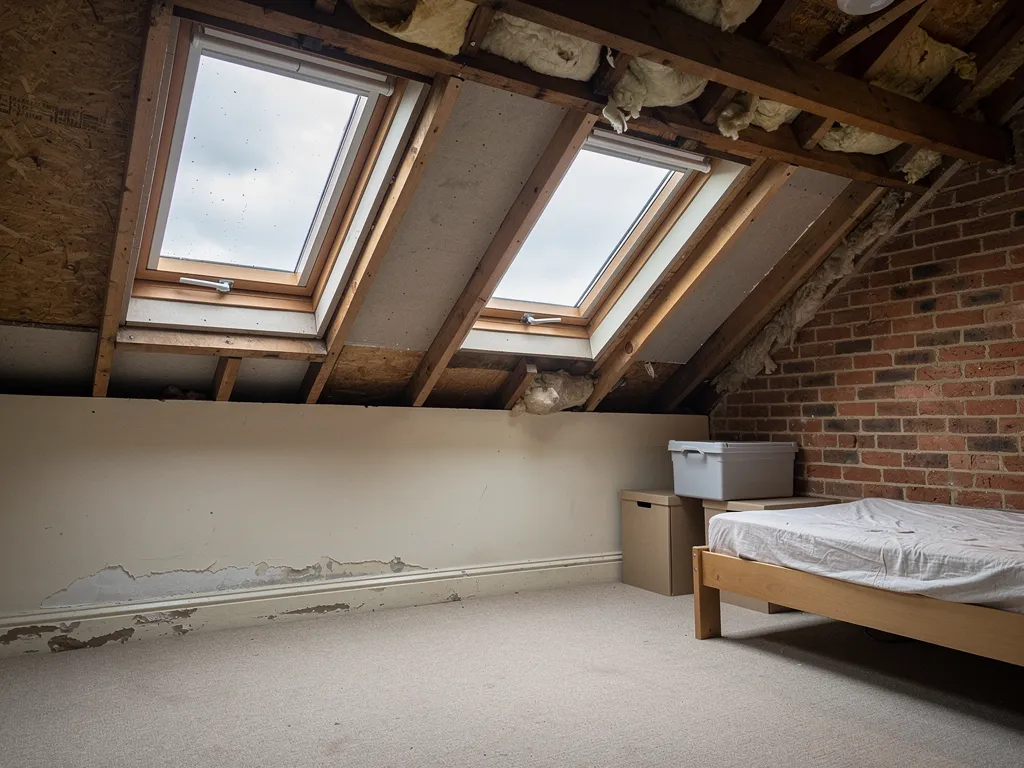
Walk round a house and look where the roof meets something taller. A chimney, a gable wall, a bay window, a dormer cheek. At every one of those joints there is a strip of lead, and the strip is almost never the same shape twice. Where roof meets wall is the weakest spot on any covering, because two materials that move at different rates are pressed together, and rain runs down both faces towards it.
Flashings exist to turn that water back onto the roof. They are named for where they sit and what they do: the apron across the foot of a chimney, the step flashing climbing a sloping wall, the soaker slipped under each tile, the back gutter behind a stack. Learning the names turns a quote from a block of jargon into something you can check, and it makes a survey report much easier to read.
This guide takes each type in turn and says where it lives and how it goes wrong. Which thickness of lead suits which is covered in our lead codes guide, so we touch on it only briefly here. At the end we explain how we trace a flashing fault before we price it.
What every lead flashing has in common
Strip away the names and every lead flashing has two parts. One part lies flat on the roof, or tucks beneath the covering, and carries water away from the joint. The other turns up against the vertical surface, or is tucked into a groove cut in it, and keeps water from running in behind. The turned-up part is often called the upstand, and the part that covers the top of it is the cover flashing. Where the two are separate pieces, the cover laps the upstand so that water falling down the wall finds only a lapped joint.
The lead is held in place so that it can still move. Lead grows and shrinks with the temperature, and a flashing pinned rigidly at both ends will, in time, tear itself. So the upper edge of the strip is tucked into a mortar joint, or a slot cut into the brickwork, known as a chase, and wedged with lead wedges, then pointed in. The lower edge lies over the roof covering and is free to slide a little.
This is the difference between a properly dressed flashing and a quick job. A properly dressed one is shaped to the surface, tucked in and held, then left to move. A quick job leans on mastic smeared across the top to keep the weather out, and mastic is a sealant, not a fixing. It hardens, cracks and pulls away, and the joint behind it opens again. We say more on that in why lead cracks.
Most of the details below are cut from a handful of codes. Leadworx names Code 3 for soakers, Code 4 as the general flashing grade and Code 5 for vertical and pitched duty. Our written quote names the code for every detail.
Apron flashings at the foot of a chimney or wall
An apron is the flashing at the lower edge of an obstruction, the side facing down the slope. On a chimney it is the strip across the front, running the width of the stack. Its job is to take the water that runs down the roof towards the chimney and carry it over the stack's front face and out onto the tiles below.
The apron's top edge is tucked into a joint in the brickwork above the roof line, and wedged. Its lower edge is dressed down over the tiles or slates beneath. On a plain tile roof the lower edge needs a gentle bend so that it follows the shape of the tile, while on a profiled tile it is shaped to the curve. Done well, it looks like a smooth lead skirt. Done badly, it lifts at the corners.
An apron also appears where a roof meets a wall at the bottom of a slope, at the foot of a dormer window and under a roof light. The same rule holds in each place: tuck the top in, dress the bottom over.
How an apron fails
The classic signs are a lifted bottom edge, which the wind gets under and flaps, and a top edge that has worked out of the mortar joint. Water then runs behind the lead instead of over it, and shows as a brown mark on the ceiling or the chimney breast below.
Another cause is movement at the corners. Where the apron meets the side flashings, the lead is folded around the corner of the stack, and a tight fold can crack with time. A split at a corner is common and often easy to mend if the surrounding lead is sound. We photograph it from above and show you before suggesting anything bigger.
Step flashings and soakers along a sloping wall
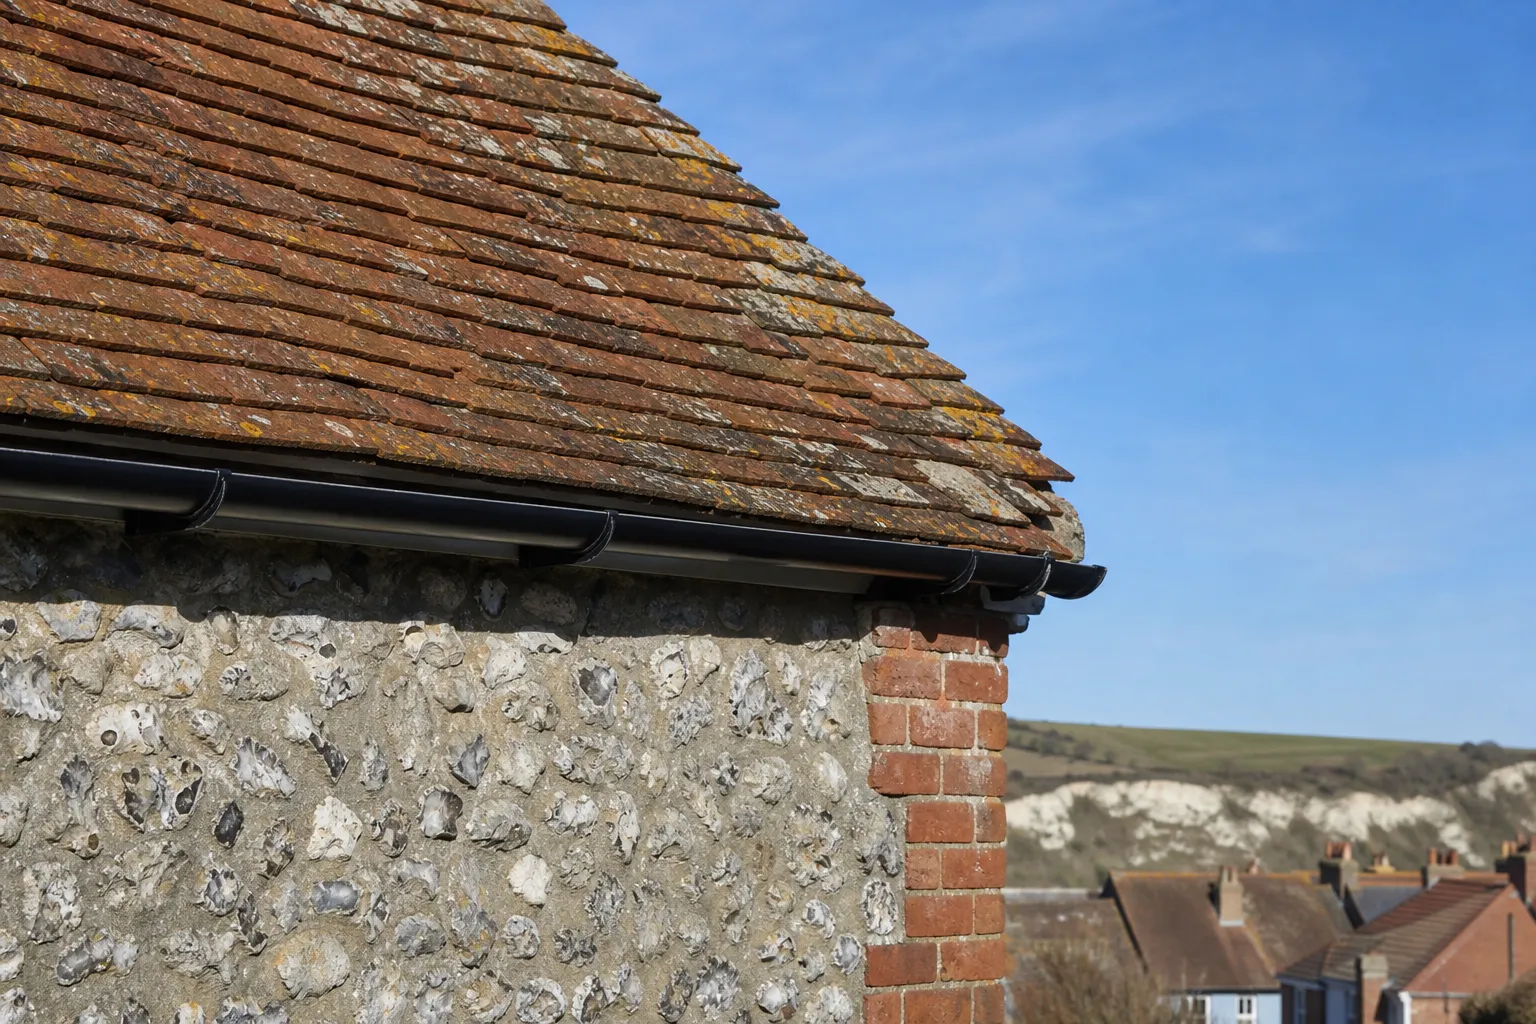
Where a sloping roof butts against higher masonry, such as a gable end or the flank of a chimney, the joint climbs with the slope. It cannot be sealed with one straight strip, so the flashing is cut into steps that follow the brick courses. Each step is tucked into its own mortar joint, and the whole run rises like a staircase along the wall.
Beneath each step flashing, where the roof is covered in tiles or slates, sits a row of soakers. A soaker is a small piece of lead, folded to an L, that is slipped under each course of tiles with its upright leg against the wall. The two work as a pair. The soaker catches the water that creeps round the edge of the tiles and turns it back onto the surface of the roof, and the step flashing covers the top of the soaker, so that water from the wall has to run over both. Leadworx lists Code 3 for the soakers and Code 4 for the general flashing above, which fits: the soaker needs to fold tightly, and the cover needs a little more body.
How they fail
The cover flashing fails first. Its steps work loose when the mortar behind them crumbles, or it splits at the sharpest folds, or it was sealed with mastic and that has perished. Soakers fail unseen. They are hidden under the tiles, and because the tiles are lifted only when someone replaces the whole slope, a perished soaker can stay in place for decades.
Where a step flashing has failed, the repair is to rake out the joints, replace the lead and point it in. Sealant over the top only delays the next leak.
Back gutters and saddles behind a chimney
A chimney that stands in the middle of a slope has a problem the other flashings do not: water running down the roof meets the back of the stack and has nowhere to go. A back gutter is the answer. It is a trough of lead set into the roof behind the chimney, shaped to catch the water that comes down from above and carry it round both sides of the stack, where it is released onto the roof below.
Where a chimney sits on the ridge, or is wide, the back gutter is often finished with a saddle, a small ridge of lead or timber and lead behind the stack that splits the flow, so the water divides left and right. Some saddles are a folded lead piece. Others are a built-up shape on a timber frame, covered with lead.
The back gutter carries more flow than any other piece of lead on a stack, and it can silt up with moss, leaves and grit.
How a back gutter fails
The usual faults are a split along the bottom of the trough, where the lead has been repeatedly flexed by the weight of leaves and water, and a gutter that is too shallow for the volume reaching it. A third cause is poor detail where the gutter turns round the corner of the stack and meets the side flashings. If that junction is not lapped correctly, water runs through it.
The back gutter is also the hardest flashing to inspect, because it sits behind the stack and out of sight from the ground. A pole camera or a drone image reveals it quickly. Where the same trough runs along a valley rather than a chimney, our guide to lead valleys explains how that detail is built, and the same principle applies: the lead has to carry a concentrated flow, so the dressing has to be right.
Cover flashings on flat roofs and porches
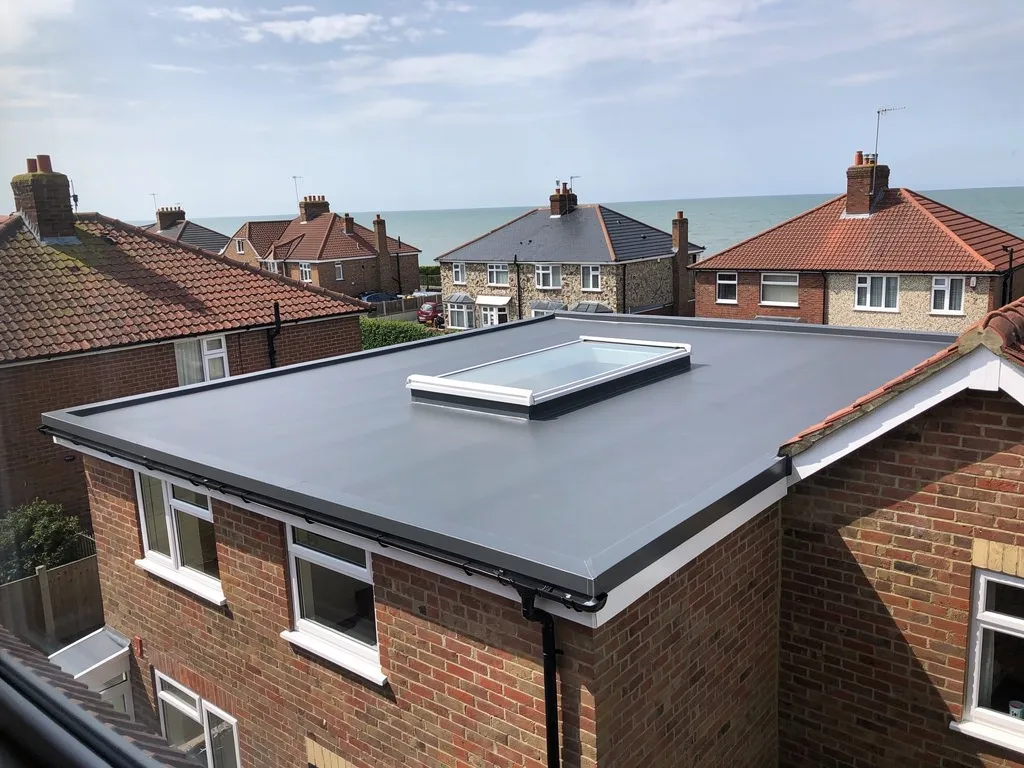
The same families of flashing appear where a lead or felt flat roof meets a wall. Here the roof surface is level or nearly so, and there is no tile to lap over, so the upstand turns up the wall by a short distance and a cover flashing is tucked into the brick above it. Those are the details you find round a porch roof, a bay window roof or a flat-roofed extension that butts up against the house.
On a lead flat roof the upstand is usually part of the same sheet that forms the roof, bent up the wall, and the cover flashing is a separate strip over the top. The sheet is not stuck down along its length; it is clipped, so that it can move. Our guide to lead flat roofs explains how the bays, rolls and drips are laid, and why the wall detail is only one part of the picture. On a felt or membrane roof, a lead cover flashing over the upstand is a tidy way to finish the edge of the waterproofing.
What goes wrong at a flat roof wall
Water ponds against an upstand more readily than against a pitched edge, so a flat roof flashing is tested harder. Common faults include a cover flashing that has lifted from the wall, mortar that has fallen out of the chase, and an upstand split by movement at a corner. Each lets water behind the membrane, where it travels along the deck and appears some distance away. That makes the wall edge a first check when a flat roof ceiling is stained.
How we trace a flashing fault before we price it
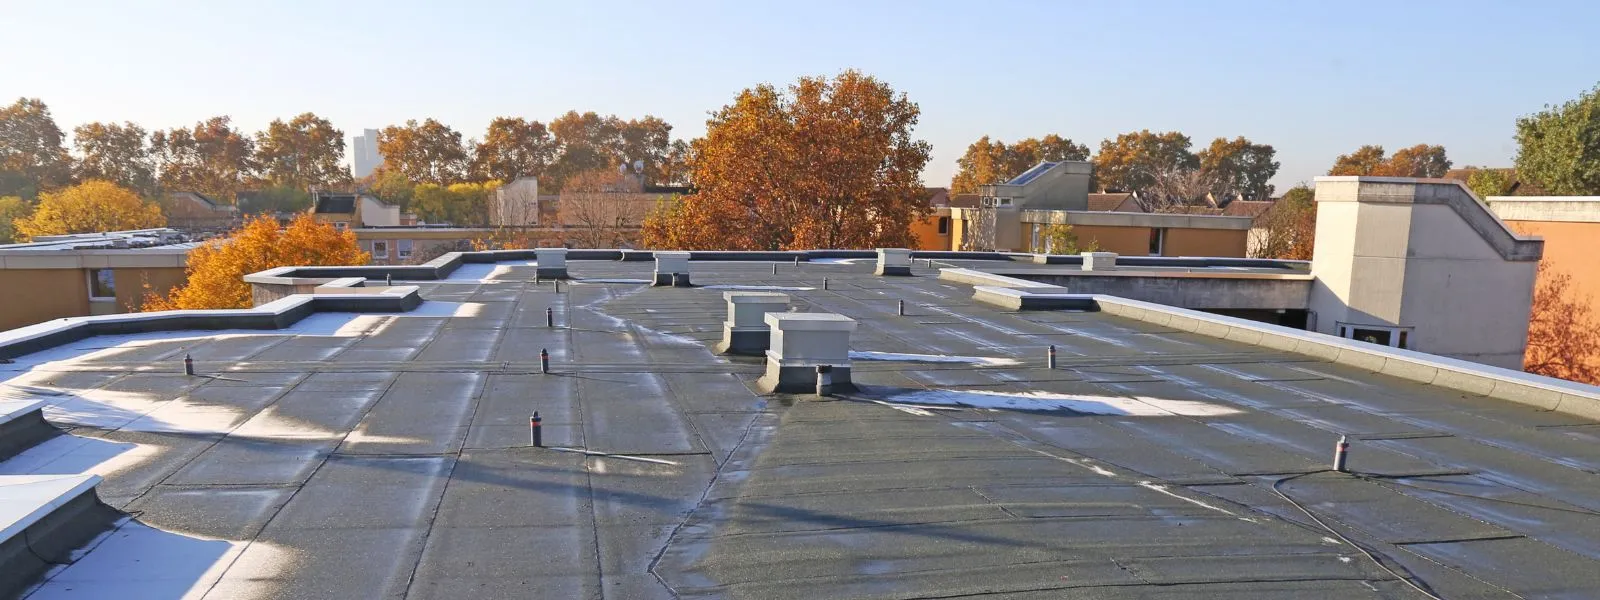
Because a ceiling stain is seldom beneath the flashing responsible, we work backwards in a set order and do not guess. We start inside, with the loft or the room, to see where water has run. We then go out to the roof joint that lines up with the trail, and we look at the lead, the mortar it is tucked into and the covering beneath it.
We check the top edge first. Has the lead come out of its chase? Is the mortar sound, or can a fingernail scrape it away? Is there mastic along the edge, and what is behind it? Then the dress: whether the lead lies flat, lifts in the wind or has been bent back on itself. Then the corners, where most splits start. Then the soakers, where we can reach them. The written quote carries pictures from each stage, so you see the fault itself.
The answer decides the job. An apron that has only lifted and needs dressing down and repointing is minor work. A step flashing with rotten mortar needs the joints raked out and the lead replaced. A back gutter with a split trough needs the trough relaid. And a chimney with failing lead on all four sides may be better served by renewing the lot, and then it pays to weigh the cost against a patch.
We advise the smallest repair that genuinely cures the leak, and tell you when a patch will not. Our lead roofing work is quoted as one total after the survey with photographs of the existing flashing beside it.