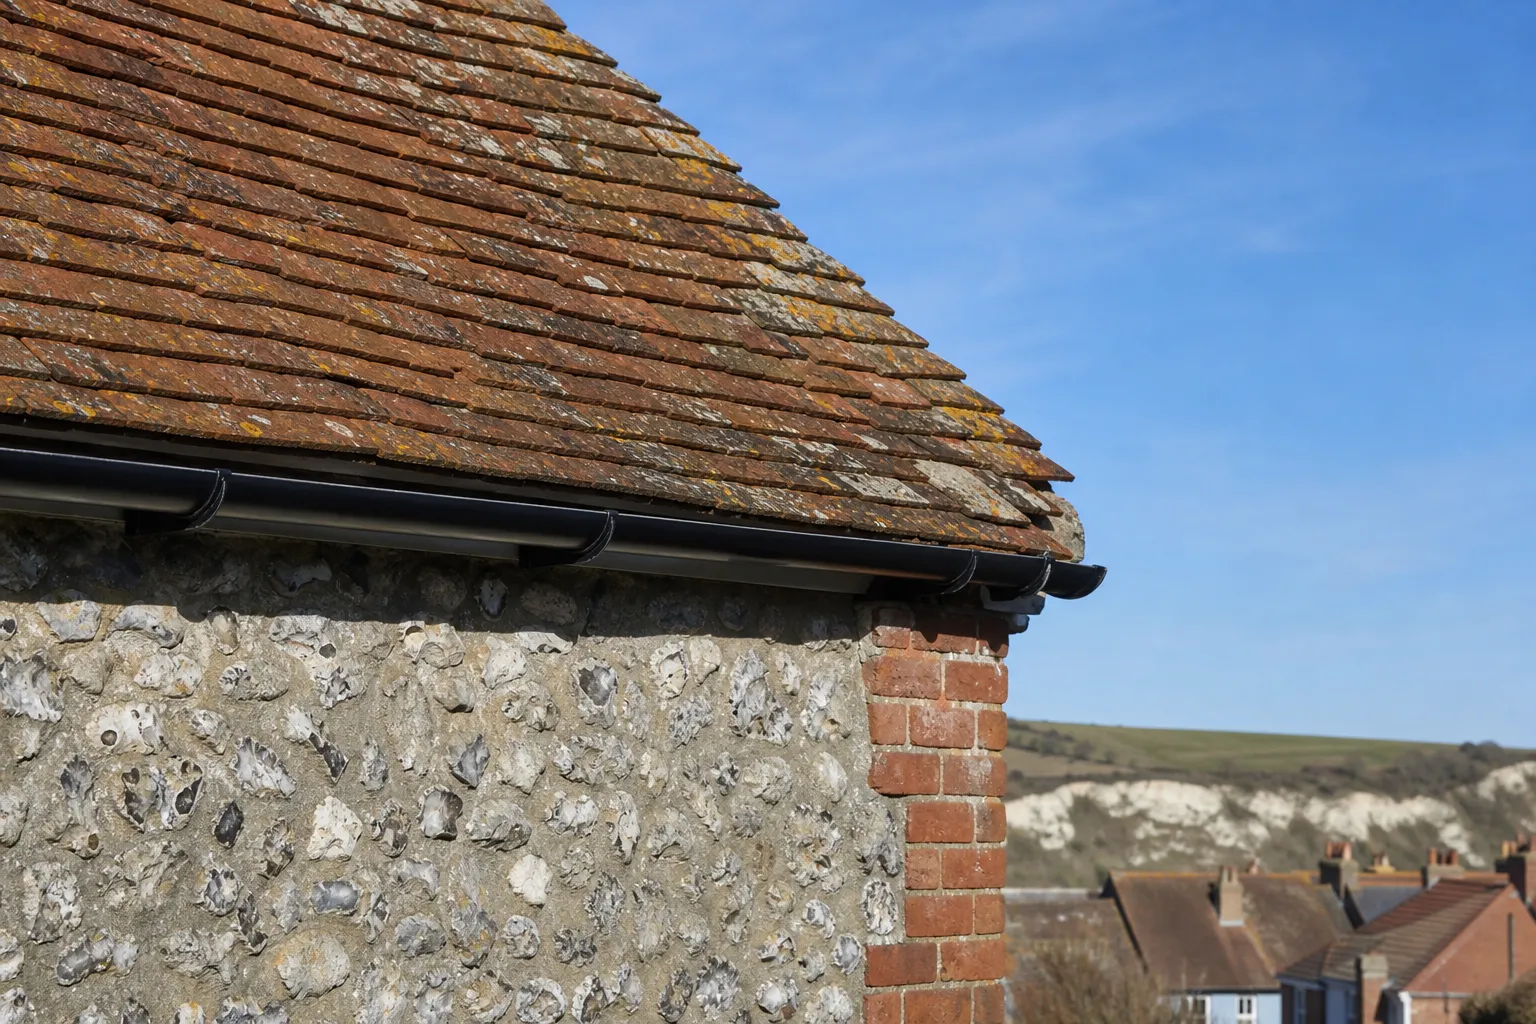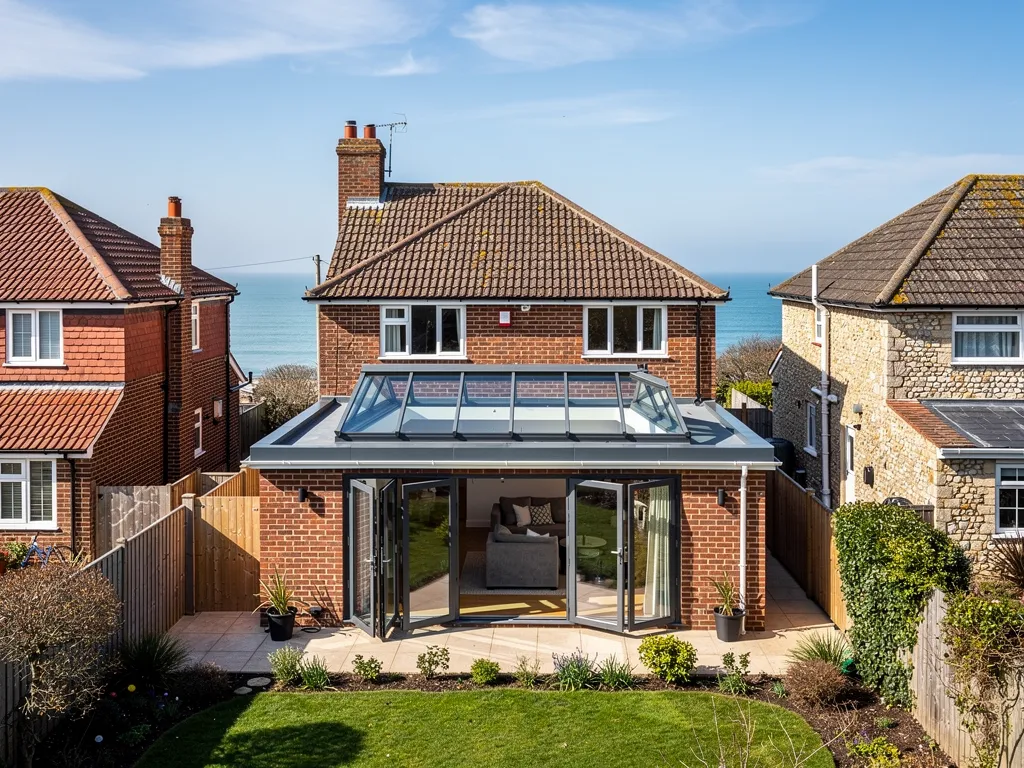
A hipped roof slopes down on every side, with no gable wall at the end. Each time two slopes come together around an external corner, the join is a hip, which runs on the diagonal between the ridge and the eaves. It is capped with hip tiles, and at the bottom, a small metal bracket called a hip iron stops the whole run sliding downhill. Hipped bungalows are a familiar sight along the coast, and so are the hip faults that go with them.
Because a hip is a long, steep line of tiles hanging on mortar, gravity and wind both work against it. Mortar cracks, the tiles creep, the bracket at the foot rusts or comes loose, and water finds the gaps. The fault often shows first as a tile that has shifted a few centimetres out of line.
This guide covers what to look for, what a good hip repair involves, and how to choose between rebuilding the bedding and moving to a dry hip. It will not stand in for a survey, but it will tell you what a careful roofer ought to check and why.
How hip tiles hold on, and why they let go
A hip tile sits on a bed of mortar laid along the diagonal where two slopes meet. The mortar seals the joint and spaces the tile above the roof tiles beneath. Gravity is the constant force: every tile in the run wants to slide down towards the eaves, and the lowest tile has to take the weight of the ones above it.
That is why the foot of the hip matters so much. The bottom tile rests against a hip iron, a galvanised or coated metal strap or tray fixed to the rafter at the eaves, with a lip that the lowest hip tile sits behind. The bedding then does less of the load-carrying than people assume. When the iron corrodes, bends or loses its fixings, the whole line can creep, and the mortar cracks as the tiles move against it.
Wind, weather and age
Wind raises the other kind of load. Air flowing over a roof pulls on the high edge tiles, and hips and ridges stand proud of the surface, so they catch the most. Rain driven into a hairline crack then soaks the mortar bed, and a bed that stays wet breaks down faster.
Age does the rest. Mortar shrinks as it dries and weathers, and a bed that was sound at fitting can be hollow beneath the tile years later, even though the surface looks whole from below. It is common to find a hip that seems fine from the garden but rocks freely in the hand.
Signs that a hip needs attention
Hips can be read from the ground, and a pair of binoculars helps. Walk round the house on a dry day and follow each diagonal from the ridge to the eaves with your eyes. You are looking for a line that is straight and even.
A hip tile that has slipped sideways, leaving a gap you can see daylight through, is the clearest warning. Cracks in the mortar joints between tiles, with dark lines where moss or damp has settled, mean the bed is failing. Mortar crumbs lying in the gutter or on the drive below point to the same fault. Look at the bottom of the hip as well: a tile that has dropped lower than its neighbours has probably lost the support of the iron beneath it.
What you may notice indoors
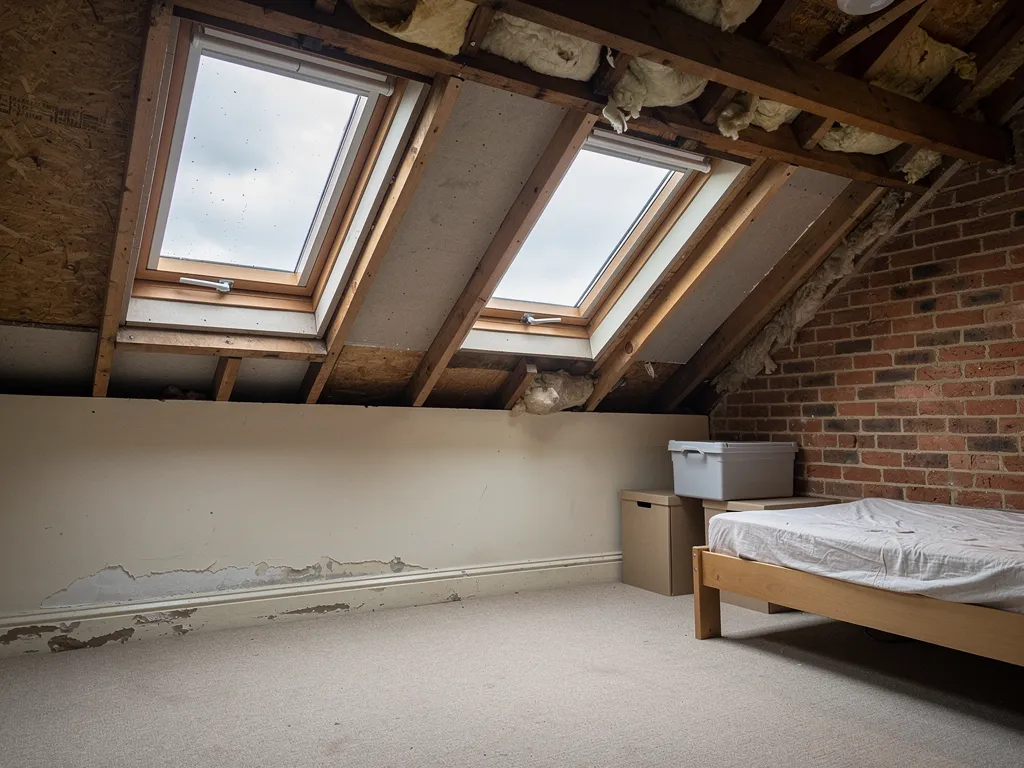
Water that gets in along a hip does not always fall straight down. It runs along the rafter, the sloping timber that carries the roof, and can show as a brown mark high in a corner of a bedroom, or as a damp patch on the wall below a bay. In the loft, look along the hip rafter with a torch for pale rings or dark streaks that mark where water has travelled. Stand on the boards or joists only, never on the plasterboard between them, and keep clear of the edge of the loft hatch.
None of these signs proves the hip is at fault, since a leak can come from a nearby valley, a flashing or a ridge. Our guide on ridge tile re-bedding covers the neighbouring line, which tends to show its own faults at the same time. A survey from above shows which fault is the real one.
If a tile has already fallen, keep people away from beneath it and do not try to put it back yourself.
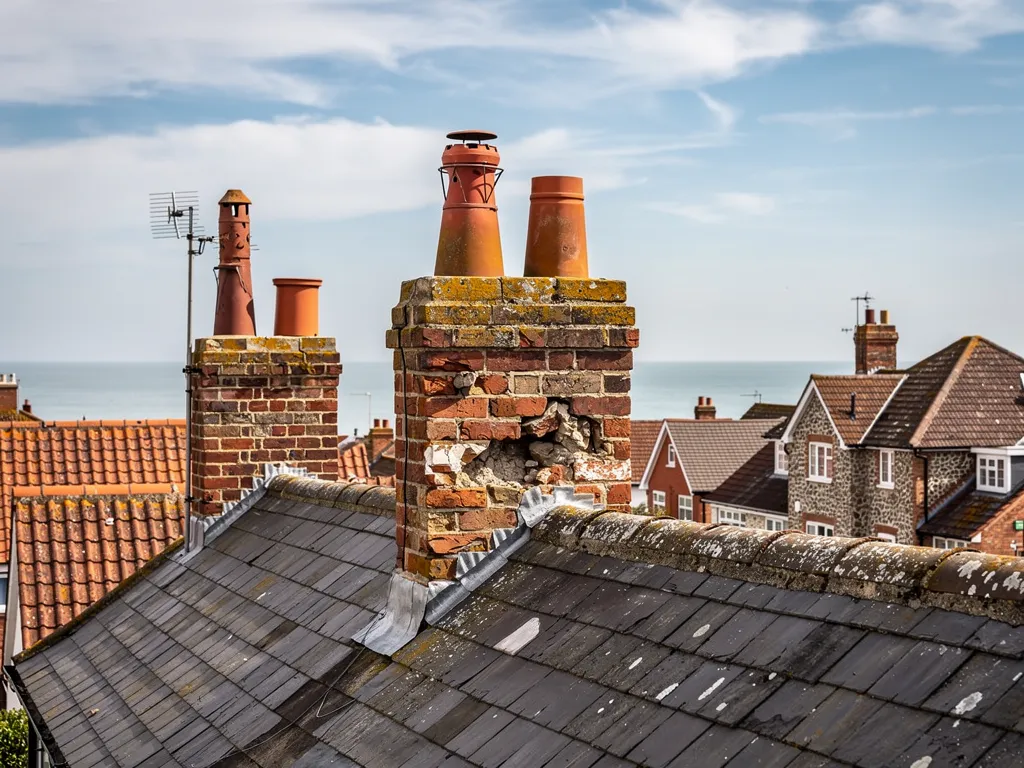
Hip irons: the bracket that stops the slide
The hip iron is a small part with a big job. It is fixed to the end of the hip rafter or the top of the wall plate, depending on the roof, and it gives the bottom hip tile something solid to rest against. Without it, nothing but mortar holds that tile against the pull of every tile above it.
Hip irons are usually galvanised steel, or a coated or stainless equivalent, and they can fail in several ways. The metal can rust through, the screws can pull out of soft timber, or the iron can bend under the weight of a sagging run. On older houses it is not unusual to find that there was never an iron fitted, or that the original was a thin strip that has long since given up.
Checking and replacing an iron
When the hip is open for repair, the iron is checked first. A sound one is cleaned and left in place. A damaged one is replaced with a new bracket screwed to the rafter. Fixing is made to the timber, not just to the old mortar, because the iron needs to resist a steady downward pull.
Hip repairs that skip the iron are a frequent reason for a hip to fail a second time. Fresh mortar under a line of tiles with nothing holding the foot will crack and creep, as the old bed did.
The hip iron is easy to forget because it sits low and out of sight, yet the whole diagonal leans on it.
Rebuilding a bedded hip
When the mortar has failed along the hip but the tiles are sound, the repair is to re-bed the line, in much the same sequence as a ridge. Access is set up first, since a hip is steep and cannot be worked safely from a short ladder. Tiles are lifted from the top down or the bottom up, depending on how the run is built, then the old mortar is cleared away and the rafter line is checked.
The area under the hip is a pitch of mixed cuts: where the two slopes meet, the roof tiles are trimmed to follow the diagonal, and those cut edges need to be sound and clean. They are checked, and any cracked or loose pieces are replaced. Water that gets past a poor cut can run down beneath the hip and cause damage that is invisible from outside.
Laying and fixing the new line
Fresh mortar goes on in a continuous bed, and the tiles are pressed into it from the bottom, with the first tile locked against the hip iron. Each tile is checked for line against the one below and fixed mechanically as well as bedded, as BS 5534 sets out for hip and ridge tiles. Since the 2014 revision, the standard has treated mortar as a seal and a bed, but not as the thing that holds a tile down, and Marley explains why in its guidance on mortar and dry fix.
The top of the hip meets the ridge, and that junction is finished carefully because three lines of tile meet there. The upper hip tile is cut to sit cleanly under or against the ridge, the joint is filled, and the whole thing is pointed. The result should be a straight, even diagonal with no tile sitting proud.
The answer on cracked ridge tiles also applies to hip tiles: a cracked cap is replaced, not filled.
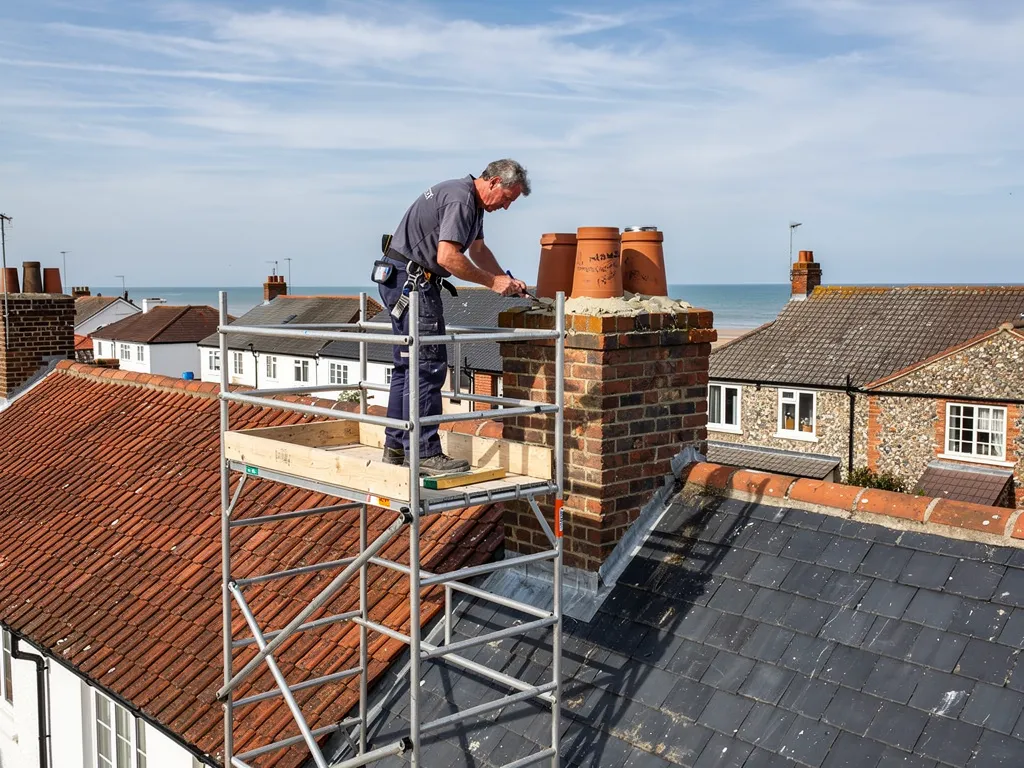
Dry hip: when mortar is taken out of the picture
A dry hip system replaces the mortar bed with mechanical parts. Clips, a batten or tray along the hip, and fixings through the tiles hold the whole line, while a flexible seal along the joint keeps the weather out. There is no mortar to crack, so the typical failure of a bedded hip does not arise.
The test standard behind these products is BS 8612:2018, which covers dry-fixed systems for hips as well as ridges and verges. A system sold as dry hip should have been tested to it, and your roofer should be able to say which product is going on and how it is fixed. We choose the system to suit the tile, because a clip made for one profile will not hold another.
Where dry hip suits and where it does not
Dry hip tends to suit roofs where the existing bedding has failed repeatedly, where the pitch is steep and awkward to re-bed, or where the tiles are modern profiles made with a dry system in mind. It can also reduce the amount of mortar that needs to cure in unsettled weather. It suits less well where the roof is old, uses unusual or hand-made tiles that a clip cannot grip, or sits in a listed or conservation setting where the look of the mortar line matters to the character of the building.
On a listed building or an older roof, the planning team or conservation officer may need to be asked before the method is changed, and the tile maker's guidance should be followed. Houses close to Shoreham airport may need the manufacturer's technical advice on fixings as well.
Neither method is better in every case. The question is which one will hold on your roof, and a survey tells you.
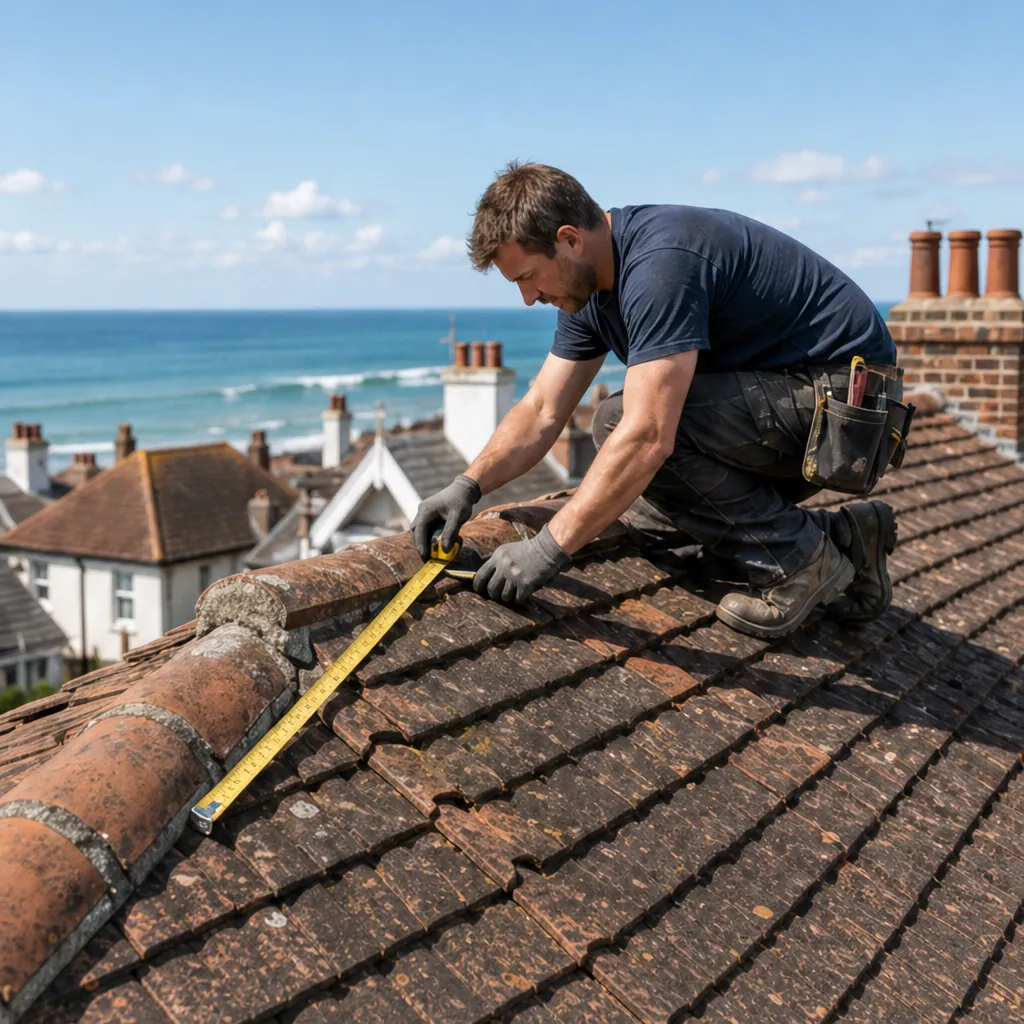
What drives the cost and what you get from us
Two hip repairs can be priced very differently because hips vary. The number of hips is the first factor: a bungalow with four hips has four diagonals to work on, where a gable-ended house may have none. Their length and steepness come next, since a long, steep hip takes more time and safer access. A dry hip system costs for its parts and fixings where a bedded hip costs for mortar and time, so the two do not compare simply.
Access is often the largest single item. A low bungalow can be reached from a tower, while a taller house needs scaffold, and your quote should say whether it is included. Check also whether it includes VAT. The survey finds the rest: a rusted iron, cracked cut tiles under the hip, a rotted rafter end or a soft batten all add work.
What the survey and quote look like
We go up, photograph every hip, including the bracket at its lower end, and put them in front of you alongside the figures. That figure is one total for the whole job, set after the survey rather than guessed from the kerb. We recommend the repair that fixes the hip properly, which may be a refix of loose tiles, a re-bed, a new iron or a dry hip. The wider picture is on our ridge tile repairs page.
The work is guaranteed for ten years in writing, and the roof is left clear. For the other exposed edge of the roof, see our guide to verge repairs, which often belongs on the same visit as a hip repair.