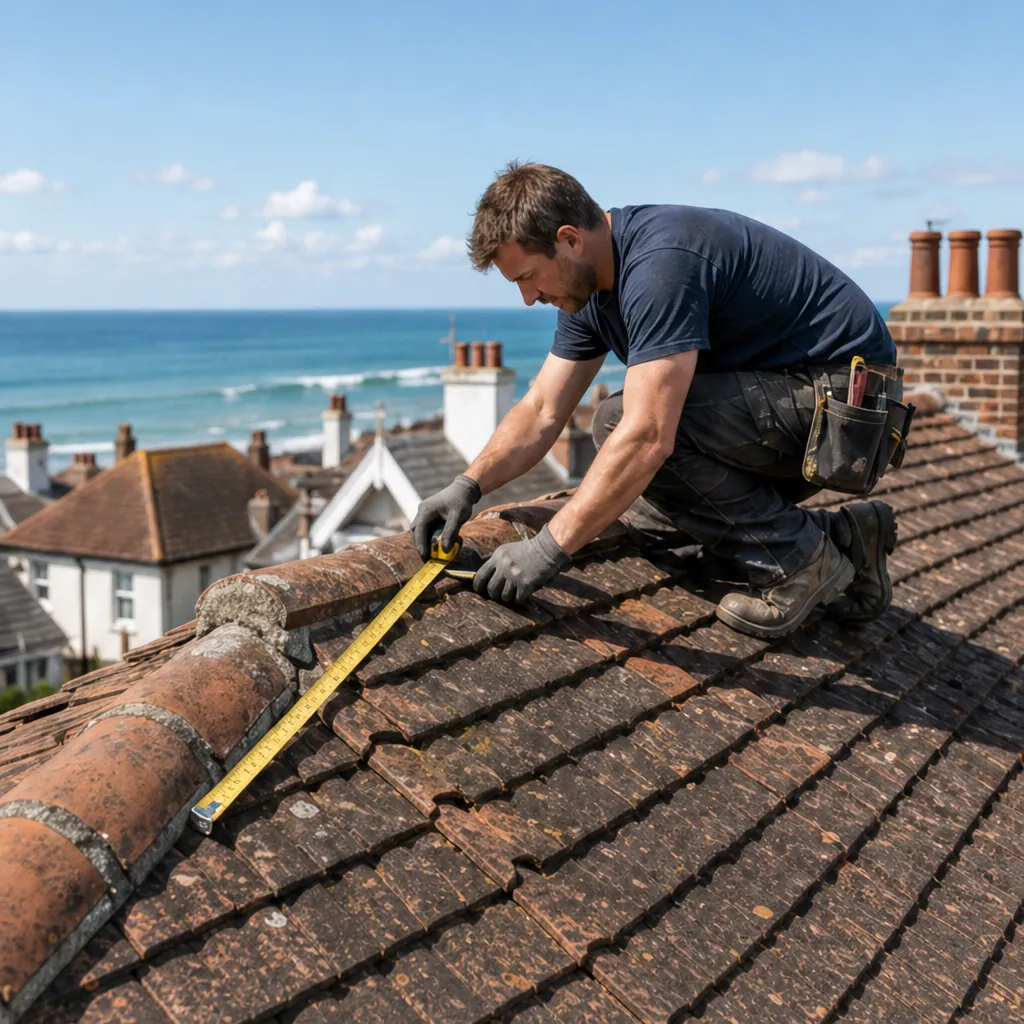
Along the very top of a pitched roof, where the two slopes meet, runs a line of curved or angled capping tiles. Those are the ridge tiles, and they sit on a bed of mortar. Over the years that bed cracks, crumbles and lets go. Tiles then rock, slip sideways or drop into the garden after a gale. Re-bedding is the repair that puts the whole run right, rather than patching one tile at a time.
It sounds like a simple job of lifting tiles and laying new mortar. In practice the order matters, and so does what goes under the tiles and what holds them down. A ridge that is only bedded again with mortar may look tidy for a season and then fail the same way. A proper re-bed now follows BS 5534 by fixing the tiles mechanically as well as bedding them.
Below we set out how the work is done, from stripping to the final joint, what can change the plan once the tiles are up, and when a different repair makes better sense. Nothing here replaces a survey. It will help you read a quote and follow what is happening above your head.
When a ridge needs re-bedding rather than a patch
A single loose tile on an otherwise sound ridge can sometimes be refixed on its own. The picture changes when the bed has failed along a stretch. Look up from the pavement or garden and you may see dark cracks between tiles, mortar crumbs in the gutter, caps sitting at slightly different angles, or a gap where one has already gone. Each of those shows that the bed has lost its grip, and the tiles beside the visible fault are usually on their way too.
Re-bedding is the sensible repair here, because the bed is a continuous strip. If its grip has gone in one place, water and wind work along it and loosen the next section. Lifting the full run gives every tile a clean, sound seat instead of propping it on a patchwork of old and new mortar.
What the ridge does for the roof
The ridge tiles are not decoration. They cover the gap at the top of both slopes and keep rain out of that joint. The mortar under them seals the gap and holds each tile in line. When it breaks up, the first symptom is often a small drip in the loft near the apex, well before any tile falls.
If a tile has already gone, do not climb up to look; a view from the pavement is enough to start with. The wider choices sit on the ridge tile repairs page.
Stripping the old ridge safely
The work starts with access. The ridge is the highest line on the house, so the roofer needs a safe platform before anyone touches a tile. Depending on the height and the plot, that means scaffold or a tower, or a roof ladder and edge protection for a small, low-risk job. Work at height is never done from an ordinary ladder leaning on the guttering.
Once the platform is in place, the tiles come off one at a time, working from one end. Each is lifted clear, checked and stacked. The old mortar is chipped and swept away, and the rubble is bagged so that it does not slide into the gutters or onto the path below. It is a dusty stage, and it is worth shutting the windows on that side of the house.
Stripping is also when the survey becomes real. With the ridge open we can see the rafters at the apex, the highest courses of tiles on each slope and the underlay beneath. Tiles that look sound from the ground sometimes turn out to be cracked once they are in the hand, and we set those aside for matching replacements.
Photographs while the ridge is open
This is the best moment to photograph the cause. A bed that dried and shrank looks different from a ridge lifted by suction in a gale, and different again from one where the top batten has rotted. We take pictures of what we find on your roof and send them with the quote.
Cleaning the ridge line and checking beneath it
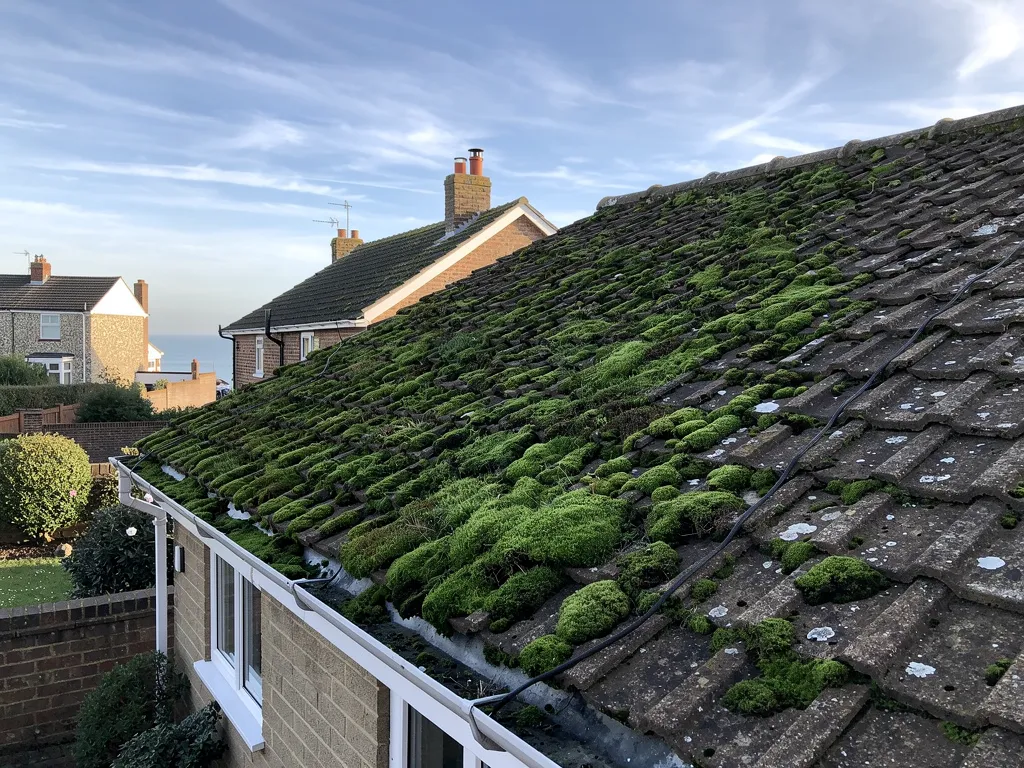
The cleaning stage decides how well the new bed will grip. Mortar goes onto clean, sound material, not onto dust or the slippery remains of the old bed. The top edges of the tiles in each slope are brushed down, powdery debris is removed, and the apex timbers are inspected for rot or movement.
The tiles being reused are cleaned too. Old mortar is scraped from their undersides and edges so that each one sits level. Tiles with chips or hairline cracks across the barrel are put aside, since a crack in a ridge tile is a path for water that no amount of mortar will block.
Underlay, battens and the apex
Under the ridge, the upper edge of the underlay is checked. This is the membrane laid beneath the tiles to catch any water that gets past them. If it has perished or torn at the apex, it is repaired before the ridge goes back, because mortar will not cure a fault in the layer below it. The top batten, the timber strip the highest course hangs from, is checked for soundness and for how it is nailed.
If the survey finds a wider problem, you see the evidence in the photographs and decide with it in front of you. A ridge that keeps failing sometimes points to a roof that is moving, to a hip or valley beneath that needs attention, or to top courses that are no longer secure. Where the fault is only the bed, the job stays the smaller one. The page on hip tile repairs covers the sloping corners, which often fail at the same time.
Laying the new bed and setting the tiles
With the line clean, the mortar goes on. We pick the mix for the tile type and how exposed the ridge is, then lay it in a continuous bed along each side of the ridge, rather than in dabs. The aim is full contact between mortar and tile, so there are no voids for water to sit in and no hollows that let a cap rock when the wind lifts it.
The tiles are then set back one by one, each pressed down into the bed and checked against a string line stretched along the ridge. That keeps the run straight and level, and it stops one tile standing proud and catching the wind. Joints between tiles are filled so that the end of one cap meets the next with no open gap, and the mortar is struck off cleanly.
The job mortar cannot do alone
Mortar is a good seal and a fair bed, but it is weak when pulled. Wind passing over the roof creates suction on the lee side, and that suction lifts a ridge tile that depends on its bed alone. Marley explains that for this reason bedded ridge and hip tiles should carry metal fixings as well, which is why a re-bed that stops at mortar is incomplete.
The next section covers what the fixing is and how it works with the bed. The mortar seals the joints and gives each tile an even seat, while the metal takes the load when the wind pulls.
Mechanical fixing: the step that keeps the ridge on
Mechanical fixing means each tile is held to the roof by a metal fitting as well as by the mortar. On a traditional bedded ridge, the usual method is a fitting that grips the tile and is secured to the roof structure or a bracket with a screw or nail. The details vary with the tile design and the make, and we follow the maker's own instructions for the tile in use.
Marley points out that installing to BS 5534 is not required by law, but the standard sets accepted practice, and ridge and hip tiles are to be fixed mechanically whether or not mortar is used. On a coast where a sea gale tests every shortcut, we treat that as the minimum for a repair that is meant to last.
Location can raise the bar. Wienerberger describes fixing tiles to a specification worked out for each individual site, taking in its geographic position, its altitude and its exposure to wind. For houses close to Shoreham airport the manufacturer's technical team may have to advise on that specification, so the position of the house matters when fixings are chosen. A ridge on an open, exposed plot is treated more carefully than one tucked behind taller buildings.
Bedded fixing or dry ridge
Sometimes the better answer is not to rebuild the bed but to replace it with a dry-fix system, where clips and a ridge batten hold the tiles and a flexible roll seals the gap. The test standard for these is BS 8612:2018. We compare the options in the guide on BS 5534 ridge fixing. Which one suits you turns on the tile type, the slope angle and how the ridge reads from the street.
Pointing, finishing and clearing up
Once every tile is down and fixed, the visible mortar is finished. Joints are pointed and the edge of the bed is struck at a clean line, with no overhanging blobs that would crack early or hold water against the tile. The finished colour should sit comfortably with the roof, and on some roofs a pigmented mortar is chosen so new work does not stand out against weathered tiles.
The next stage is the one people tend to skip past. Loose mortar and dust are swept from the slopes above the gutter line, the gutters are checked and cleared of anything that fell in during the work, and the debris is bagged and carried away. Nothing is left behind: the roof, the gutters and the drive are cleared, and the waste goes with us.
Checking the work afterwards
A proper re-bed can be checked from the ground. The ridge should run straight, with an even joint line and no tile standing out. In the loft, the apex should be dry and there should be no daylight along the top of the roof. We photograph the finished ridge as well, so the before and after are on the record.
Older houses and listed buildings can bring extra constraints about materials and methods. If you are unsure whether yours falls into that group, ask the Adur & Worthing planning team before work begins.
What shapes the cost and what you receive
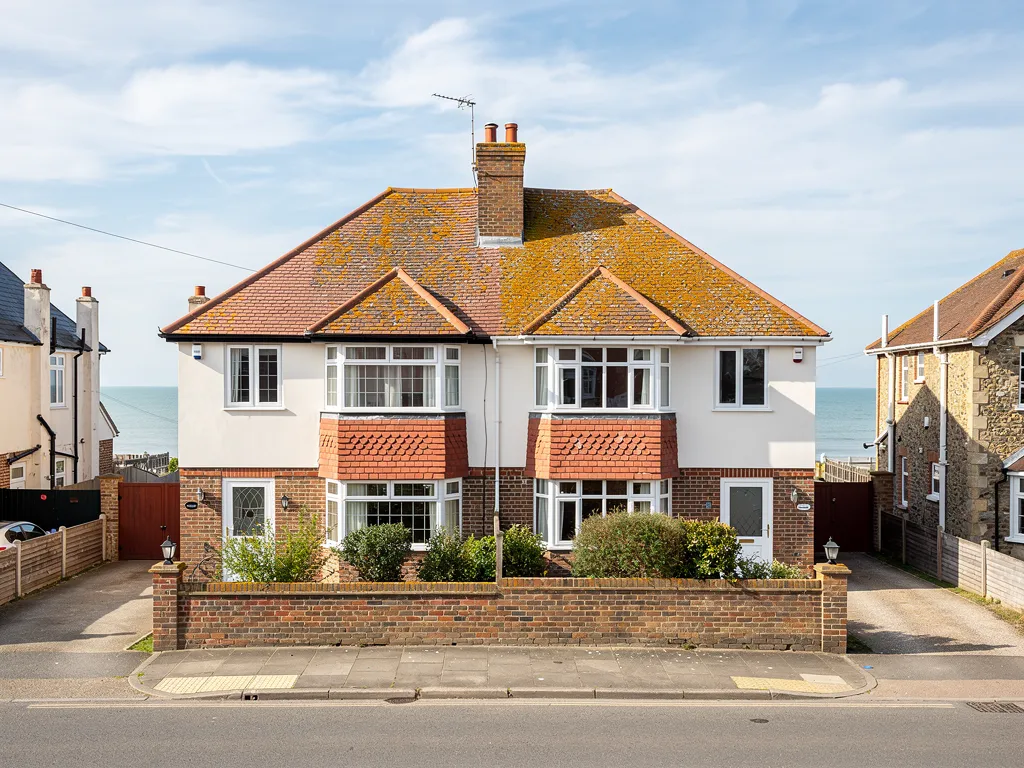
The price of a re-bed depends on a handful of things visible at the survey. The length of the ridge is the obvious one: a short ridge on a small bungalow takes less than a long run on a detached house. Access comes next, since a roof that needs scaffold costs more to reach than one worked from a tower. The tile type counts too, because some ridge fittings are easy to match and others have to be sourced.
What lies under the old ridge is the last factor. A sound top course and underlay mean a straightforward job. Rotten battens, a damaged apex or cracked tiles mean more work, and the quote reflects that. If you are comparing quotes, check whether each includes scaffolding and VAT, and whether it specifies mechanical fixing for the ridge tiles.
What you get from us
After the survey, you receive a written quote giving one figure for the whole job, with pictures of your ridge attached. Our recommendation is whichever repair deals with the cause and no more: a re-bed of the full run, a re-bed of one section, or a move to dry fix where the roof suits it. The finished work carries our written guarantee, which runs for ten years.
If the fault is a single tile, the answer may be quicker and cheaper than a re-bed, and we tell you. Ridge work often goes together with verge repairs, since the two edges of a roof share the same weather.