
From the pavement a roof looks like one surface, but it is really a stack of parts that each fail in their own way. There is the covering on top, the fixings that hold it down, the joints where slopes and walls meet, the gutters at the bottom, and the timbers and ventilation underneath. A survey that glances at the tiles and stops has missed most of them.
The order matters too. We start outside and work in, because the outside tells us where to look in the loft, and the loft tells us whether a surface fault has already done damage below. Each stage is also a chance to catch a small problem while it is still a small job, such as one loose ridge tile or a lifting flashing, before it turns into a stained ceiling.
What follows is the checklist we use on a pitched roof, with a note on how a flat roof differs. It is written so that you can judge whether the survey you are being offered is thorough, and so that you know what to expect on the day. The pictures we take come back with the written quote, and our roof survey report page shows how they are laid out. It all sits under our roof inspections and surveys service.
The covering: what the tiles and slates are telling us
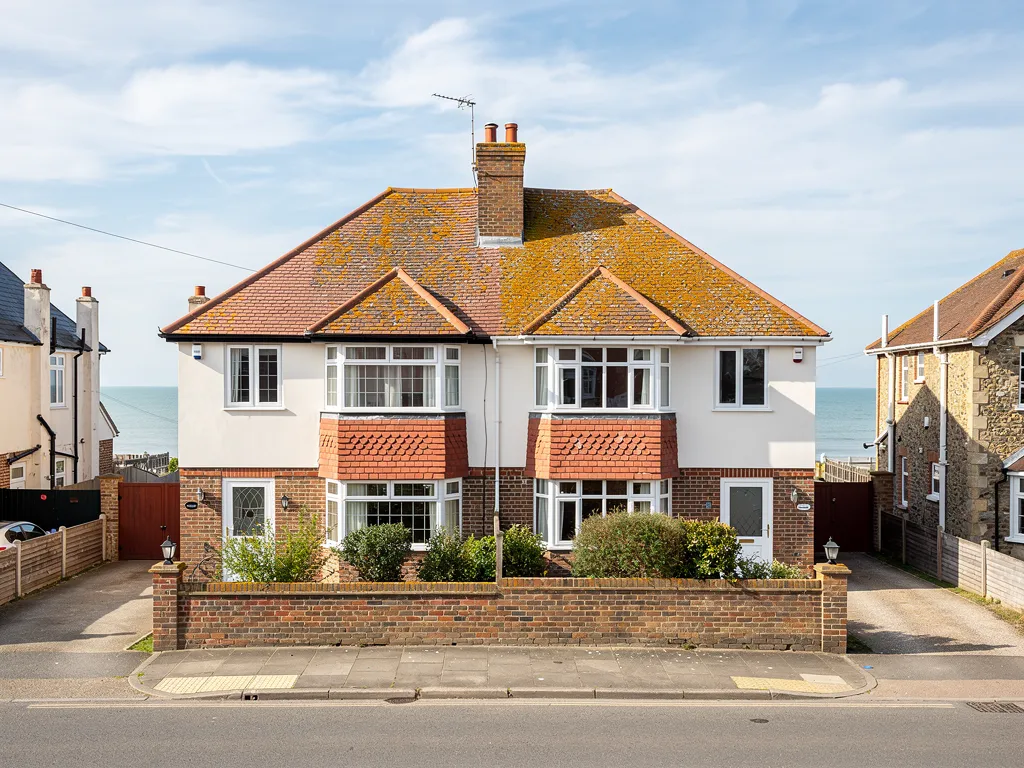
The first look is at the covering itself, because its condition sets the tone for everything else. On a tiled slope we scan for cracked, chipped or slipped units, gaps where a tile has gone altogether, and patches that stay dark and wet while the rest has dried. On slate we look for slipped or broken slates and for the pale streaks that show where one has shifted on its fixings. Moss and lichen come next. A light dusting is cosmetic, but a thick cushion of moss holds water against the surface and can lift the edges of tiles over a winter.
Age shows in the surface. Concrete tiles shed their coloured top layer over time and turn rough and porous, and clay tiles can flake, a fault called spalling, once frost has got into them. Neither is a problem on its own, but a slope covered in flaking tiles is near the end of what repairs can sensibly achieve. We note how widespread the damage is, because that decides the next question: repair, or recover.
Pitch and alignment
We also stand back and look along the slope for waves and dips. A sag in the line of the tiles points to a problem with the rafters or battens beneath, the timber strips the covering hangs from, and that is a job for the loft stage. The pitch matters as well. Cupa Pizarras reads BS 5534:2014+A2:2018 as giving natural slate a minimum pitch of 20 degrees in the conditions it describes, so a shallow extension roof covered in slate is a question worth asking.
Everything we see is recorded with close-up and wider pictures, so you can look at the same fault we looked at.
Fixings, ridges, hips and verges
On a coastal roof the fixings are as important as the covering, because a gale tests the weakest attachment. We look at how the tiles are held down, and at the three lines where the roof is most exposed. The ridge runs along the very top, where the two slopes meet. Hips are the angled corners of a hipped roof, running from ridge to eaves. The verge finishes the angled side of a gable end, where the covering stops and the wall begins.
These lines were once finished with mortar alone, and old mortar is the first thing to perish. We look for cracked or crumbling bedding, ridge tiles that rock when pressed, and verge tiles that have started to sag or lift. Since BS 5534 was revised in 2014, a mortar bed on ridge and hip tiles no longer counts as sufficient without a clip or screw too. On a newer roof we check that clips or screws are present. On an older one we often find mortar and nothing else, which is worth knowing even when the tiles look sound.
Dry-fix systems replace the mortar with clips and a ventilated ridge section, and BS 8612:2018 is the test specification for them. We inspect their end caps and seals, which tend to give out first.
Single-lap tiles
Where the roof has interlocking tiles, wienerberger asks for each single-lap tile to be mechanically fixed, with the count set by site conditions, and the fixing pattern is drawn up per site, with the property's location, altitude and wind exposure feeding in. We look at whether the tiles around the perimeter, which take the most uplift, are secured. One loose perimeter tile that goes in a storm usually takes its neighbours with it.
Flashings, valleys and the chimney stack on a roofer visit
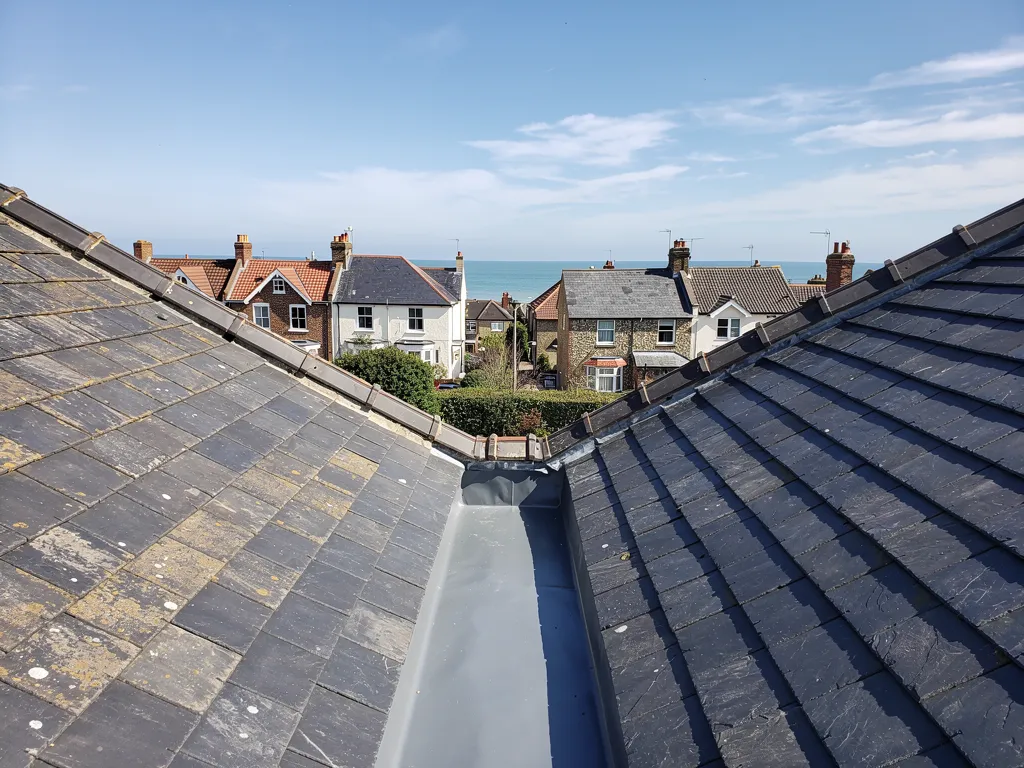
Joints cause more leaks than the open field of a roof, so this stage gets the most attention. Flashings are the metal weatherproofing, normally lead, tucked into the brickwork wherever the slope runs up against something vertical, whether that is a neighbour's gable, a stack or the side of a dormer. Along tiled edges you will also find soakers, little lead tabs interleaved with the courses. We check that the lead lies flat and tight, that its top edge is still wedged in the mortar joint, and that nothing has split along a fold. Lead is graded by code, and Leadworx names code 4 as its standard general-purpose weight, with code 3 reserved for soakers.
Some houses use a mortar fillet, a triangle of cement along the joint, in place of lead. These crack away from the wall as the two move at different rates, and a fillet with a hairline gap behind it lets water in. We tap and press it to find out.
Valleys
Valleys are the channels sunk where two slopes come together, so each one drains a large share of the roof. We check what lines it, whether the lead or the GRP (glass-reinforced plastic) has split, and whether leaves and moss are holding water back so that it spills sideways under the tiles.
The chimney stack
A chimney is checked in four places: the flaunching, the mortar cap sloping off around the pots, the pots themselves, the pointing in the brickwork, and the flashing at the base. Flaunching cracks first, and mending it early is a modest job. Our page on thermal roof surveys covers the camera-based methods that sometimes help with a damp stack.
The roofline: gutters, fascias, soffits and eaves
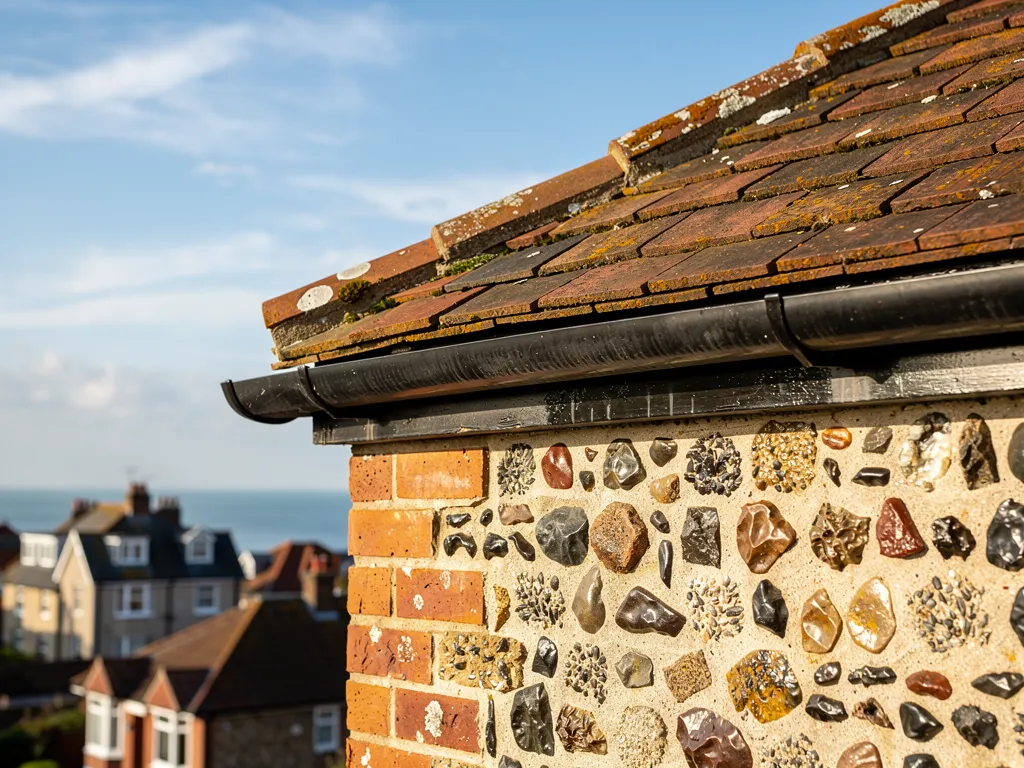
The roofline runs along the lowest edge of the building, and it is often where the first signs of trouble appear. The fascia is the board the gutter is fixed to, and the soffit lines the underside of the overhang. Together with the gutters they carry water away from the walls, and when they fail the damp shows up as stained brickwork or a green streak on the render rather than as a roof leak.
We look at the gutters for sagging runs, open joints, plant growth and staining on the wall beneath, which shows where one has been overflowing. Gutter makers publish falls somewhere between 1:600 and 1:350 for their systems, which means a run with water sitting in it has probably been laid flat or has dropped on its brackets. Downpipes are checked for blockages and loose clips.
The fascia and soffit boards are tested for softness. A screwdriver tip sinks into rotten timber, and wet soffits can hide a nest or a damp loft edge. On a coastal house the paint and sealant also take a beating, so we note where timber has been left bare.
The eaves detail
The last item at the bottom edge is the eaves detail itself. The underlay should run into the gutter and not stop short behind the fascia, and the first course of tiles should overhang the gutter by a sensible amount. We also look for the gap that lets air into the loft, because a blocked eaves is a ventilation problem that you will not see from the ground.
Inside the loft: underlay, timbers and ventilation
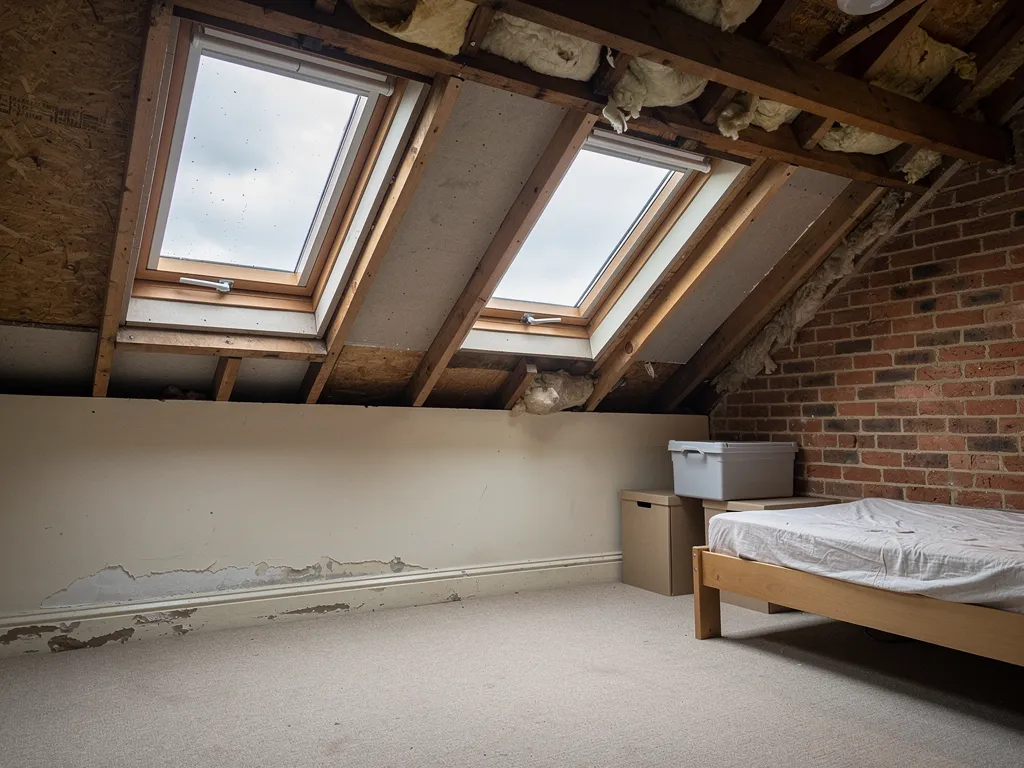
After the outside comes the loft, which shows the roof from the side water would reach it. With a torch we study the covering from beneath. A chink of daylight where there should be none betrays a missing or slipped tile, and pale rings and dark streaks on timber record where water has run. The underlay, a sheet membrane stretched under the battens, is checked for tears, sagging and staining. Old bitumen felt can go brittle and crack at the laps.
The timbers get a close look. Rafters, purlins and the wall plate should be dry and firm. A soft patch, a musty smell or a line of fine dust and tiny holes can point to rot or woodworm, and either one changes what the right repair is. Insulation is checked for damp, for compression and for gaps. Our page on how a survey differs from a quote explains how these findings lead into a price.
Ventilation
A cold loft needs a flow of air to carry moisture out. Marley's summary of BS 5250 describes a continuous 10mm gap along the eaves for pitches over 15 degrees with a high-resistance underlay, and 25mm at 15 degrees or less. We look for the vents, check that nobody has stuffed insulation across them, and watch for condensation signs such as beaded droplets on the underlay and black spotting on the timbers.
Pipes, cables and the cold water tank are noted while we are up there, though a roofer reports on them rather than repairs them. If the loft has been boarded or converted, we also note how much of the roof structure is hidden, since that limits what can be seen and the report says as much.
Flat roofs, extensions and how the findings are recorded
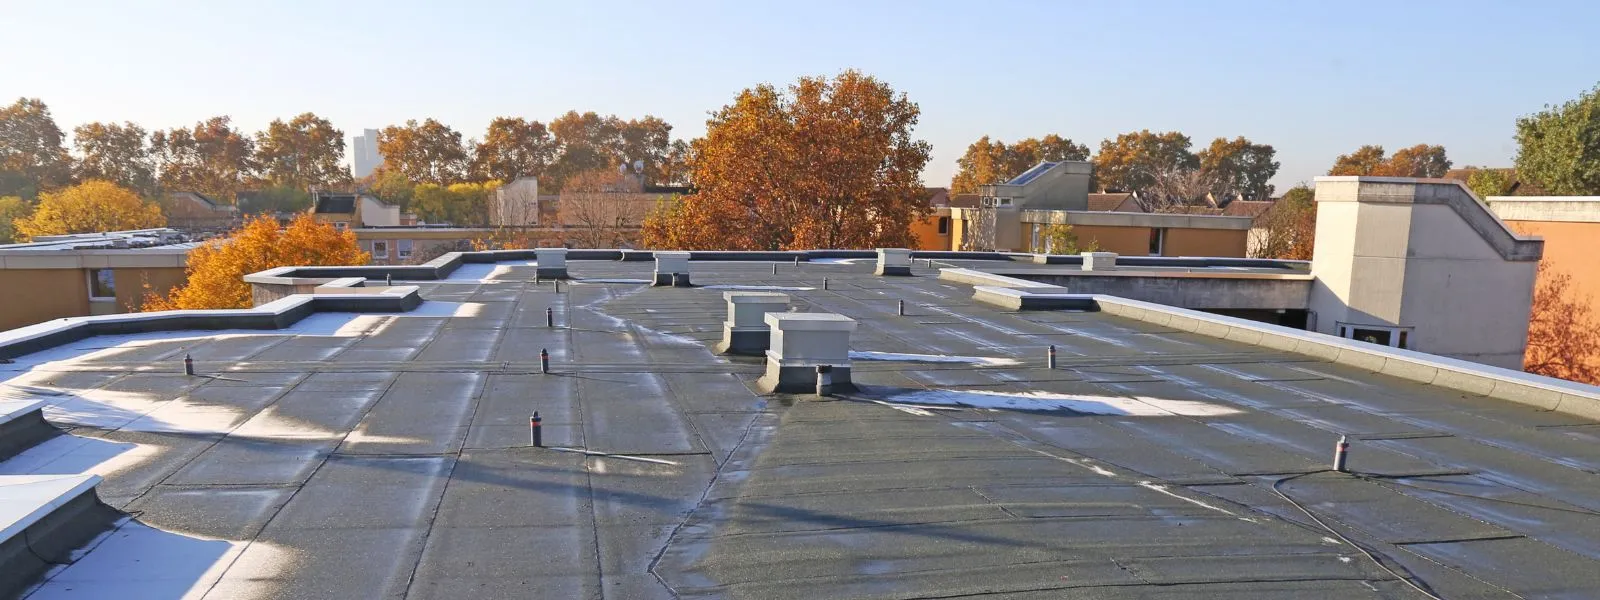
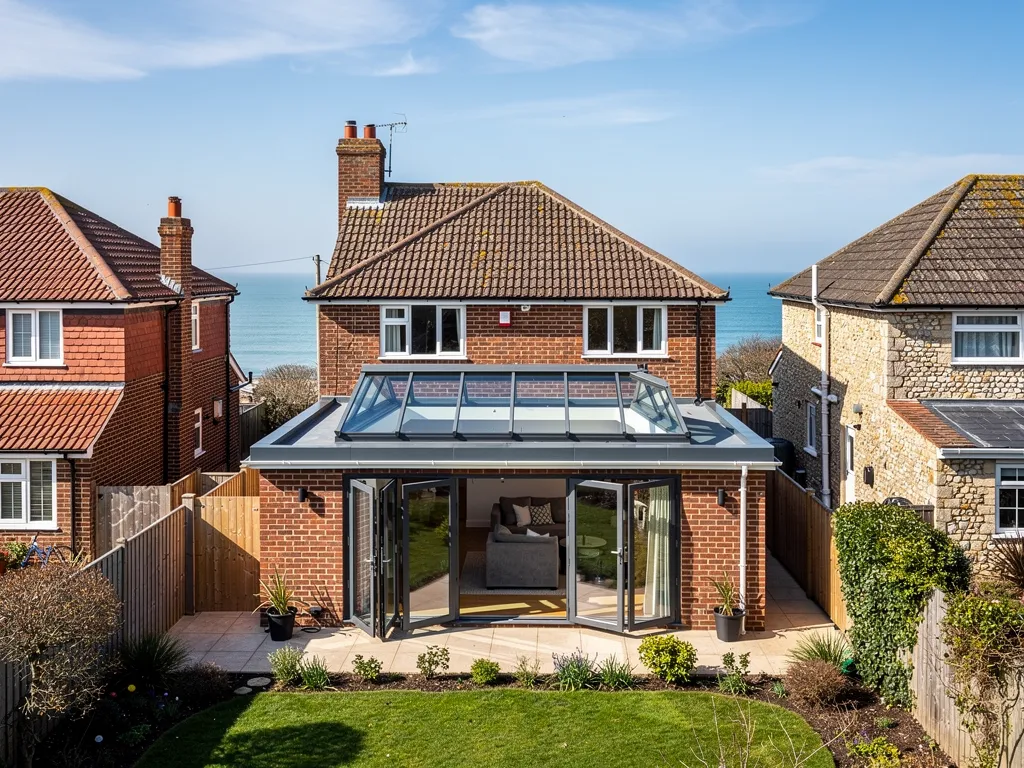
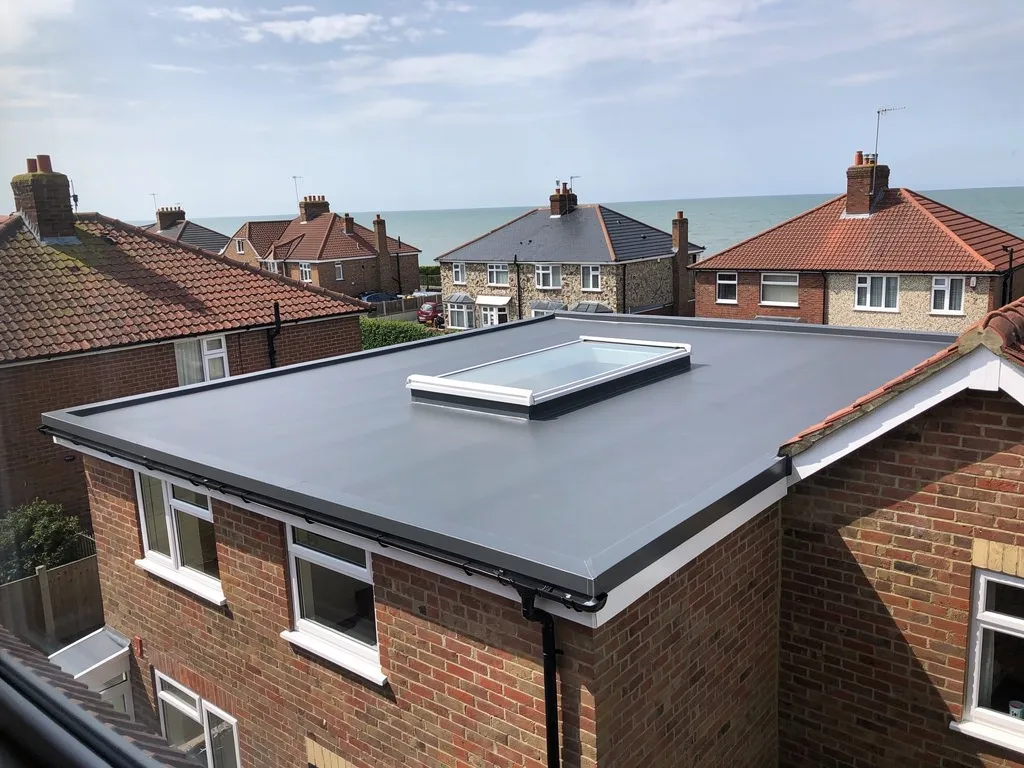
A flat roof is surveyed differently, because the failure points are different. There are no tiles to slip, so we look at the membrane for blisters, splits, ponding and lifted seams, at the upstands where it turns up a wall, and at the outlets. Water still sitting on the surface days after rain suggests the fall is wrong. IKO, citing the 2018 edition of BS 6229 (since revised), gives a design fall of 1:40 to achieve a finished minimum of 1:80. A flat roof over an extension may have no loft to check beneath it, so the underside is looked at from the room below for stains and soft plasterboard.
Whatever the roof, the record matters as much as the looking. Each fault is pictured in place, with a wider shot so you can see where it sits on the roof. We note the cause where we can trace it, how soon it needs attention, and the lightest repair that stops it recurring. A loose ridge tile is not described in the same breath as a perished underlay.
What you get at the end
The pictures arrive with the written quote, and the quote is one total price. Cost turns on access, the covering, how much of the roof is involved and what the survey reveals. If the answer is a small repair, the quote reflects that. If it is a recover, we explain why.
For a sense of scale, MyBuilder (updated 21/08/2026) gives typical UK ranges of £150 to £250 for a standard inspection and £300 to £500 for a thermal survey, and any written quote comes once the roof has been surveyed.