
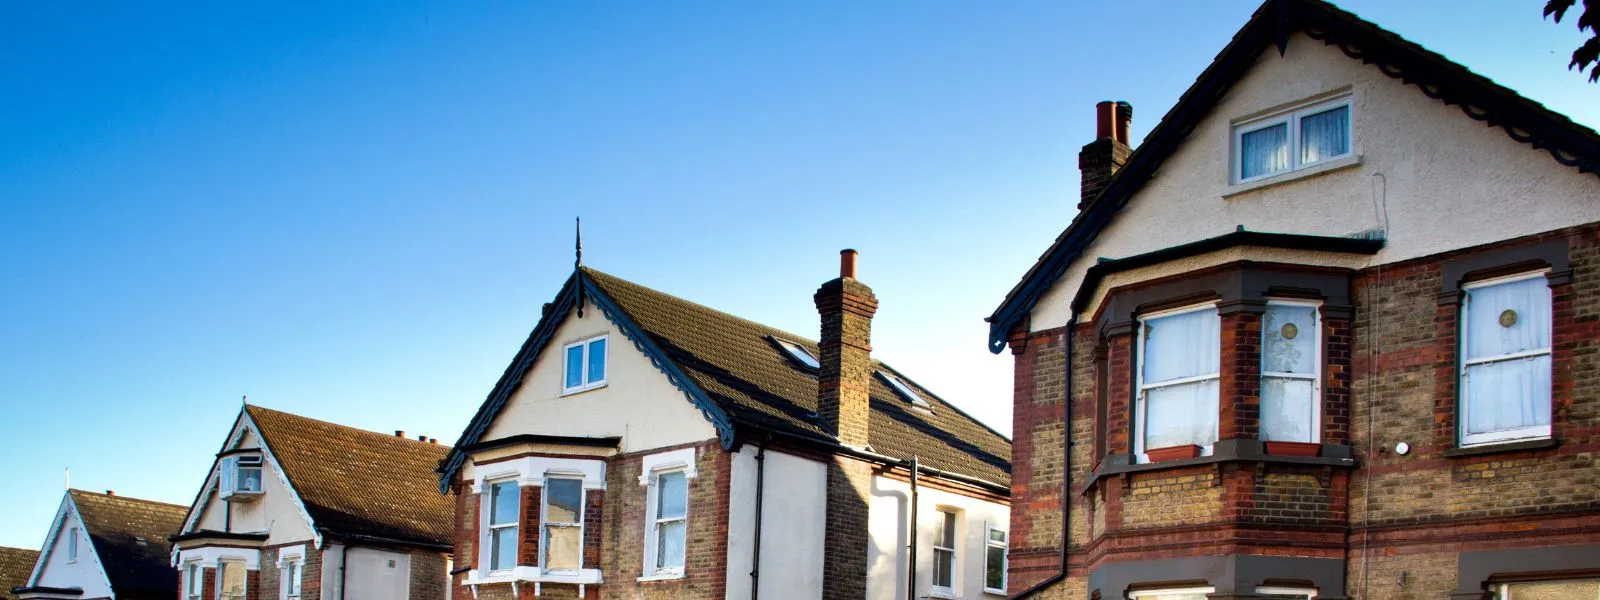
Victorian and Edwardian houses often have a bay window on the front, with a small roof over it. Some are flat and covered in lead or felt, some are pitched and finished in slate or tile, and a few mix the two. Whatever the covering, water tends to find the same weak points: the line where the bay meets the main wall, the corners where its faces join, and the edge above the window head.
A leak here rarely announces itself at the roof. It shows as a brown mark across the top of the window reveal, a damp patch on the ceiling just inside the front room, or paint that blisters above the curtain rail. A bay roof is low, small and out of sight from the street, so a fault can run for a long time before anyone looks up.
This guide describes the three common types of bay roof, how each one fails and what the repair involves, and it explains when a patch gives way to a new covering.
Three kinds of bay roof on older houses
Each type of bay fails in its own way, so it helps to know which one you have. Look from an upstairs window, or from the pavement if the angle allows.
The flat lead bay
Many Victorian bays have an almost flat top covered in sheet lead. The lead is laid over timber boards and dressed over wooden rolls, the rounded battens that carry the joints between sheets, with a step called a drip wherever one sheet finishes lower than the next. Lead wears slowly: MyJobQuote says flashing can last over 80 years, and over 100 for the higher codes. A bay pulled apart by movement will leak well before that.
The felt or single-ply bay
Where the original lead failed or was stolen, many bays were recovered in bituminous felt and, more recently, in a single-ply membrane or GRP, which is glass-reinforced plastic laid in resin. MyBuilder says flat roofs generally last 15 to 30 years. Trouble usually starts at the laps and the edges, not across the open surface.
The pitched bay
Larger Edwardian bays, and many from the 1930s, have a small pitched roof with hips, the sloping edges that run out from each corner of the window, covered in slate or tile to match the house. The hips and the junction with the main roof cause the trouble, rather than the slope.
Many bays were mended by different hands in different decades, so one roof can carry a lead top, a felt patch and a flashing from an old repair. We note each material first, because mixed repairs often leak where one meets another.
Why the wall line is where bay roofs leak
The back edge of a bay roof butts against the house wall, usually under the sash window above. That joint is an abutment, and a flashing seals it: a strip of lead, or on some houses a fillet of mortar, bridging the gap between roof and wall. Of everything on a bay, this joint moves most and lets water in most often.
The bay and the wall behind it expand, shrink and settle at different rates, so the weather opens and closes the joint every day. The lead is tucked into a slot cut in the brickwork, called a chase, and if the pointing around it has crumbled, the lead drops out and rain runs behind it. On some older houses the chase was never cut deep enough, and the flashing is held only by a bead of sealant that split long ago.
Water behind the flashing does not always drip straight down. It follows the wall, runs along the top of the bay timbers and appears at the window head or in the ceiling corner, which is why the stain and the opening so seldom line up. Our guide to leaks that appear only in heavy rain explains why driven rain finds joints that stay dry in a shower.
We check the whole length of the abutment, then the ends, where the flashing turns down beside the window frame, and then the cill of the window above, which can shed water onto the roof in the wrong place. A lifted flashing or a chase that has gone soft is a small repair if caught early.
Lead bays: codes, rolls and where they split
Lead is graded by code, a number for its weight and thickness. Leadworx lists code 3 at 1.32mm and recommends it for soakers only, code 4 at 1.80mm as the usual pick for light general work, and code 5 at 2.24mm for general, vertical and pitched work. A soaker is the little folded lead tab slid under the edge of a covering. The bay roof itself takes more movement than a flashing does, so it is often laid in a heavier code than the flashing around it.
How a lead bay fails
Lead expands in the sun, shrinks at night and creeps slowly downhill under its own weight. A long sheet laid without enough rolls or drips to let it move works against its fixings, thins and splits, usually along a fold or a nail line. Our guide to why lead cracks explains the process. Splits are often hairlines that leak in a gale and look dry the next morning.
Holes also come from outside. A lead bay is easy to step on, and a cleaner, a window fitter or a ladder foot can crease or tear a sheet. Where lead has been stolen, the replacement is often a patch of felt stuck over what remains.
Repair or relay
A single split or a lifted edge can be repaired with a lead patch or a welded seam. MyJobQuote gives a typical UK range of £150 to £250 for a lead patch on a chimney, a useful guide to the scale of a small repair. If the sheet is wearing out across the whole roof, patches simply move the leak, and we show you the lead and explain why the bay needs relaying. See lead roofing for the full job.
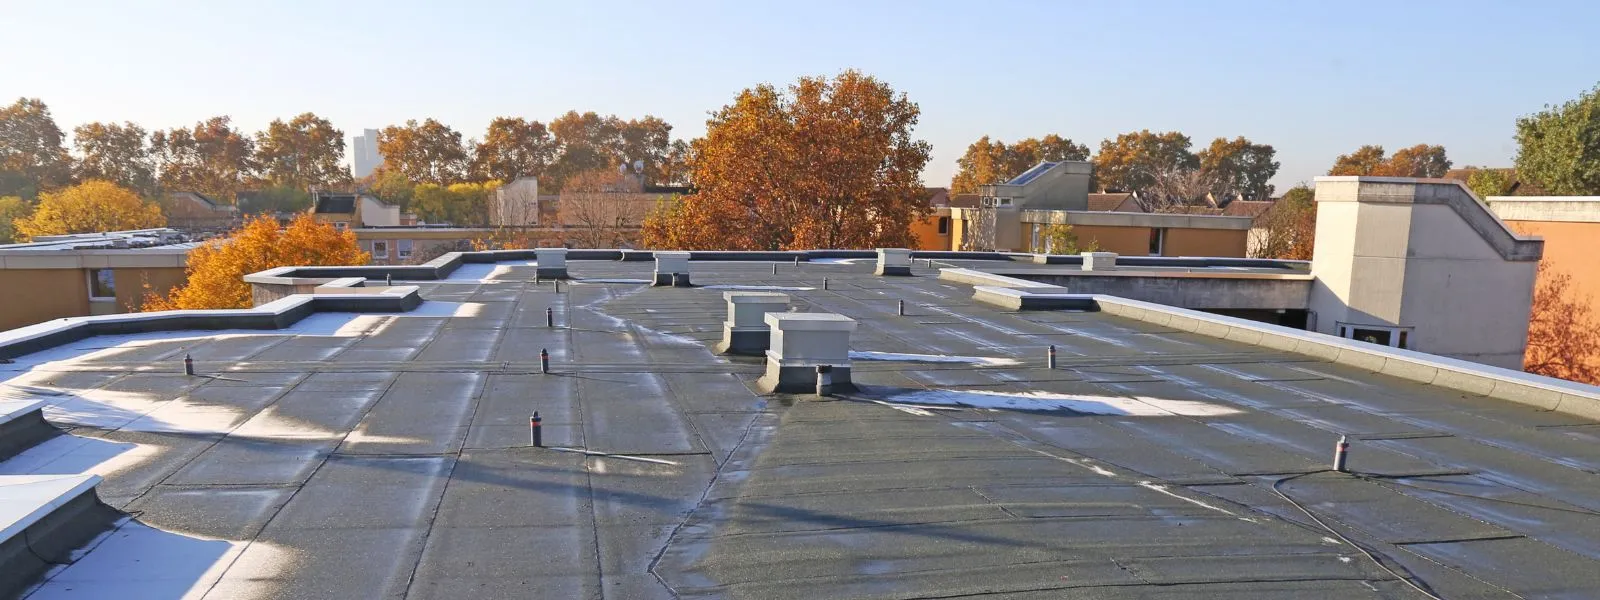
Felt and single-ply bays: falls, laps and edges
A flat bay with a felt or membrane covering lives or dies by its fall, the slope that carries water to the gutter. IKO, citing the 2018 edition of BS 6229 (since revised), gives the design fall for a flat roof as 1:40, with a finished minimum of 1:80. Many old bays were built nearly level, or have sagged since, and a puddle that sits for days shows the water is not clearing. Standing water ages the surface faster and finds every weakness.
Where water gets in
On a felt bay we look first at the laps, where one strip overlaps the next. The bitumen hardens, shrinks and opens at the joints over the years. Next is the upstand, the covering turned up the wall behind, which needs sealing at the top with a flashing in a chase and not just a smear of mastic. Then the front edge, where the roof meets the gutter, and any outlet blocked with leaves and moss.
Blisters look alarming, but a blister is often a pocket of trapped moisture and not always a leak. We press the area and look underneath before deciding whether it needs cutting out. The key question is whether the boards below are dry. Boards that have taken water for a long time go soft and must be replaced before a new covering goes on, or the new surface fails along the same lines.
When a patch will not do
If the felt is cracked in several places, the fall is wrong or the deck is wet, a patch buys a few weeks at best. A bay is small enough that a full recover is usually a proportionate job, and it lets us correct the fall and the upstand at the same time.
Pitched bays: hips, valleys and the join to the house
A pitched bay looks like a miniature house roof, but the details are tighter. Two areas need the most attention: the hips, and the place where the bay tucks back into the main wall or main roof.
Hips and capping
Hip tiles or slates cap the sloping edges. Under BS 5534 since its 2014 revision, hip and ridge tiles take a mechanical fixing on top of the bedding. On many older bays the capping is simply bedded in mortar, which cracks with wind and frost and lets the tiles shift. MyBuilder gives £300 to £600 as a typical UK range for either re-bedding or renewing ridge tiles, and a bay hip is a short run by comparison.
Where the bay meets the house
Where the bay slope runs up to the wall, an apron flashing, a sheet of lead dressed down over the tiles, seals the front, and stepped flashing and soakers follow the courses up the sides. Where the bay joins the main slope it can form a valley, the internal angle that collects water from both faces. A lead-lined valley can split or fill with leaves and moss.
Slipped tiles are common on a pitched bay, because there are few tiles and a gale can move several at once. The underlay beneath may also be torn or missing on an older bay, so a tile repair alone will not stop water if the layer under it has failed. We lift enough tiles to see what lies beneath before deciding that the surface is the problem.
Bays on a terrace can sit beside a neighbour's, and the guide to terraced house roof repairs explains where one roof ends and the next begins.
Causes that start elsewhere, and what a lasting repair needs
Not every wet mark around a bay window begins on the bay roof, and we rule the others out before pricing work on it. The gutter comes first: if its outlet blocks, water backs up under the lowest course or over the felt edge and comes in at the front. Then the window itself, where a gap at the sash head, a cracked cill or failed paint can send water down inside the reveal that looks just like a roof leak. A builder or joiner repairs those, and you will hear from us if the survey points that way.
Movement matters too. A Victorian bay built on light timbers can drop slowly away from the wall, which opens the abutment so the flashing keeps splitting however often it is mended. If the gap is widening or the ceiling inside the bay slopes, the timbers need attention first, and sagging roof repair explains what a structural cause involves.
A lasting repair follows a set order: make the roof safe and stop active water, trace the opening, strip back to sound boards, relay or repair the covering with proper falls, and dress new flashings into a cut chase. Cost depends on the covering, the state of the boards, whether the flashing can be saved and how the bay is reached. A front bay above a pavement can need a tower or scaffold, and a scaffold standing on the pavement requires a highway authority licence, which the scaffold firm arranges. When you compare quotes, check that scaffolding and VAT are in each one.
You receive the written quote after the survey, as one total price, with photographs of your own bay roof so you can see the split or the lifted flashing. If a repair will hold we recommend one, and if the whole covering is worn out we tell you that plainly. Lead, felt and tile wear at different paces, so the photographs also show which layer has failed and which is still sound. For the wider picture, see roof repairs.