Water that gets past a roof covering seldom falls straight through. It lands on the underlay, the sheet that sits beneath the tiles, and runs downhill along it, then follows a rafter, a batten or the top of a ceiling board until it finds a gap and shows. A brown ring by the bedroom window can start at a chimney flashing well up the slope, and a damp corner in the hall can begin at a valley on the far side of the house.
So finding a leak is a search carried out in a set order. We start with the evidence inside the house and the weather that produced it, then go into the loft and follow the wet back towards its source, then check the outside joints that line up with it. Along the way we rule out the causes that only look like a roof leak, and where the trail is still unclear, we test. Nothing is priced until the cause has been found and you have seen it on your own roof.
This guide sets out each stage, so you know what a thorough roofer should be doing and what you can usefully note before anyone arrives.
Reading the stain and the weather behind it
The ceiling mark is the end of the trail, but it still carries clues. A sharp brown ring with a darker rim has usually wetted and dried several times, so the fault is not new. A soft grey patch that spreads quickly points to a recent opening, such as a tile that slipped in the last gale. A line of damp running down a wall can mean water is travelling inside a chimney breast or along a party wall rather than through the ceiling at all.
Timing matters as much as position, so think about when the mark grows. If it appears only in a downpour with a strong wind behind it, the way in is probably a joint that sheds ordinary rain but lets driven rain past, often on the most exposed slope. If it creeps after days of steady drizzle, suspect something that soaks slowly, such as porous pointing or a hairline crack in a tile. If it turns up on a cold, still morning with no rain at all, condensation is the likelier cause. And if it shows after someone runs a bath, call a plumber before a roofer.
Keep a short leak diary
Two or three entries make a real difference to how quickly the source is found, and a note on your phone is enough.
For each wet spell, write down the date, roughly how long the rain lasted, which side of the house took the weather, and when the drip started and stopped. A picture of the stain each time shows whether it is spreading.
Put a bucket under any drip and move anything valuable, but leave the stain itself alone until it has been seen. Painting over it hides the edges that tell us how long it has been wet.
Following the wet back through the loft
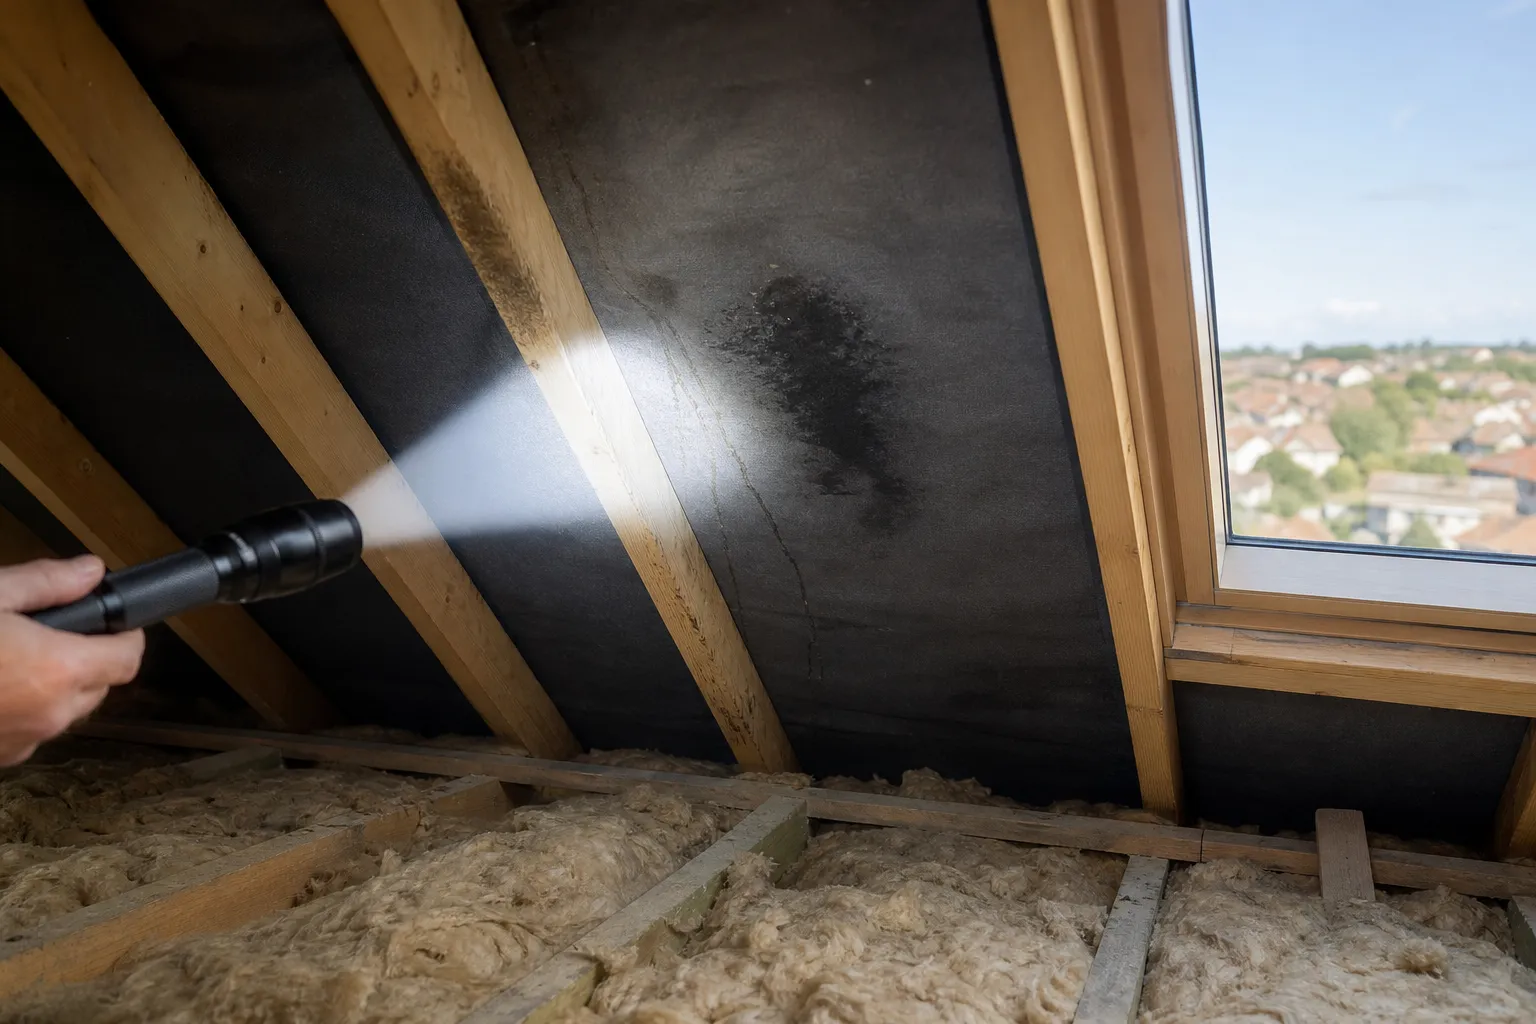
The loft is where most of the tracing happens, because it shows the underside of the roof directly above the stain and upslope of it. With a strong torch we look along the rafters and the purlins, the large horizontal beams that carry them, for tide marks: pale rings or dark streaks left where water has run and dried. We check the top of the insulation for damp or flattened patches, the underside of the underlay for staining, and any timber that feels soft or smells musty.
The trail nearly always leads uphill. Water runs down the slope on top of the underlay, so the wettest point you can see sits below the opening rather than under it. On older roofs laid with bitumen felt, the felt often sags between rafters and holds water in shallow troughs that spill some distance from where it came in. On roofs with no underlay at all, which you still find on older terraces, the backs of the tiles or slates are visible along with the battens, the timber strips they hang from, so a fresh crack or a gap is easier to spot.
When the loft gives no answer
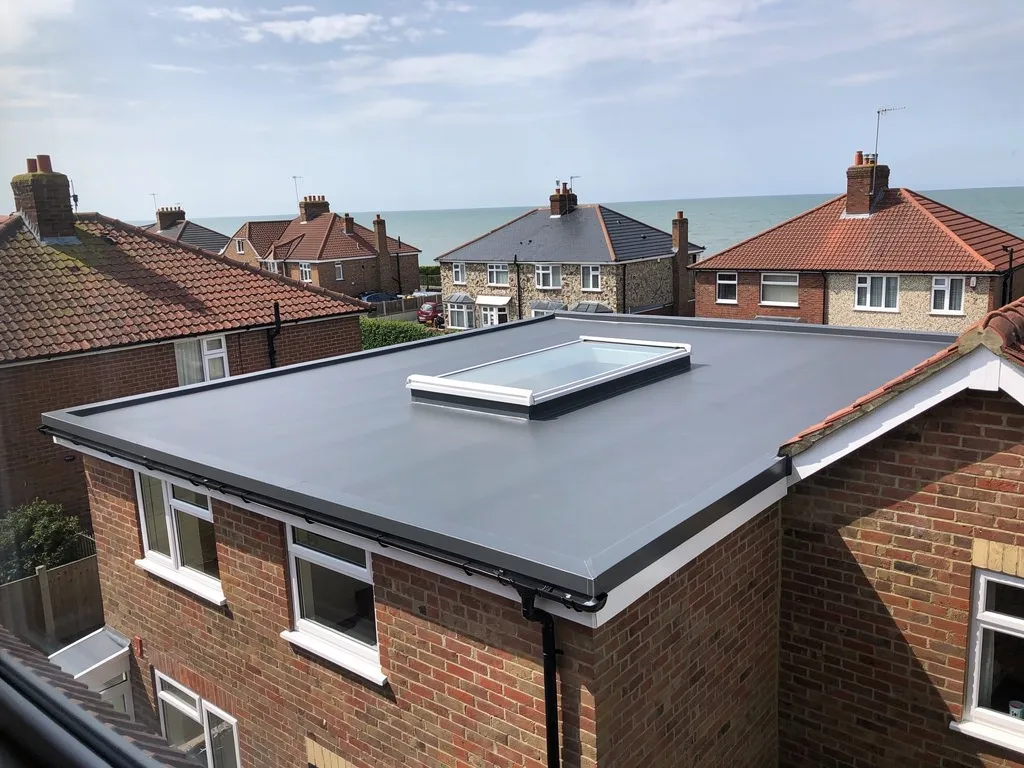
Some leaks never pass through a loft. A flat roof over an extension, a bay roof or the cheek of a dormer has no void to look into, and the water enters directly above the ceiling. A room in the roof hides the slope behind plasterboard and insulation. In those cases the outside inspection carries more of the weight, and we may need to lift a single tile or open a small inspection point to see the layer underneath.
Damp that is spread evenly across the whole underside of a roof, with no single trail, is a different problem altogether, and the next stages explain how we tell it apart.
Checking the joints where roofs tend to fail
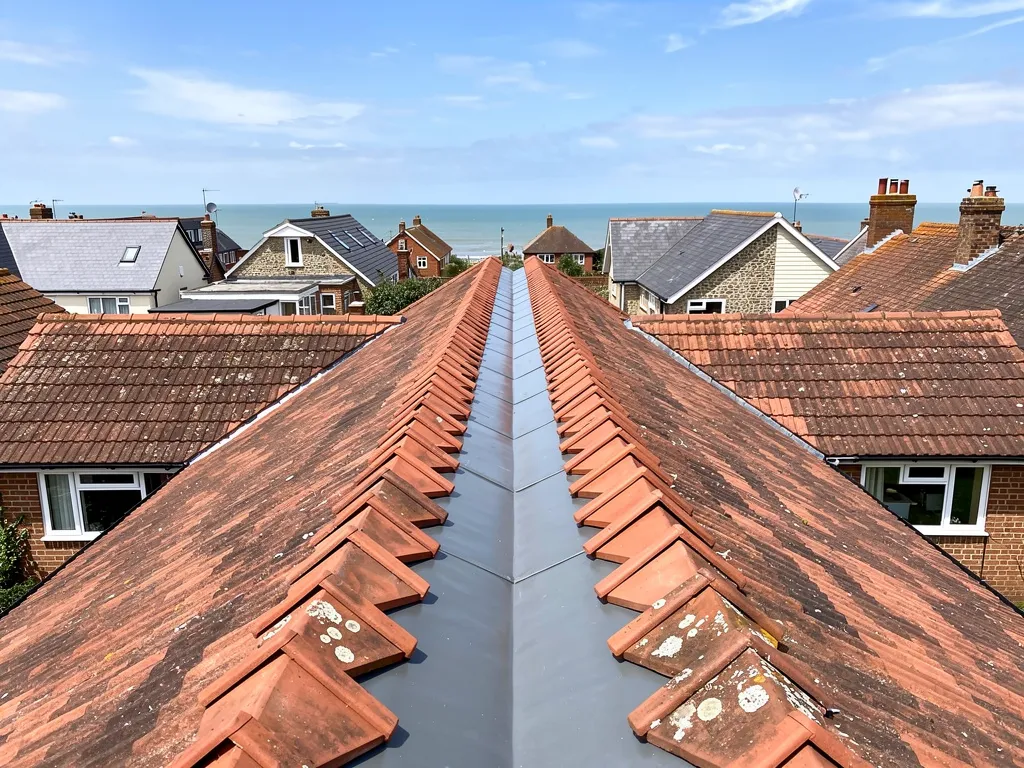
Once the loft has narrowed the search, we go outside to the part of the roof that lines up with the trail. A cracked tile does let water in, but the joints come first, because that is where two materials or two slopes meet and the weathering depends on workmanship as much as on the covering. Our guide to what causes a roof to leak goes through each cause and its giveaway signs.
Abutments and chimneys
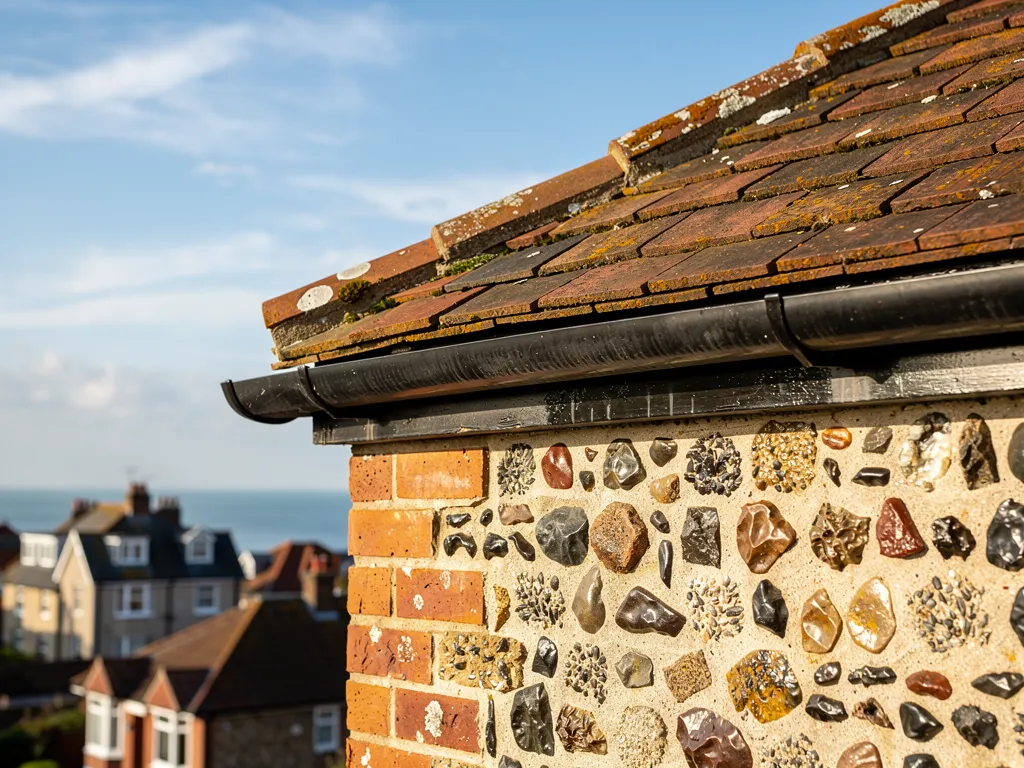
Wherever a slope runs up to a wall or a chimney, the seal is a flashing: lead shaped over the joint, with its top edge wedged into a mortar course in the brickwork. On tiled slopes it is often backed by soakers, small lead pieces folded under each course. According to Leadworx, code 4 is now the usual lead for most flashings, while code 3 is kept for soakers. We check for lead that has curled up, cracked or pulled out of its mortar joint, and for fillets, the triangular mortar beads used instead of lead on many houses, that have cracked away from the wall. On the stack, the flaunching, the sloping mortar collar around the pots, can crack and let water down inside.
Valleys, ridges and verges
A valley is the inward corner formed by two slopes meeting, and it carries the water off both. We check what it is lined with, whether moss or leaves are choking it, and whether the lead has split. Along the ridge, the capping tiles on the top, and on the hips, the outer corners, we look for loose tiles and perished mortar. BS 5534 has, since its 2014 revision, stopped treating mortar as enough by itself for ridge and hip tiles, so each one carries a mechanical fixing too. The verge, the roof edge at a gable, gets the same check.
Ruling out what only looks like a roof leak
Not every wet ceiling under a roof is a roof fault, and a careful search clears the impostors early, before anyone prices work on the covering.
Condensation is the look-alike we rule out first. Warm, moist air from bathrooms and kitchens rises into a cold loft and forms droplets on the underlay and the timbers. It shows as damp spread evenly over a wide area instead of one trail, it is worst on cold, still nights, and it can drip enough to mark a ceiling. Better ventilation is the usual remedy. Marley's summary of BS 5250 gives a continuous 10mm gap along the eaves for pitches above 15° when a high-resistance underlay is fitted. If you are unsure which you have, read how to tell condensation from a leak.
Plumbing comes next. Pipes and tanks in the loft, a leaking shower tray or a failed seal round a bath can all wet a ceiling with no help from the weather. If the stain grows on dry days, start there.
Gutters and downpipes cause damp that often gets blamed on the roof. A gutter that is blocked, sagging or laid without enough fall can overflow at the back, behind the fascia board, and run down inside the wall. Gutter manufacturers generally want a slight run down to the outlet, roughly 1:600 to 1:350 depending on the system. Ponding water on a flat roof finds any weakness in time. IKO, citing the 2018 edition of BS 6229 (since revised), puts the design fall at 1:40, which leaves room for building tolerances and still delivers a finished minimum of 1:80.
Last come the walls. Rain driven into cracked render, a failed window seal or porous chimney brickwork can run inside and appear at ceiling height. That is work for a builder or a window fitter, and we tell you so when we find it.
Water testing and other ways to confirm the source
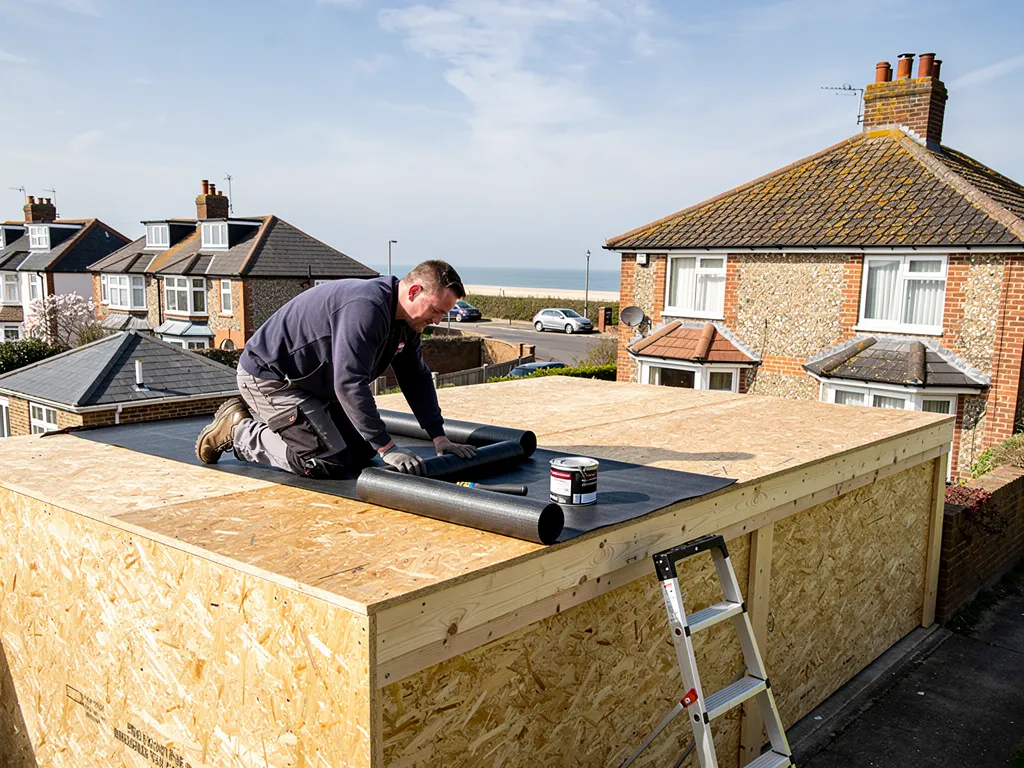
When the loft and the outside inspection point to two or three possible causes, a controlled water test settles it. One person runs a hose gently over a small part of the roof while another watches inside, in the loft or the room below. We always start at the lowest suspect point and work upward, giving each area several minutes before moving on, because water poured high on the slope runs down over everything beneath it and proves nothing. Testing the flashing alone, then the valley alone, then the slope above them, separates causes that a quick look would lump together.
The method has limits. A hose cannot copy rain driven by a gale, so a leak that only shows in a storm may stay dry under test. Wetting is kept away from anything that could be harmed below, such as electrics in the loft. And a fragile surface, such as brittle polycarbonate or old cement sheeting, is never one to stand on.
Drones, cameras and thermal imaging
Where a roof is high or awkward to reach, a drone or a camera on a pole gives close views of ridges, chimneys and valleys without putting up scaffolding. Thermal imaging can show wet insulation under a flat roof as a cooler patch, which helps on large flat roofs where the entry point and the damp area sit far apart. MyBuilder (updated 21/08/2026) gives a typical UK range of £150 to £250 for a standard roof inspection, £200 to £400 for a drone survey and £300 to £500 for a thermal survey. Each one confirms what the trail already suggests. None replaces the work of following it.
Showing you the cause before anything is priced
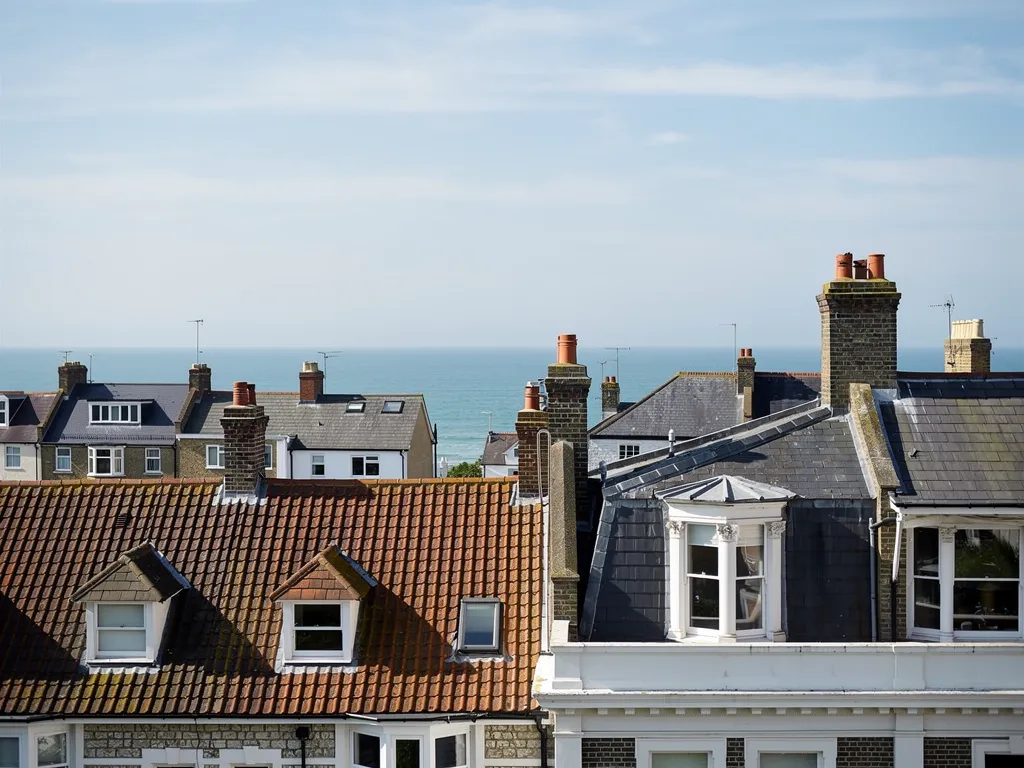
The search ends once you can see the cause for yourself, rather than just hearing it described. We photograph the fault on your own roof, taken inside the roof space and out on the slope, and hand you the pictures with the written quote. If the trail ran from a stain in the back bedroom to a split in the lead valley above it, the pictures show the split and the tide marks beneath it in the order we found them.
That evidence sets the size of the job. A lifted flashing that can be dressed back and repointed is a small repair. A lead valley that has cracked along its length needs relining. A slope where the underlay has perished and water is getting in at several points may be at the stage where patching costs more over the years than recovering it. We put forward the least work that will cure the fault for good, and say plainly when that is more than you hoped.
The price depends on the access needed, the covering, the size of the area and what the survey turns up. After the survey you receive a written quote giving a single total, set at a good, fair level. The repair work itself is set out on our roof repairs page.
If water is coming in now
We prioritise active leaks and make a leaking roof safe first, sheeting or patching the opening for now, then trace and fix the cause once the weather allows. Where an earlier repair has already failed, a leak that comes back after a repair often means a second way in was missed the first time.