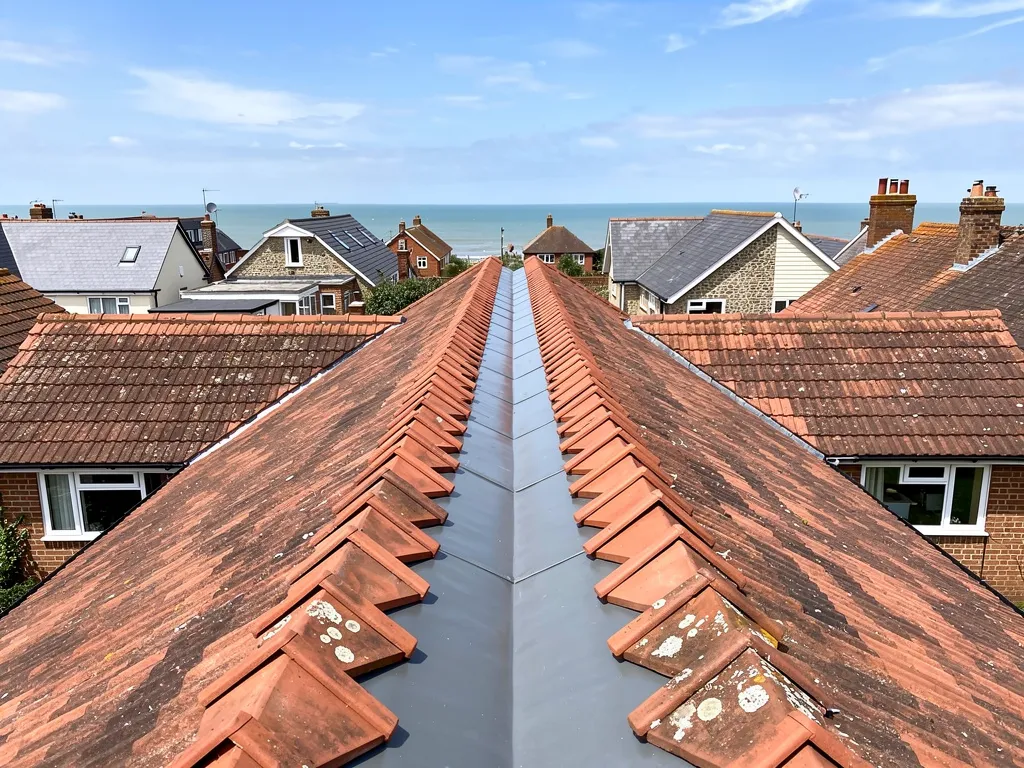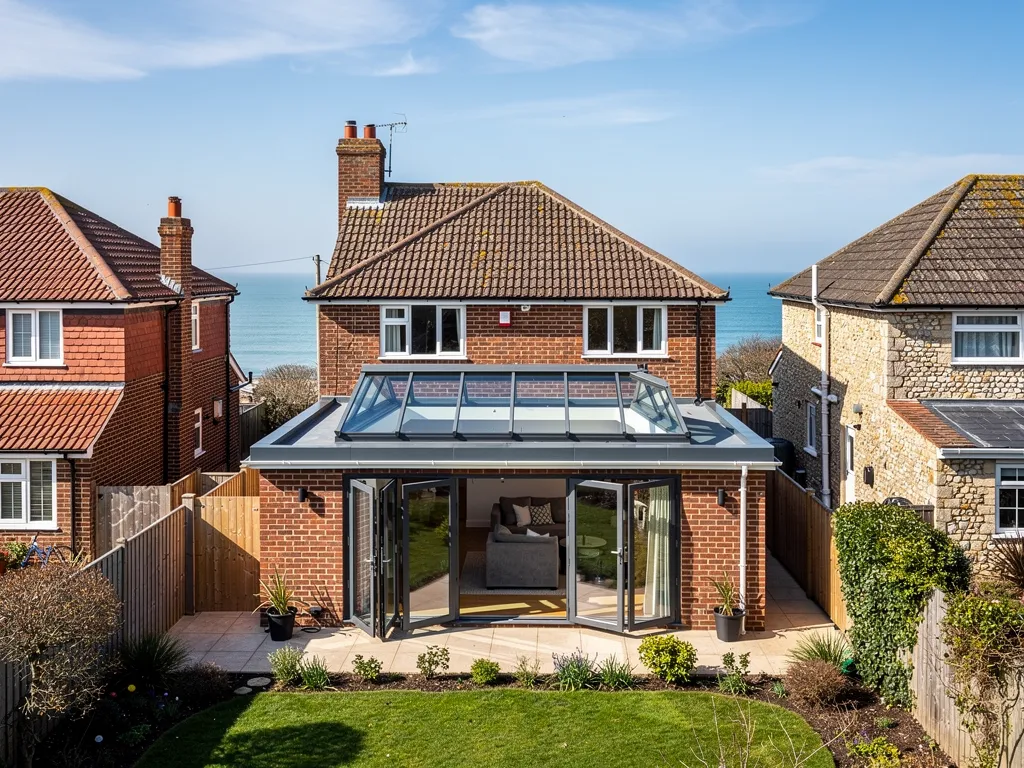

In roofing terms, a flashing is a metal strip that closes the gap between a roof and whatever it butts against: a chimney stack, a party wall, a dormer cheek, a wall at the end of a lean-to. In lead, it is shaped over the joint, so water is carried onto the roof covering and not behind it. The top edge is tucked into a cut in the brickwork, the raked-out mortar joint, and held there with small lead wedges before being repointed.
Because flashings sit at the junctions, they fail more often than the tiles around them. Lead lifts in the wind, wedges rust or shake loose, mortar crumbles in the joint, and a piece that was cut a little short eventually opens at the corner. The leak shows up as a stain a fair way from the stack, which is why people often call a roofer to replace tiles that were never the problem.
This guide sets out the repairs in the order we would consider them, from re-dressing a loose edge to replacing a whole run, and explains why sealant belongs at the bottom of the list. The aim is the lightest repair that ends the leak permanently.
Where lead flashing fails and what it looks like
The failures follow a pattern. On a chimney, the lead apron at the front and the stepped flashing up each side take the most weather, while the back gutter behind the stack collects debris. Along a wall, the long stepped run is held by many wedges, and when a few lose their grip the lead sags away from the brickwork and rain slips behind it. Lead also creeps downhill under its own weight on a steep slope, pulling out of the joint it was pinned into.
From the ground, the signs are small. A pale line of lead that has curled away from the brick. A dark streak on the stack below the flashing. Mortar crumbs on the slope beneath a wall joint. Inside, the stain may sit at the ceiling below or at the loft hatch, depending on how the water travels along the underlay.
Why the fault is rarely the tile
Water runs down behind a loose flashing, soaks the timber battens and the underlay, and finds its own way into the house. By the time it shows, it has travelled across the roof structure. That is why we trace the leak back from the stain, through the loft, to the joint before any repair is priced. If the lead is sound and the cause is a cracked fillet, a failed pointing or a blocked back gutter, then a re-dressed flashing would be money wasted.
Our answer on lead soakers covers the little folded lead pieces tucked beneath the covering at a wall, which are the other half of many abutment details.
Re-dressing and re-wedging a lifted flashing
The lightest repair is to work with the lead that is already there. If the sheet is sound but has lifted or sagged, a roofer can ease it back against the wall with a dresser, a wooden tool shaped for bending lead, then check where the top edge enters the joint. Where the old wedges have fallen out, new lead wedges are driven in, spaced along the run so the sheet cannot drop. The joint is repointed with a suitable mortar to lock everything in place.
This works well when the lead is in good condition, the joint is not crumbling and the lift is recent. It is quick, it keeps the original flashing, and on an older building keeping the original lead can matter. The fault with the repair is that it only holds if the cause was movement. If the sheet is thin, work-hardened or already cracked along a fold, re-dressing it will bring a short respite at best.
The mortar matters too. A hard cement repoint can crack away from softer old brick, because the two do not move together. We look at the surrounding brickwork before choosing the mix, and on older stacks the mortar should match the brick's own strength.
Our answer on lead flashing pulling out of the wall deals with that specific fault, including what the wedges do and why they are spaced the way they are.
As a guide to scale, MyJobQuote (22/09/26) gives a typical UK range of £150 to £250 for a patch on chimney leadwork. The survey sets the actual figure for your roof.
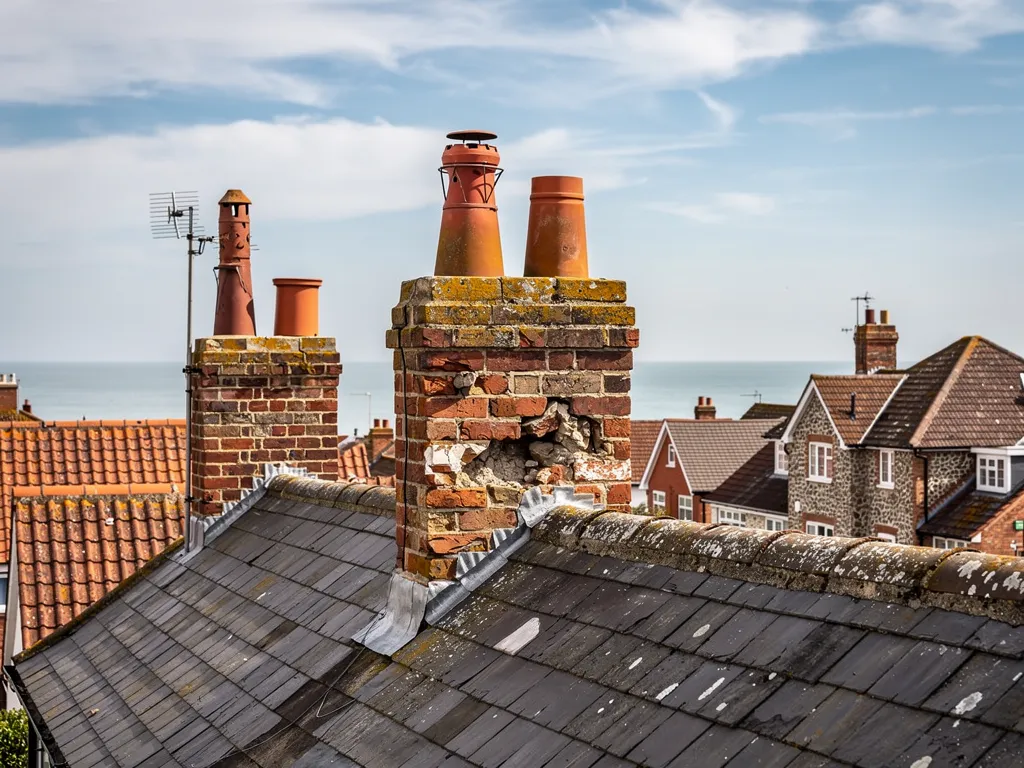
Replacing a section instead of the whole run
Where part of a flashing has failed but the rest is sound, a section can be cut out and replaced. A split near a corner, a hole at a fixing, or a stretch that thieves or a falling branch have damaged are all candidates. The new piece is lapped over or under its neighbours in the direction that sheds water, and it is wedged and pointed like the original. Where it meets the covering, the lead must also lap the tile or slate edge the right way round, so we check the covering beside the flashing before anything is fixed.
Sectional repair needs care at the joins. A new piece butted against old lead, with the two lapping too little, creates the new weak point. We measure the lap against the slope and the exposure, and where the old lead is thin or brittle, the joins can open again within a season. That is a good reason to sample the lead on either side before agreeing to a section: if it bends and cracks when we test the edge, replacing more of the run is the better answer.
Thickness and code
The new lead is chosen by its thickness, called a code. Leadworx treats code 4 as the usual lead for general flashing work and keeps code 3 for soakers only. We match the code to the position and tell you which we propose.
Checkatrade gives a typical UK range of £50 to £70 per metre for code 5 flashing and £80 to £120 per metre for stepped flashing, both before VAT. A full replacement of chimney leadwork is shown by MyJobQuote (22/09/26) at £350 to £460 without scaffold and £700 to £920 with it. Once the survey is done, one written total follows, priced at a good and fair level.
Sealants and mastics: what they can and cannot do
Reach for a tube of sealant and the leak may stop for a while. That is what makes it tempting. A bead of mastic along the top edge of a flashing, or a bitumen-based tape over a split, can close a gap on a wet day while you arrange proper work. As a stop-gap it has its place, and we sometimes use one to make a leaking roof safe first.
It is not a repair, though, because it does not address the reason the gap opened. Lead expands and contracts with temperature, and sealant stiffens and cracks as it ages, so the bond breaks along the same line. Sealant can also hide a developing fault, trapping water behind the bead and letting the timber below rot without any visible sign. Lead that has been smeared with mastic is harder to re-dress later, and the new lead cannot bond to a surface coated in old sealant until it has been cleaned off.
Roofing tapes and bitumen compounds behave in the same way. They need a clean, dry surface, and lead rarely offers one after years of weather, with oxide and grime on its face.
A sensible use of a stop-gap
If a storm opens a flashing at night and the repair has to wait until the weather clears, a temporary seal or cover can protect the room below. Tell the roofer it is temporary, and expect it to come off when the permanent work begins. Anything left in place for years becomes part of the problem rather than a patch over it. Ask for the temporary work to be noted on the quote, so it is removed when the proper repair starts and nothing is left hidden under the new lead.
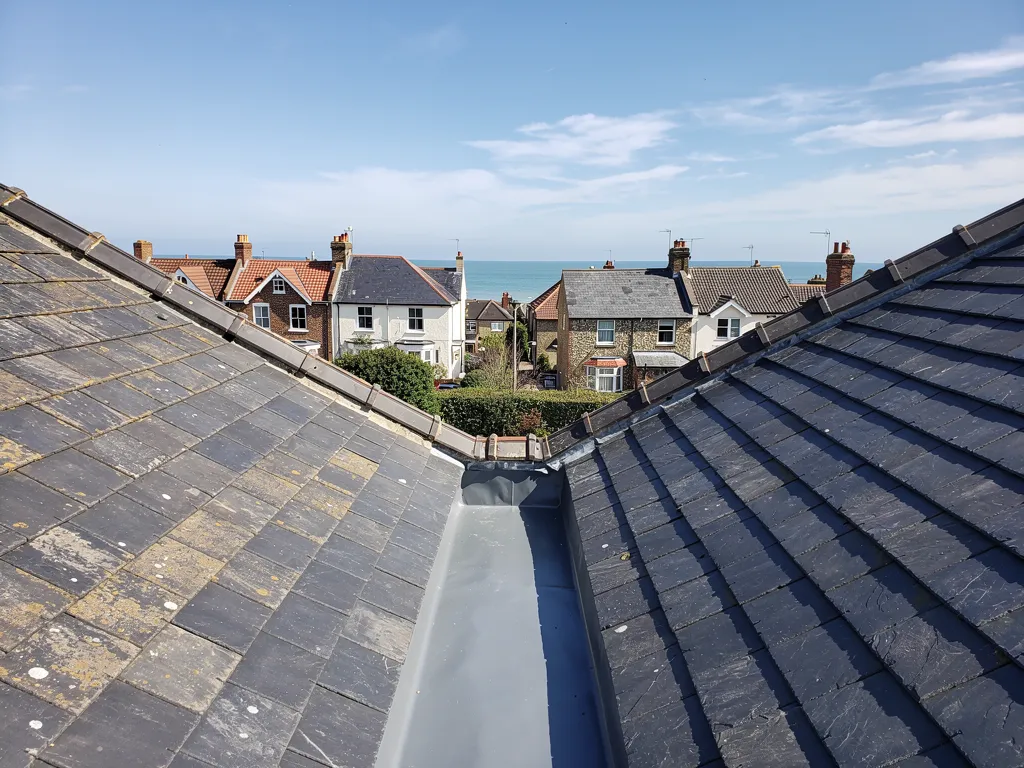
Why lead goes missing and what to do about it
Sometimes the reason a flashing has gone is not wear at all. Lead is valuable as scrap, and a flashing or a valley can disappear overnight, leaving the roof open to the next shower. Often the first sign is a wet ceiling or a strip of bare timber where metal used to be.
If you find the lead has been taken, treat it as an emergency make-safe first. The roof needs covering to stop water entering, then the theft needs reporting, and your insurer needs to hear about it. Our guide on what to do when lead is stolen from your roof sets out the order, the questions to ask and the replacement options.
When the replacement comes, it is also the time to think about the details that make the new flashing last: correct wedging, sound pointing, lead of a weight to suit its position, and fixings that stay tight. Many owners also ask whether a different material should go in the second time, and the answer depends on the detail more than on the owner's taste. That is a legitimate question, and the guide to alternatives to lead flashing sets out where those materials suit and where they do not.
For a house that has had its lead stolen once, we would look at the whole run of flashings and valleys while we are there, because a thief rarely takes only one piece. Checking the rest while the access is in place costs little extra and avoids a second visit for a fault that was already visible.

Deciding between repair and replacement
The choice comes down to the condition of the lead, the cause of the failure and what the neighbouring work is. A repair suits sound lead with a local fault. Replacement suits lead that is thin, cracked in several places, repeatedly repaired or worn through where it was folded. A half-way route is to replace the worst stretch and leave the rest, provided the survey shows the rest is good.
The questions we answer at survey are practical ones. Is the lead supple, or does it crack when bent? Is the mortar joint sound, or crumbling to dust? Has an earlier repair been covered with sealant? Is the stack itself sound, or is the brickwork open at the top? Are the tiles at the edge intact? We photograph the answers.
Where a stack needs rebuilding, repointing or capping, the flashing is usually renewed as part of it, because it is cheaper and better to dress new lead against new brickwork than to patch old lead against it. Where the problem is wider, such as general wear across a slope, the right answer may be a larger job than the flashing alone, and we will say so.
A flashing repair that holds is simple to describe: the lead sits flat against the wall, the wedges are tight, the joint is sound and the water goes where it should. The quote is in writing, with photographs of the flashing you can hold against the finished result. See also the main lead roofing page and our guide to lead valleys.