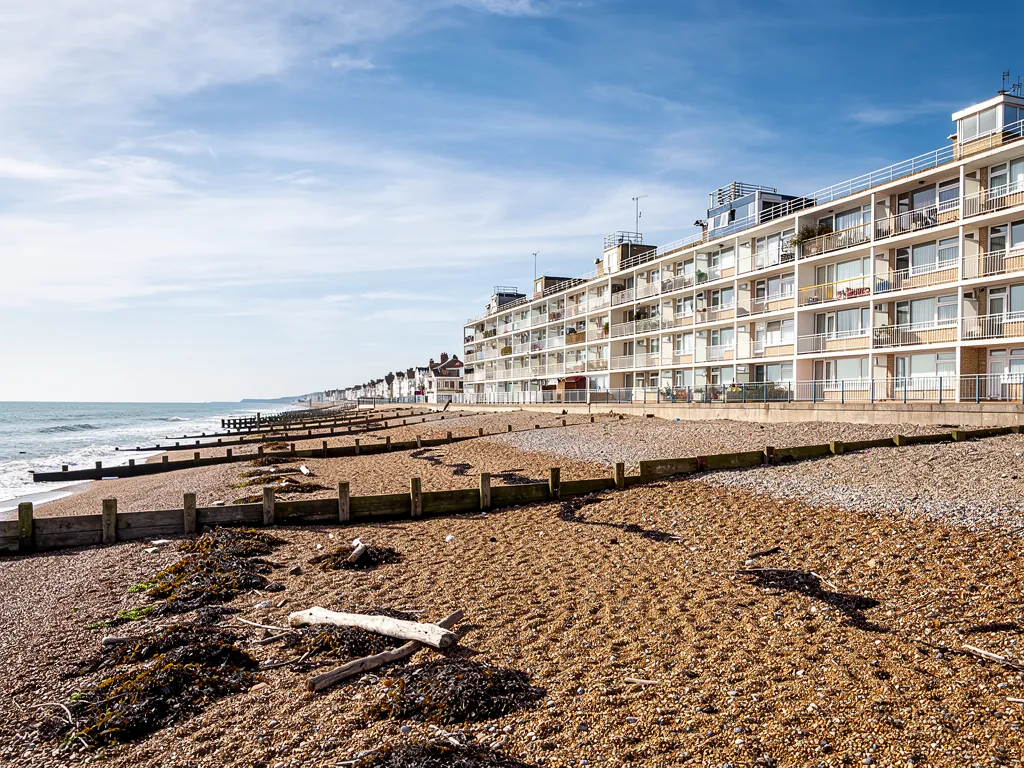
A dormer is a small roof built out of a larger one, and it carries a denser cluster of joints than the rest of a house roof. This page belongs to our lead roofing guides. There is the front face, usually a window in a timber frame, two side walls called cheeks, a roof on top, and a line where each of these meets the main slope. Lead is the traditional answer for the cheeks and often for the roof, because it can be shaped around those meeting points and left to move as the weather warms and cools.
Leadwork on a dormer is rarely the dramatic part of the house. It sits in a corner, seen from the garden or a bedroom window, until a brown mark opens up on the sloping ceiling next to the glass. By then the fault is usually at a seam, a corner or a stepped flashing rather than in the middle of a lead panel.
This guide looks at how lead is used on dormer cheeks and roofs, what tends to go wrong, how the planning rule on materials works for new dormers, and when another metal makes more sense. It is written so you can read a quote for dormer leadwork and know what each part of it is for.
Faces, cheeks and the lines where they meet
Start with the anatomy, because the names turn up on every quote. The face is the front wall of the dormer, normally holding the window. The cheeks are the two side walls, which are solid on a typical bedroom dormer and are usually clad in lead, tile hanging or slate rather than left as bare timber. The roof of the dormer can be flat, pitched or hipped, and the main roof slope runs up to meet the cheeks on both sides.
Every one of those meeting lines is a joint that has to shed water. At the bottom, the lead below the window is called an apron, a sheet that laps over the main roof covering and turns up under the sill. At each side, the cheek lead finishes in a stepped edge against the tiles or slates, with a soaker, a small folded piece of lead, under each course. At the top, behind the dormer, the main slope drains towards it and the water has to be led round both sides, which is usually done with a back gutter, a lead-lined channel across the back of the dormer.
Why the corners matter most
Water is patient. It will cross a flat lead panel without difficulty, so the trouble nearly always starts where two surfaces change direction: the inside corner between a cheek and the face, the point where the apron meets the first soaker, or the end of the back gutter. When we trace a damp patch beside a dormer window, those are the places we look at first, and our guide to what causes a roof to leak explains the general method.
Knowing the layout also lets you ask sensible questions. If a quote mentions cheeks, apron, soakers and back gutter, you can see which parts of the dormer are being redone and which are left as they are.
Lead on the cheeks: panels, welts and fixings
A lead-clad cheek is a vertical surface, and it is covered in panels rather than one sheet. Each panel is cut to the height of the cheek and joined to its neighbour with a welt, a folded seam in which the edges of the two sheets are turned over each other. The fold keeps rain out and still lets each panel slide a little as the metal expands and contracts. Lead moves more than most roofing materials, so fixing a large cheek panel hard at every edge is a recipe for splits.
That is why a cheek is held at the top and supported by clips along the seams instead of being nailed through the face. The nails or screws that do hold it are covered by the next sheet or by the fold. A properly clad cheek has a clean, regular pattern of seams with no exposed fixings, and a worn one shows creases that have opened up, usually at the lowest corner where the weight of the lead has pulled downward over the years.
Which lead code
Lead sheet comes in codes, numbers that indicate thickness, from code 3 to code 8. According to Leadworx, code 3 is recommended for soakers only, code 4 is named as the usual lead for plain flashing work, and code 5 is listed for general, vertical and pitched use. A cheek is vertical, so we normally look at code 5 for the panels and code 4 for the flashings that turn onto the main slope. The soakers under the tiles are the thinner code 3. Your written quote should name the code, and a dormer priced in one thin code throughout deserves a question.
Fixings matter as much as the sheet. Ask what the clips and nails are made from, and whether the lead sits on a separating layer that lets it move freely over the timber beneath.
The dormer roof: flat tops, rolls and drips
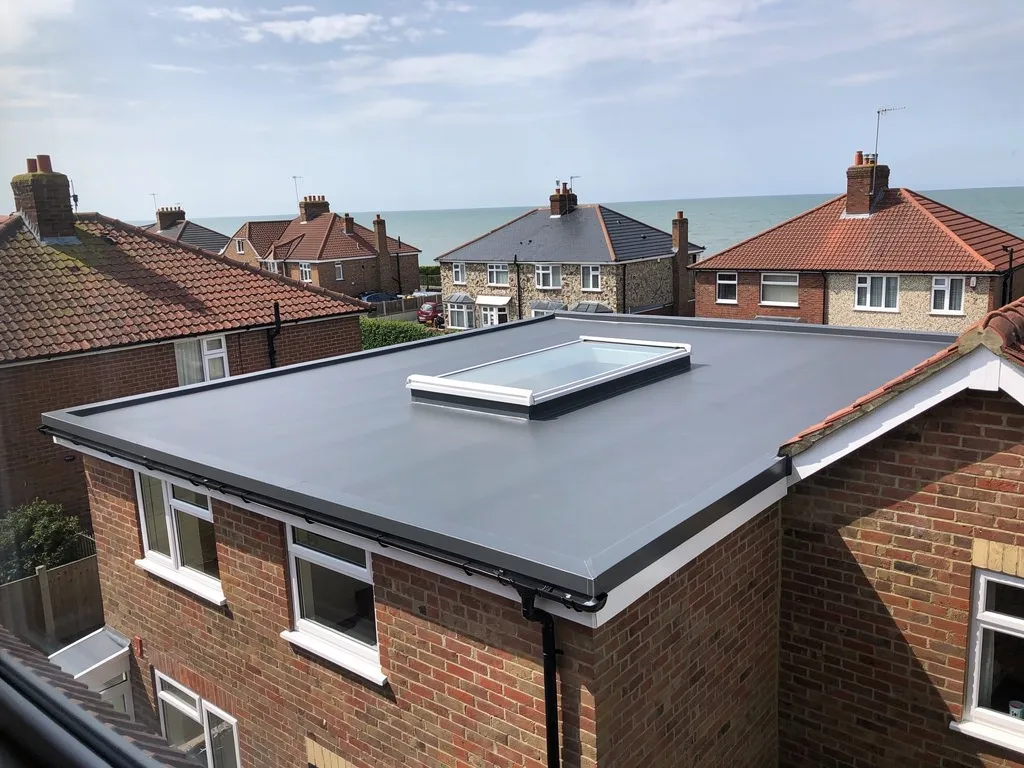
The roof of the dormer decides how much of the lead is on show. A flat or near-flat dormer roof is usually covered entirely in lead, with the sheet running in bays separated by rolls and steps. A roll is a rounded timber batten, wrapped in lead, running down the fall of the roof so the seam between two sheets sits above the water. A drip is a step in the decking where one bay of lead finishes and the next starts lower down. These two details stop water creeping sideways under a seam and give the metal room to move.
Flat does not mean level. The dormer top needs a fall towards its front or its sides so water leaves quickly. As a reference point, IKO, citing the 2018 edition of BS 6229 (since revised), gives a design fall of 1:40 for single-ply flat roofs, because the built result must still reach 1:80 once the deck settles. Ponding water on a dormer top is a warning sign, because it means the deck has sagged or the fall was never enough.
Pitched and hipped dormer roofs
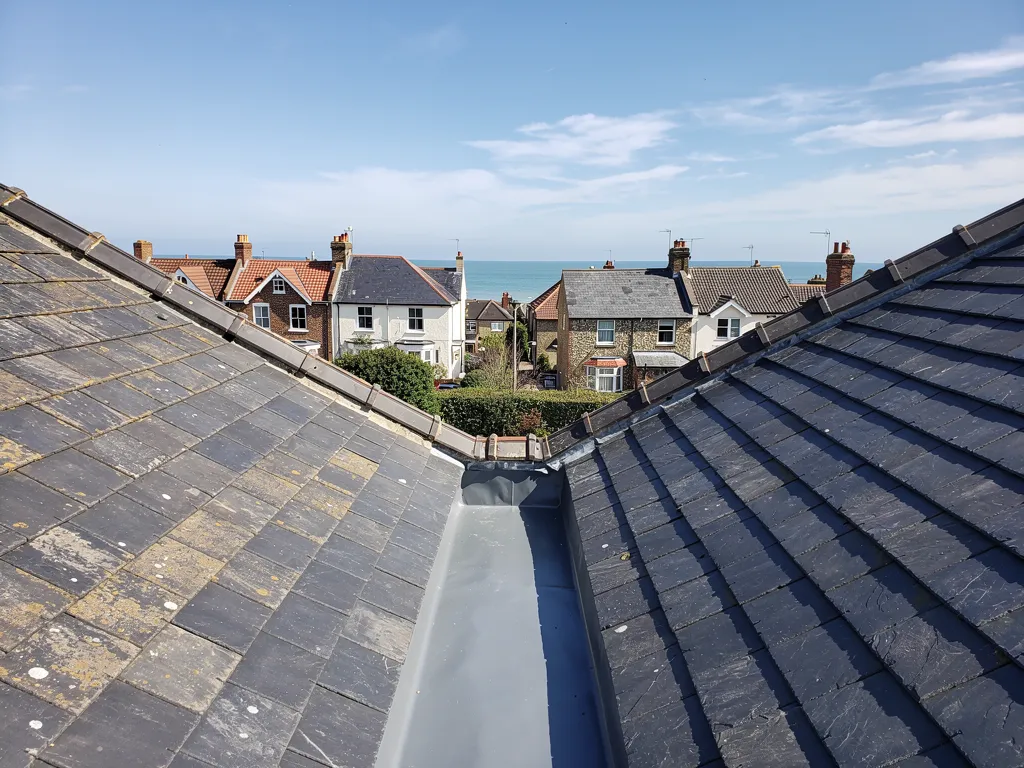
Where the dormer has its own pitched roof in tiles or slates, lead takes on a smaller job. It is used at the ridge junction with the main slope, in the valleys where the dormer roof meets the main roof, and in the stepped flashings down each side. The lined channel in a valley is a job in itself, and we treat it separately from the cheeks.
Hipped dormers are the fussiest. The hips are sloping corners, each with its own lead dressing or capping, and the front face has an apron below the window. More corners mean more places for a split, so these roofs repay a proper look before any repair is priced.
Where lead dormers let water in
Leaks around a dormer follow a small number of patterns, and a damp mark by the window usually fits one of them. The first is a lifted or split apron. Wind gets under the lower edge, works the sheet back and forth, and in time a crack forms along a fold. The second is the stepped edge between cheek and slope, where a soaker has slipped or a flashing has pulled out of its joint and left a gap the width of a pencil.
The back gutter is the third, and the one owners never see. Leaves, moss and grit collect in the channel behind the dormer, water backs up, and it finds the lowest lap. A blocked back gutter can look exactly like a failed cheek from inside the room. The fourth is the window itself: a perished seal or a rotten sill lets water into the frame, and the lead above is blamed for a fault it did not cause.
Why sealant is not the repair
A bead of sealant along a cracked seam may quieten a drip for a winter, and it hides the very evidence we need. Sealant clings to a surface that is still moving, so it tears again at the next cold snap. If the lead has split, the sound repair is to cut out the damaged section and lay a new piece with a proper lap, or to re-clad the cheek where the metal is fatigued.
When the cause is not obvious, we work from the loft and the outside together, and we show you photographs of your own dormer before the quote is written.
Planning, Class B and the materials rule
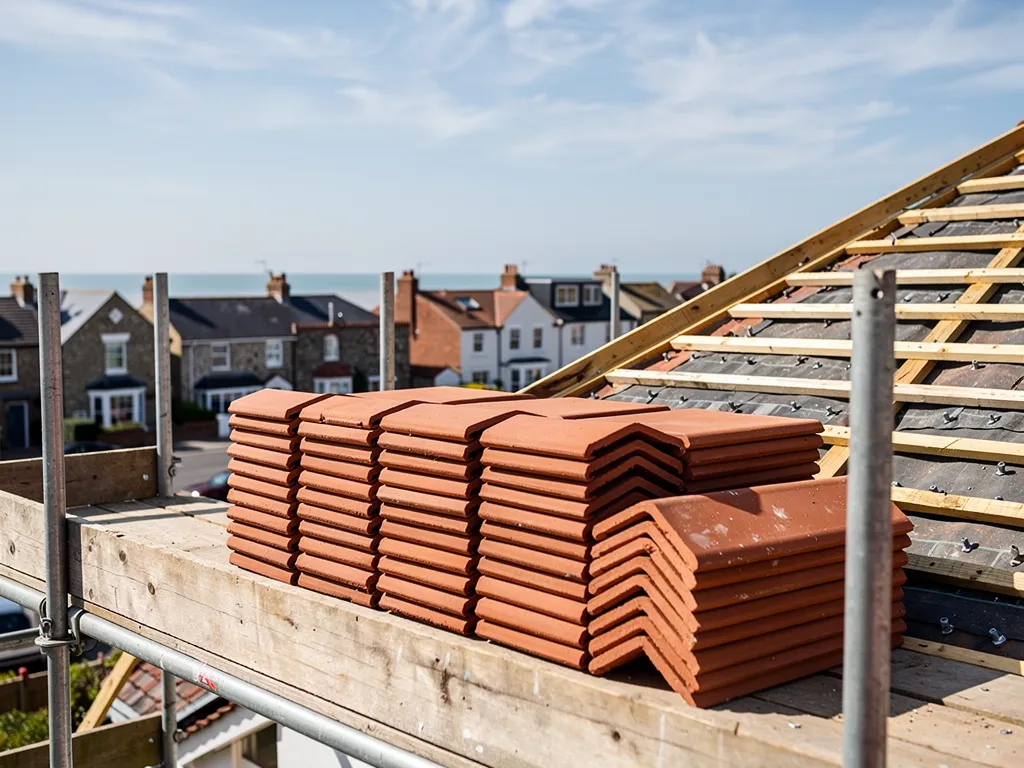
A new dormer is a planning question before it is a leadwork question. Under the General Permitted Development Order, Class B deals with roof additions to a dwellinghouse, and it sets limits. The new work may not rise above the ridge line, may not project forward of a front slope facing the road, and may add no more than 40 cubic metres of volume to a terraced house or 50 cubic metres to any other house. Verandas, balconies and raised platforms fall outside it.
Class B.1(f) rules out any house on article 2(3) land, which includes conservation areas and the South Downs National Park. A new dormer in either needs a planning application, not just a check against the limits. That matters in Worthing, where parts of the town sit in conservation areas, and in the villages that lie within the Park.
The materials rule
Where Class B does apply, B.2 attaches conditions. Exterior materials have to look similar to those on the existing house, and the enlargement should stop at least 0.2 metres back from the eaves wherever that is practicable. A side-facing window has to be obscure-glazed, and fixed shut unless the part that opens sits higher than 1.7 metres from the floor.
For leadwork, the materials rule means the cheek finish is a judgement call. Lead is a long-standing dormer cladding, but whether it counts as similar in appearance on a given house falls to the planning authority to decide. Raise it with the council planners at Worthing Town Hall, or with the Park authority if you are inside the National Park, before any metal is ordered. Our roof planning permission guide sets out the wider picture, and a new dormer needs a Building Regulations application too, so check with your building control body.
Lead, zinc or another cladding on a dormer
Lead is not the only metal for a dormer, and it is not always the right one. Published lifespans give a sense of the options, though they are typical ranges and never promises. MyJobQuote (22/09/26) says lead flashing can last over 80 years, and over 100 years for higher codes, and a lead flat roof is put at 50 to 100 years by the cost guide Less. For zinc, the maker VMZinc cites a 100-year figure, while HomeBuilding, quoting a contractor, gives 60 to 100 years.
The choice usually comes down to the house and the setting. On a listed building the question is like-for-like repair and consent, which we cover in lead on listed buildings and churches. Close to the sea, zinc has sourced salt-air guidance that lead does not, which is why zinc roofing near the sea is worth reading if the dormer faces the seafront. For a direct comparison, see lead versus zinc and the wider list of lead alternatives.
What drives the price
The cost of dormer leadwork turns on access, since a dormer high on a three-storey house usually needs scaffolding, on the size and number of cheeks, on whether the timber under the lead has rotted, and on the code chosen. Our written quote arrives after the survey, one figure for the whole job. When you compare firms, check whether each figure takes in VAT and scaffolding, because the gap can be large. How long the metal itself may last is a different question from how well it is dressed, and both belong in the decision.